You're done with the Guide!
We hope you enjoyed our new-and-improved Guide to Getting Started with SketchUp.


In the next chapter, we'll help you decide which version of SketchUp is best for your specific needs.
Ready?
Ok! Let's dive in.
SketchUp Pro has all of the tools and features that you're going to need to do your job.
If you're not sure you need Pro, just check out the video below.
It covers the 10 SketchUp Pro features that design professionals depend on to get the job done.
If you see a feature you need, then you know you need SketchUp Pro.
Super easy.
There are a few costs to be aware of when you're thinking about buying SketchUp Pro:
SketchUp Pro is sold as a subscription. The annual plan is $399/year; a monthly plan is also available at $99.99/month. Your subscription includes continuous updates, Trimble Connect cloud storage, and support.
You may qualify for discounted pricing if you are a student ($55/year) or educator ($55/year). K-12 schools can use SketchUp for Schools free with a Google Workspace for Education or Microsoft Education account.
Extensions save you time or allow you to do things you otherwise couldn’t.
Want to know what extensions you should install? Tell us what you're using SketchUp for and we’ll make some recommendations.
If you’re going to invest in SketchUp Pro, plan on investing time and money into learning how to use it correctly.
For advice about how to learn SketchUp, jump to Chapter 3.
Yes! SketchUp offers a free trial of SketchUp Pro.
SketchUp Pro works on desktop or laptop computers running Windows or macOS. It also includes SketchUp for iPad, so you can model on your iPad as well.
Whether you have a desktop, laptop, or iPad, here are the recommended specifications for running SketchUp Pro on desktop:
If your computer doesn't meet the recommended specifications above, check the SketchUp website to see if it meets their minimum requirements.
After you’ve confirmed that your computer meets the requirements, go here to download SketchUp Pro.
If you need any help installing or authorizing SketchUp Pro, go here.
SketchUp Go is designed for DIY designers, makers, and hobbyists who want commercial-use access to SketchUp without needing a full desktop install.
Go runs in a browser and on iPad — there is no desktop application. It gives you CAD import/export, Trimble Connect cloud storage, and commercial use rights that SketchUp Free doesn’t include.
For most professionals, Go won't cut it. The features that matter on the job — desktop modeling, LayOut for construction documents, extensions, IFC files — all require SketchUp Pro or Studio.
Go sits between Free and Pro: it adds commercial use rights, CAD import and export, and unlimited Trimble Connect storage, but still lacks the desktop application, LayOut, and the Extension Warehouse. For the full feature breakdown, see the comparison table above.
Here are the costs associated with SketchUp Go:
SketchUp Go is $129/year billed annually. A monthly plan is also available at $19.99/month. For more info, see Trimble’s plans and pricing page.
If you’re going to get the most out of your SketchUp Go subscription, plan to invest in learning how to use it well.
For advice about how to learn SketchUp, jump to Chapter 3.
You may be tempted to see if you can get away with using SketchUp Free, because, well, it’s FREE!
For a professional, that would be a mistake.
Because while SketchUp Free has the same core 3D modeling tools as SketchUp Go, Pro, and Studio, it's missing a number of features you'll eventually need.
Take a look:
| FEATURE | SKETCHUP FREE | SKETCHUP GO | SKETCHUP PRO | SKETCHUP STUDIO |
|---|---|---|---|---|
| Build 3D models | ||||
| Geo-Locate Models | ||||
| Import & Export STL files | ||||
| Import & Export Images | ||||
| Use Commercially | ||||
| Import & Export CAD and 3D files | ||||
| Use solid modeling tools | ||||
| Use Outliner | ||||
| Watermark-free | ||||
| Unlimited Cloud Storage (Trimble Connect) | ||||
| Unlimited Projects | ||||
| Technical Support | ||||
| Use Offline | ||||
| Import & Export PDF files | ||||
| Create multi-page presentations | ||||
| Produce construction drawings | ||||
| Give Full-screen presentations | ||||
| Export Animations | ||||
| Create Dynamic Components | ||||
| Use Advanced Cameras | ||||
| Use Sandbox Tools | ||||
| Generate lists & reports | ||||
| Import, Export, & Create IFC Files | ||||
| Make hand-drawn rendering styles | ||||
| Model from Terrain & Satellite Imagery | ||||
| Add Extensions | ||||
| Revit Importer | ||||
| Scan Essentials | ||||
| Photorealistic Rendering (V-Ray) |
Some Studio capabilities (Revit Importer, Scan Essentials) are also available to Pro subscribers as add-ons.
Of course, you might still want to try SketchUp Free for yourself before committing to a paid plan.
If so, first check that your computer meets SketchUp’s hardware and software requirements:
Once you’ve done that, click here to launch SketchUp Free.
We can help you figure out which version of SketchUp you need. Just click here for help.
Want to avoid struggling needlessly?
We've all heard somebody say that SketchUp is ridiculously easy to learn.
Unfortunately, this is an exaggeration.
The truth is that if you plan to use SketchUp professionally, you should plan to invest some time and money into learning how to do things the right way.
This chapter will help you invest wisely.
We created a free SketchUp tutorial that we recommend you watch before you get started with SketchUp Pro.
The video tutorial covers 7 critical concepts that self taught users either don't know or have had to learn the hard way.
Watch it, and your future self will thank you.
Before we do that, we want to share a story that one of our former students, a Residential Architect named Tom, told us before he took a class with us:
Everybody told me that SketchUp was easy to learn.
So I downloaded it, and immediately tried to model my own house.
And I was doing pretty well at first.
But the closer I got to completing the model of my house, the more often I got stuck and had to search the Internet for help.
Eventually though, I got to a point where I decided my SketchUp model was done and felt good about what I had accomplished.
BUT the first time I used SketchUp on the job...
I was on a deadline, everything in the model needed to be right, and when design changes came up, I needed to be able to make them.
And I couldn't do it. It was a total disaster.
I was in way over my head.
Lots of people make the same mistake Tom made. But it's completely avoidable.
You just need to invest in some training.
You need take a well-structured class with a curriculum designed to give you a comprehensive introduction to SketchUp.
Good news: We have a course called The Complete Intro to SketchUp that does exactly that!
It's in our Video Course Library, along with other courses on more advanced professional topics. All of the courses are based on in-person classes we teach that cost between $1200 and $1500 to attend. We've just broken them down into bite-sized video tutorials that provide a more convenient and economical way for professionals to take our classes.
You can find out more about our Video Course Library here.
Now, if you're the kind of person that needs to be sitting in a classroom with an instructor, tell us where you're located and we'll see if we can make a recommendation.
We'd recommend starting with the free tutorials on SketchUp's website.
You might also want to check out YouTube. Just be careful: When you're new to SketchUp, it's hard to tell the difference between a good tutorial and one that teaches you the wrong way to do something.
That’s where Chapter 4 comes into play…
Planning to use SketchUp professionally?
You're going to need to know about some of SketchUp's more advanced features.
This chapter can help.
Click on a feature to jump down the page and read about it.
Often, at the start of your project, you’ll need to reference other sketches, drawings and files.
SketchUp has an Import feature that allows you to bring these sorts of reference files right into your 3D modeling environment.
This helps you do things like:
Bring-in a site plan or a floor plan and build your SketchUp model right on top of it.
Add images that you can trace over or just use as a reference right inside your 3D model
Or work with folks using other CAD programs by importing files they created in another application.
Here’s a complete list of the file types you can import:
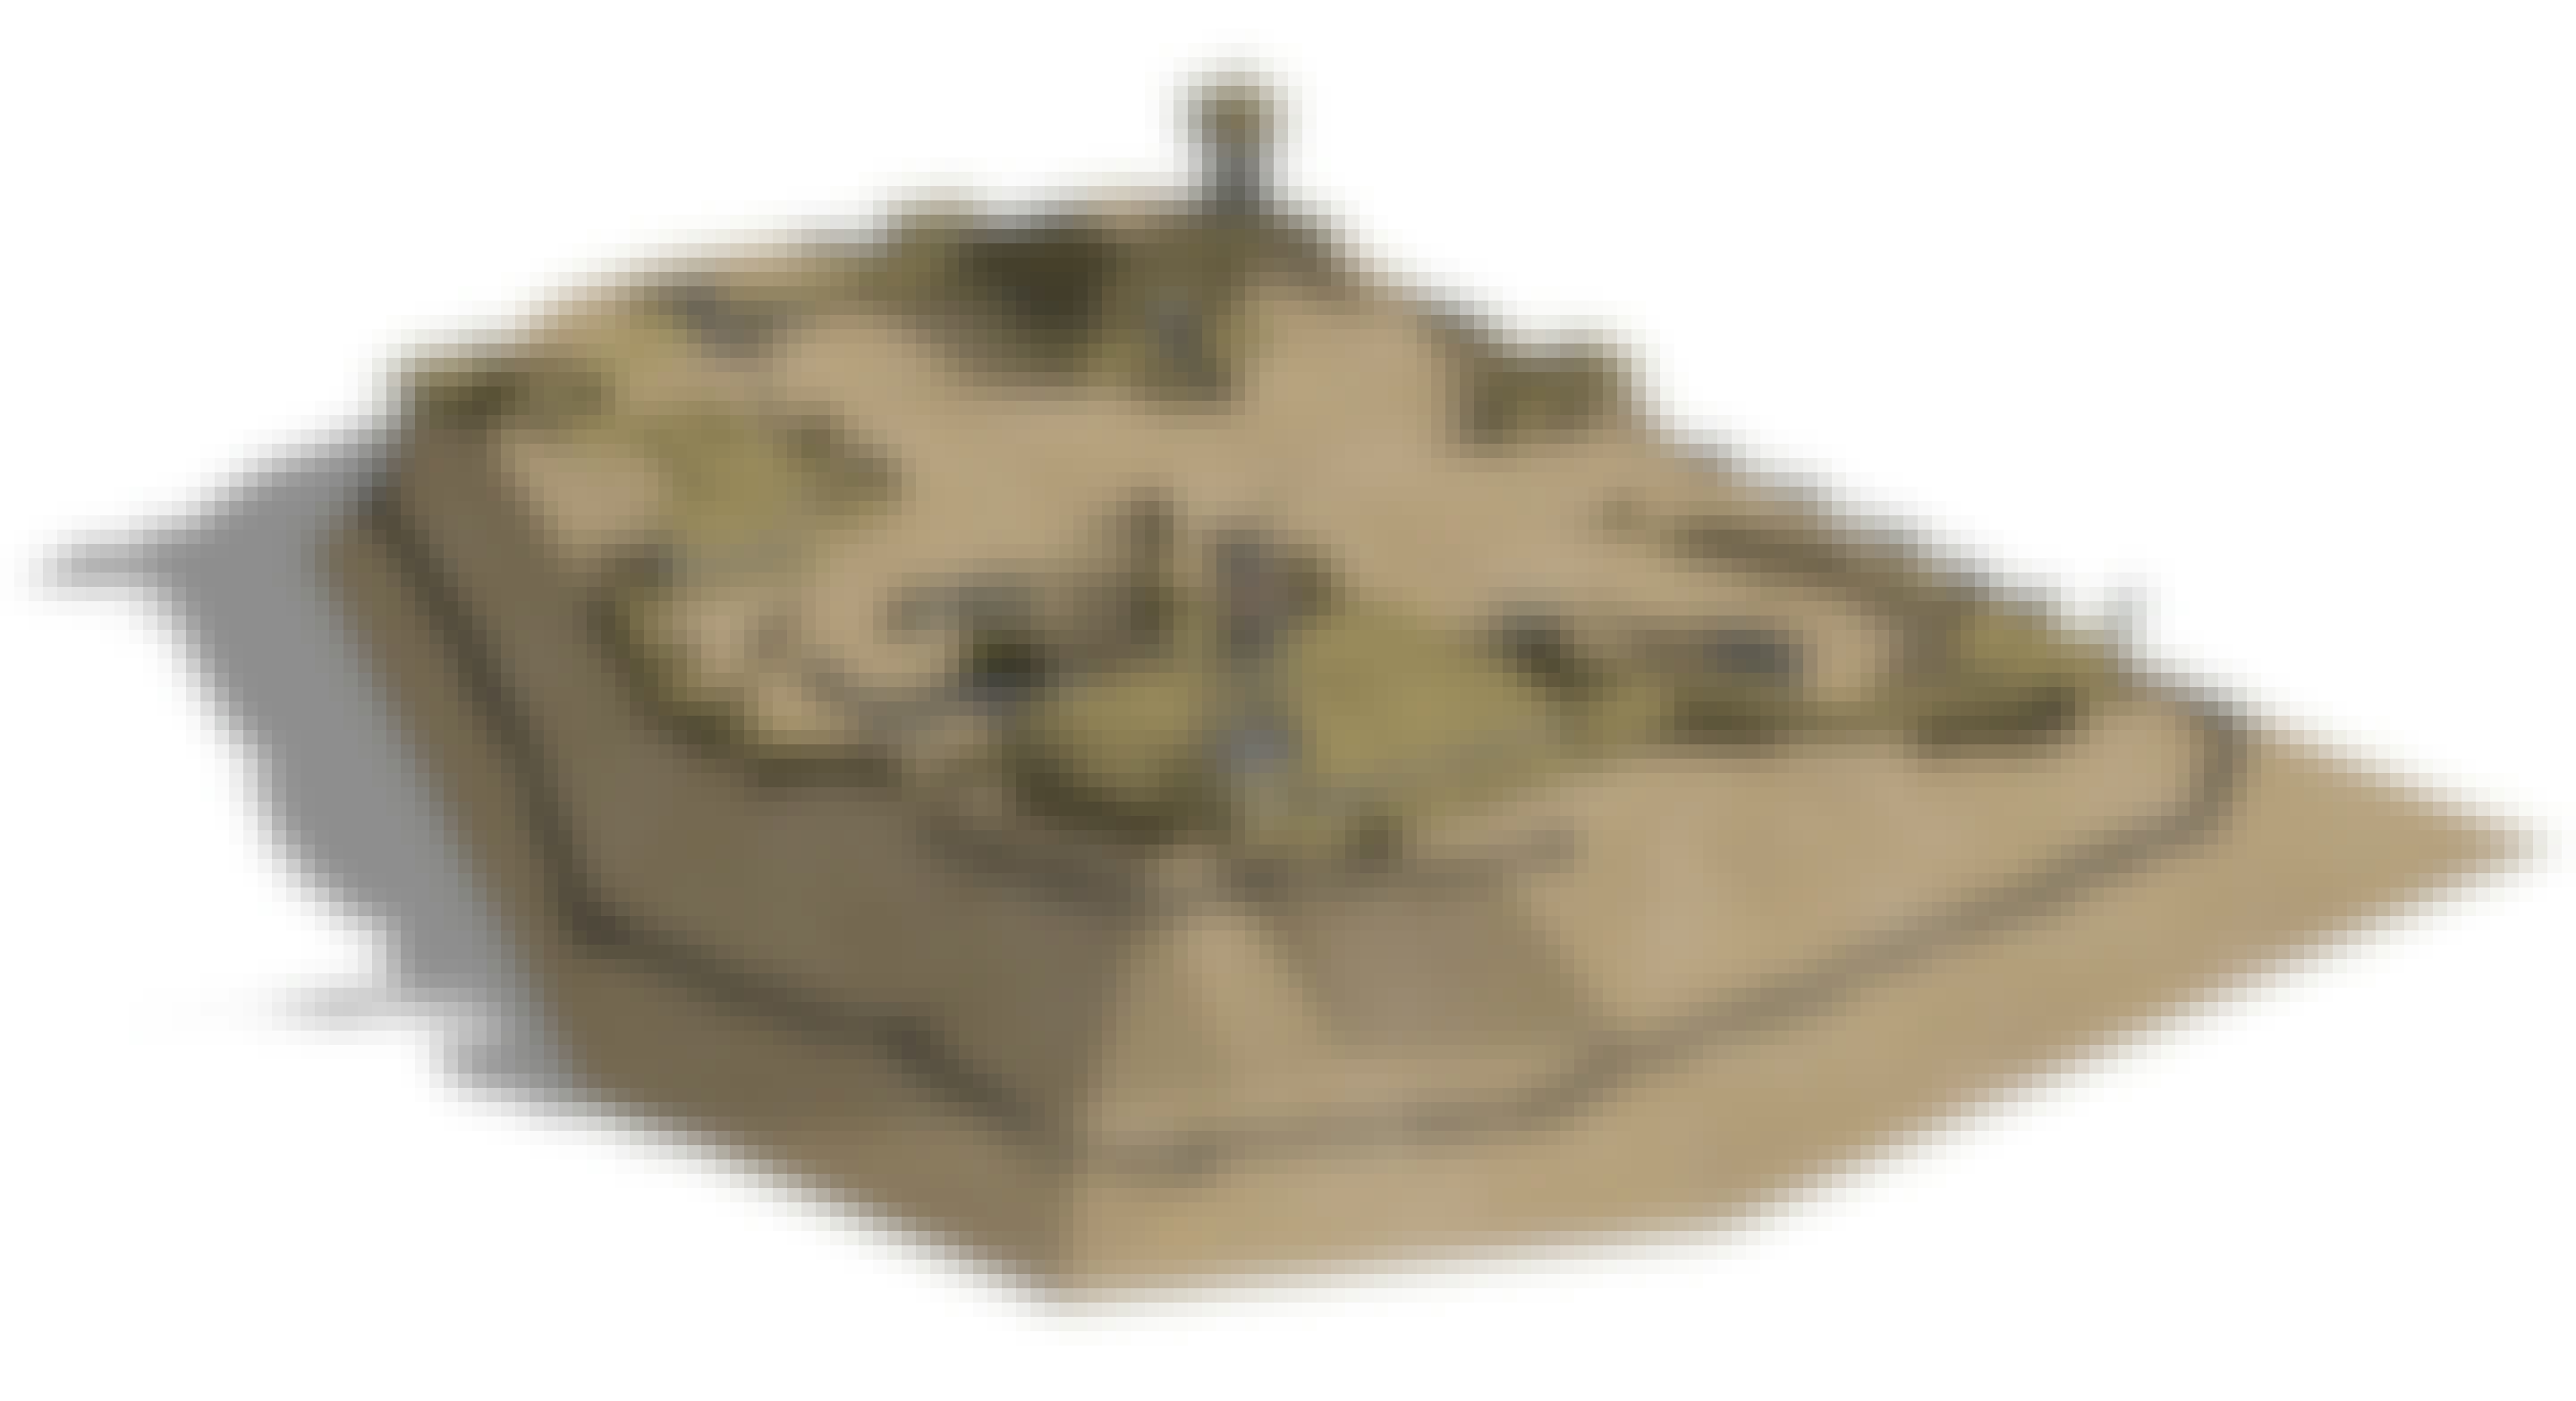
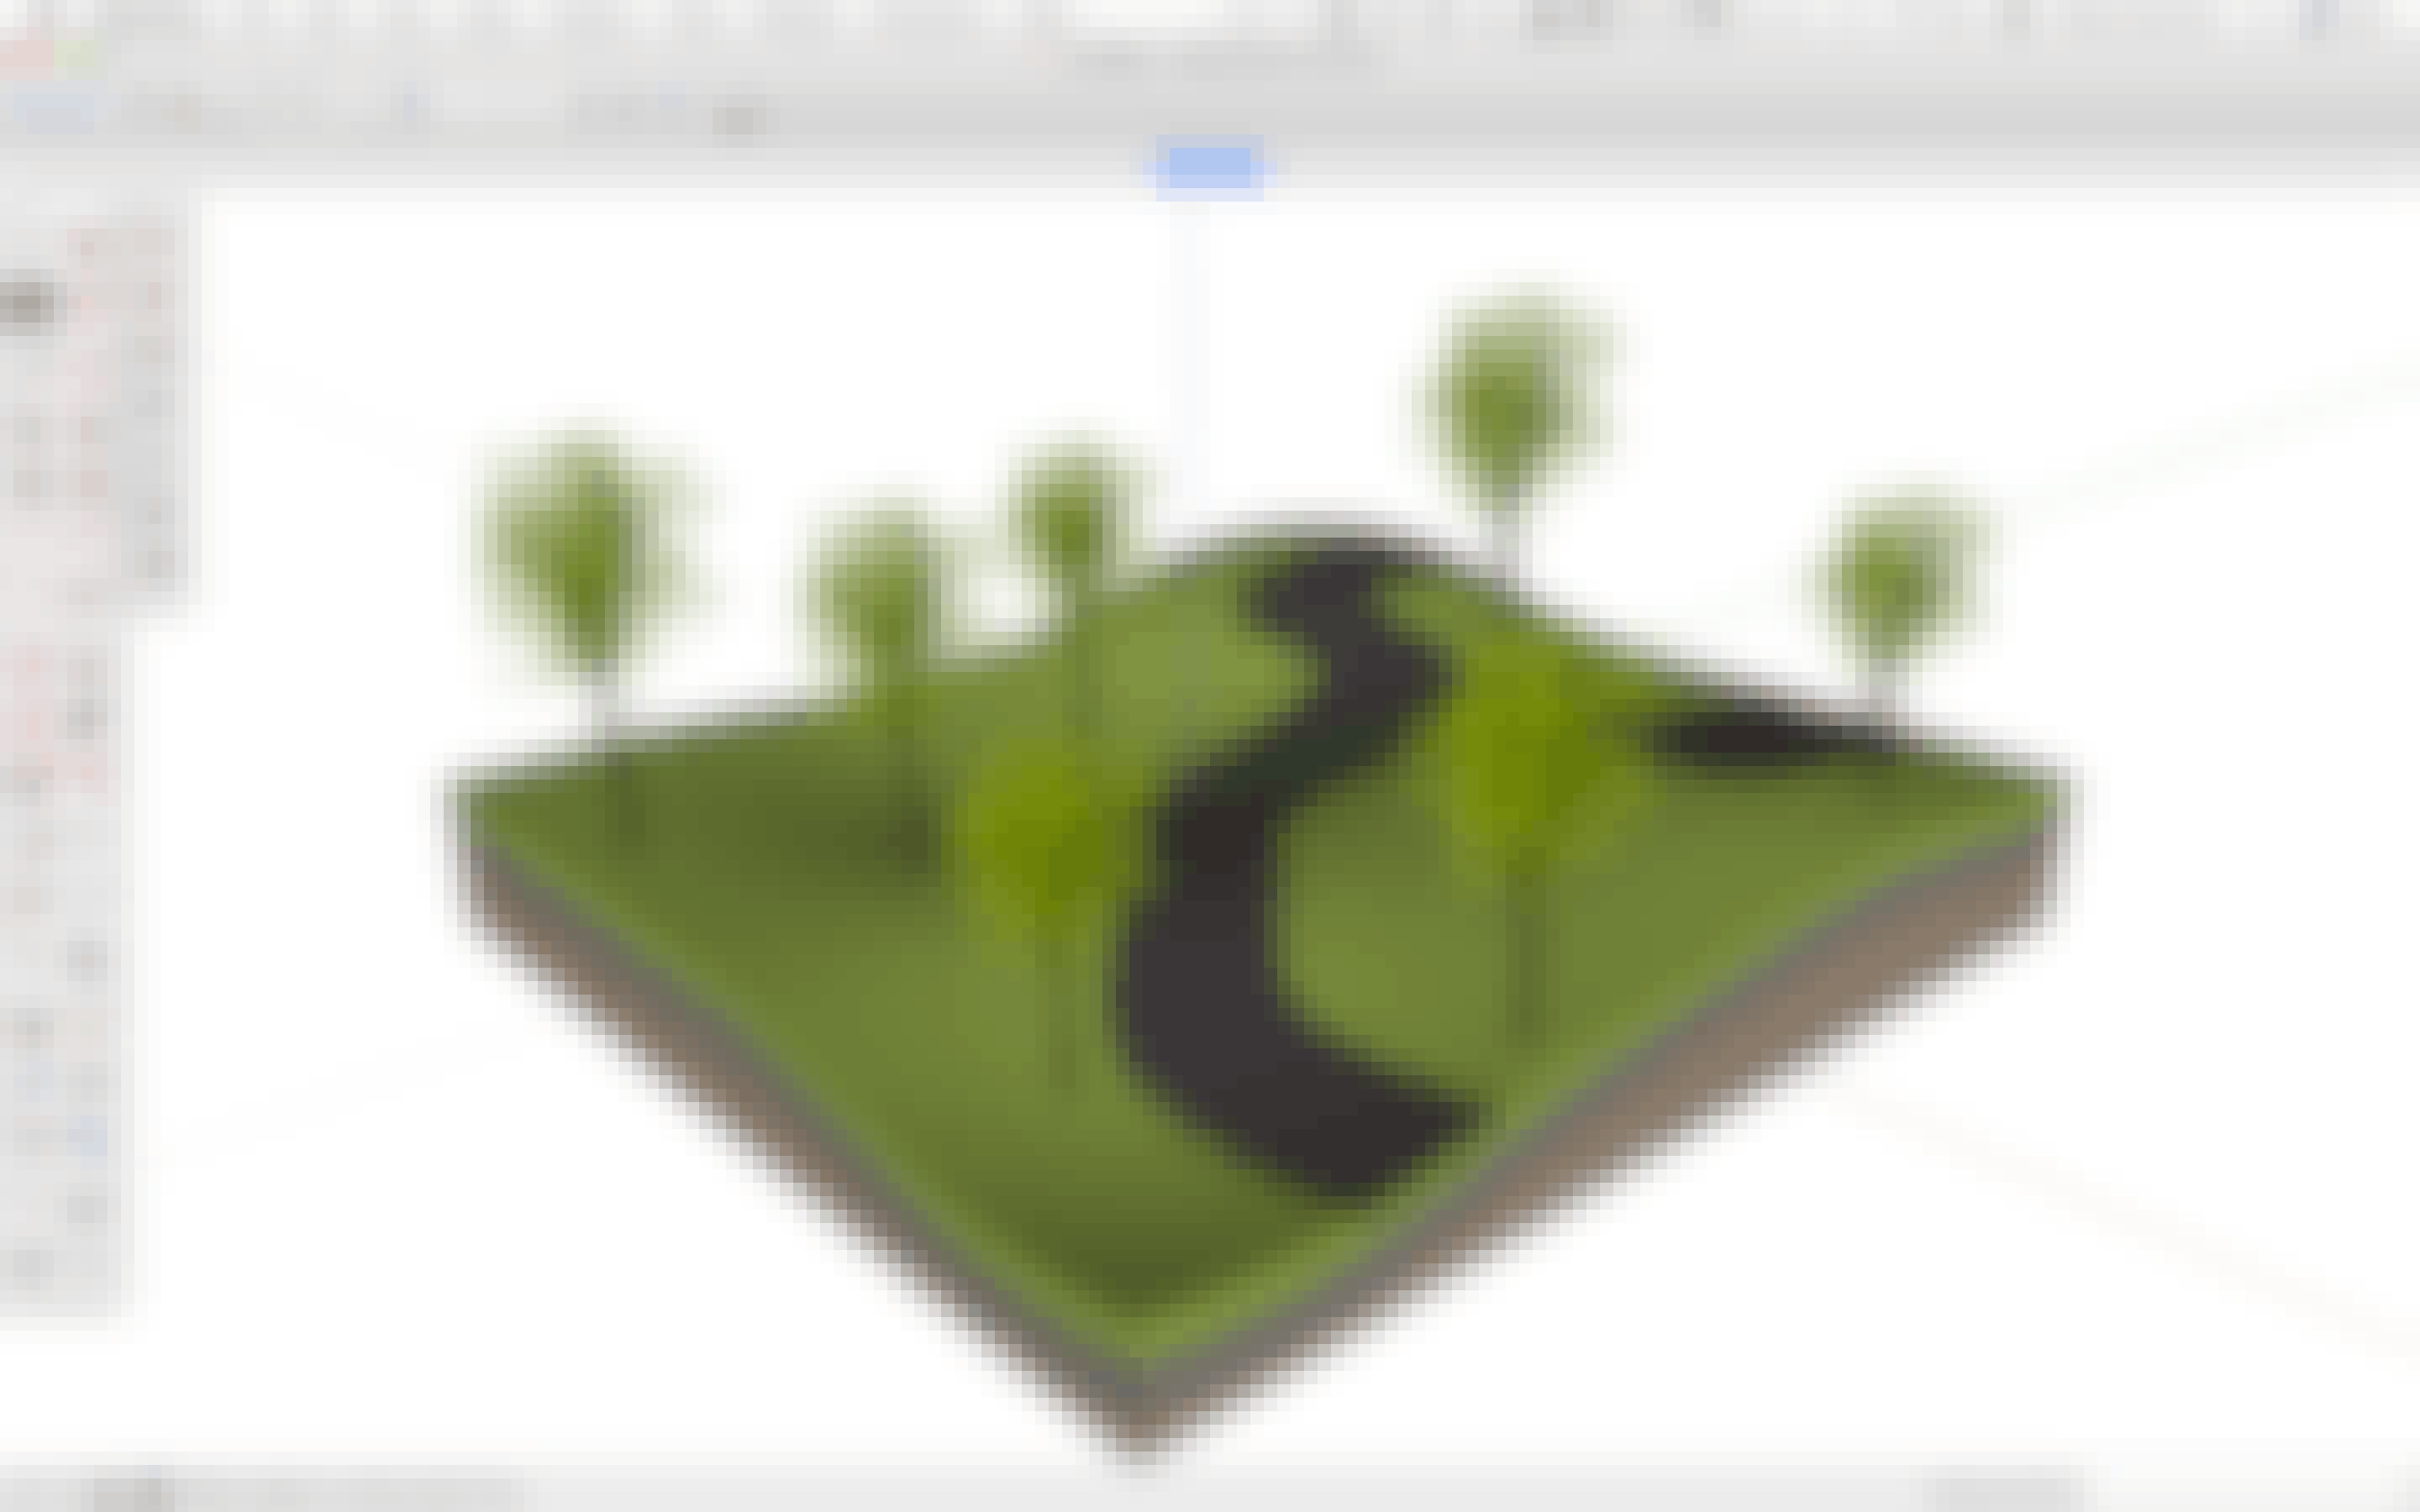
When you’re designing something with a location in mind, it can be helpful to build a 3D model in the context of its environment.
SketchUp’s Geolocation feature allows you import a real-world location into your 3D model.
Specifically, it will pull-in a 2D satellite image AND a 3D terrain model.
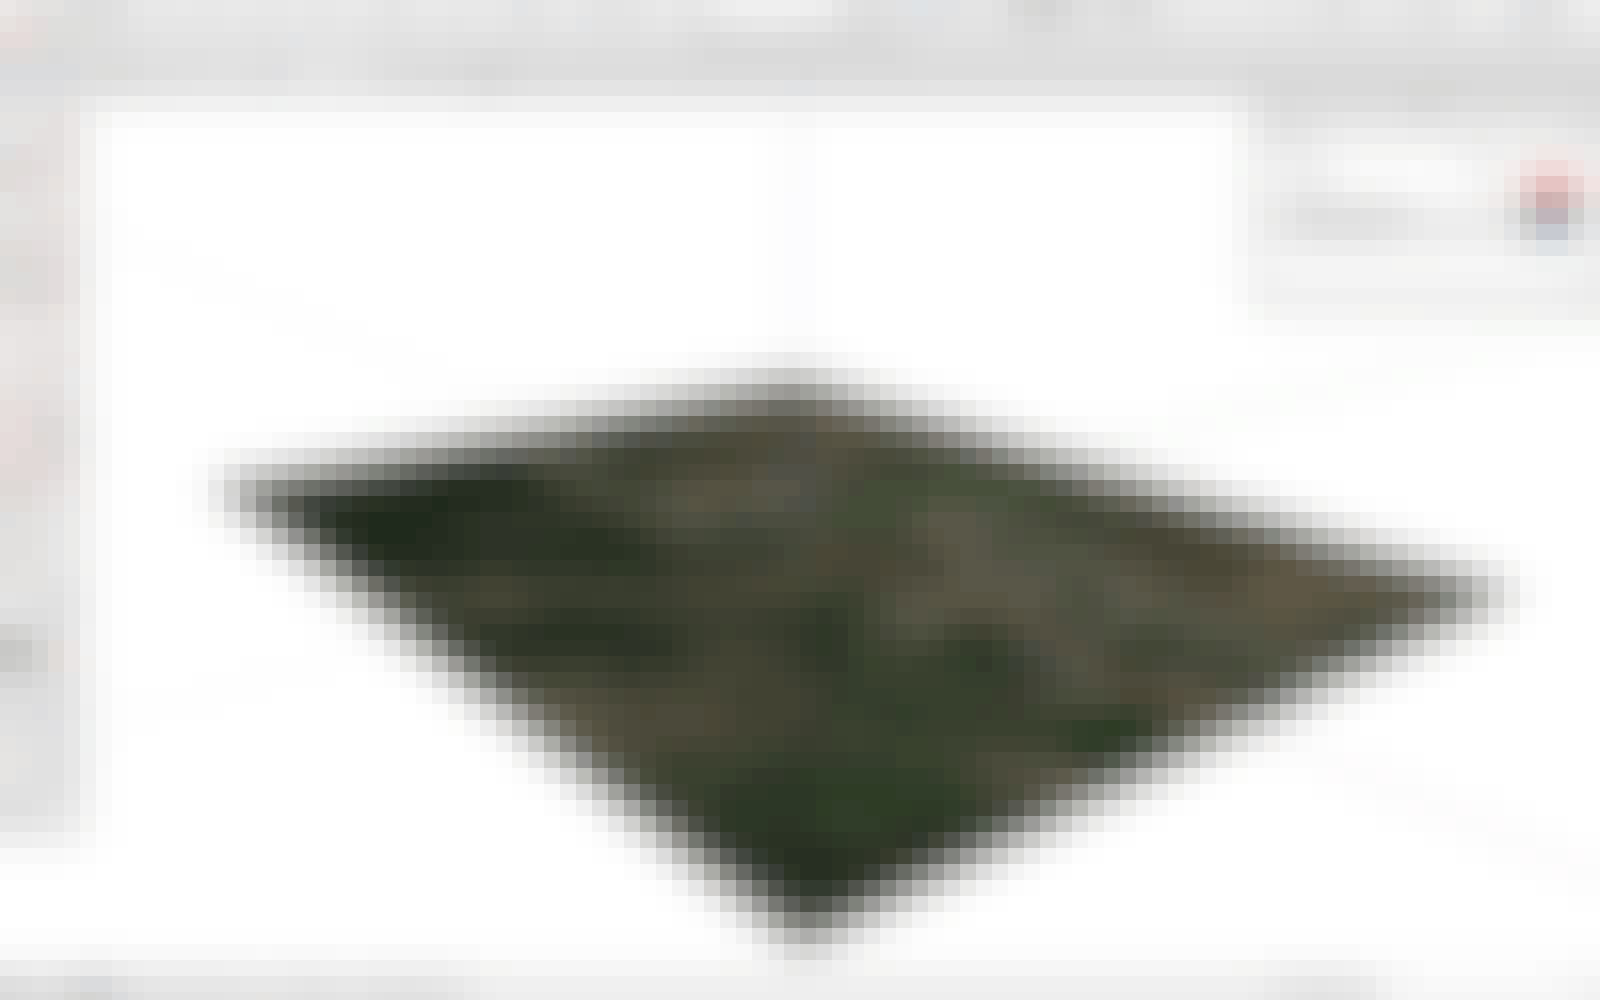
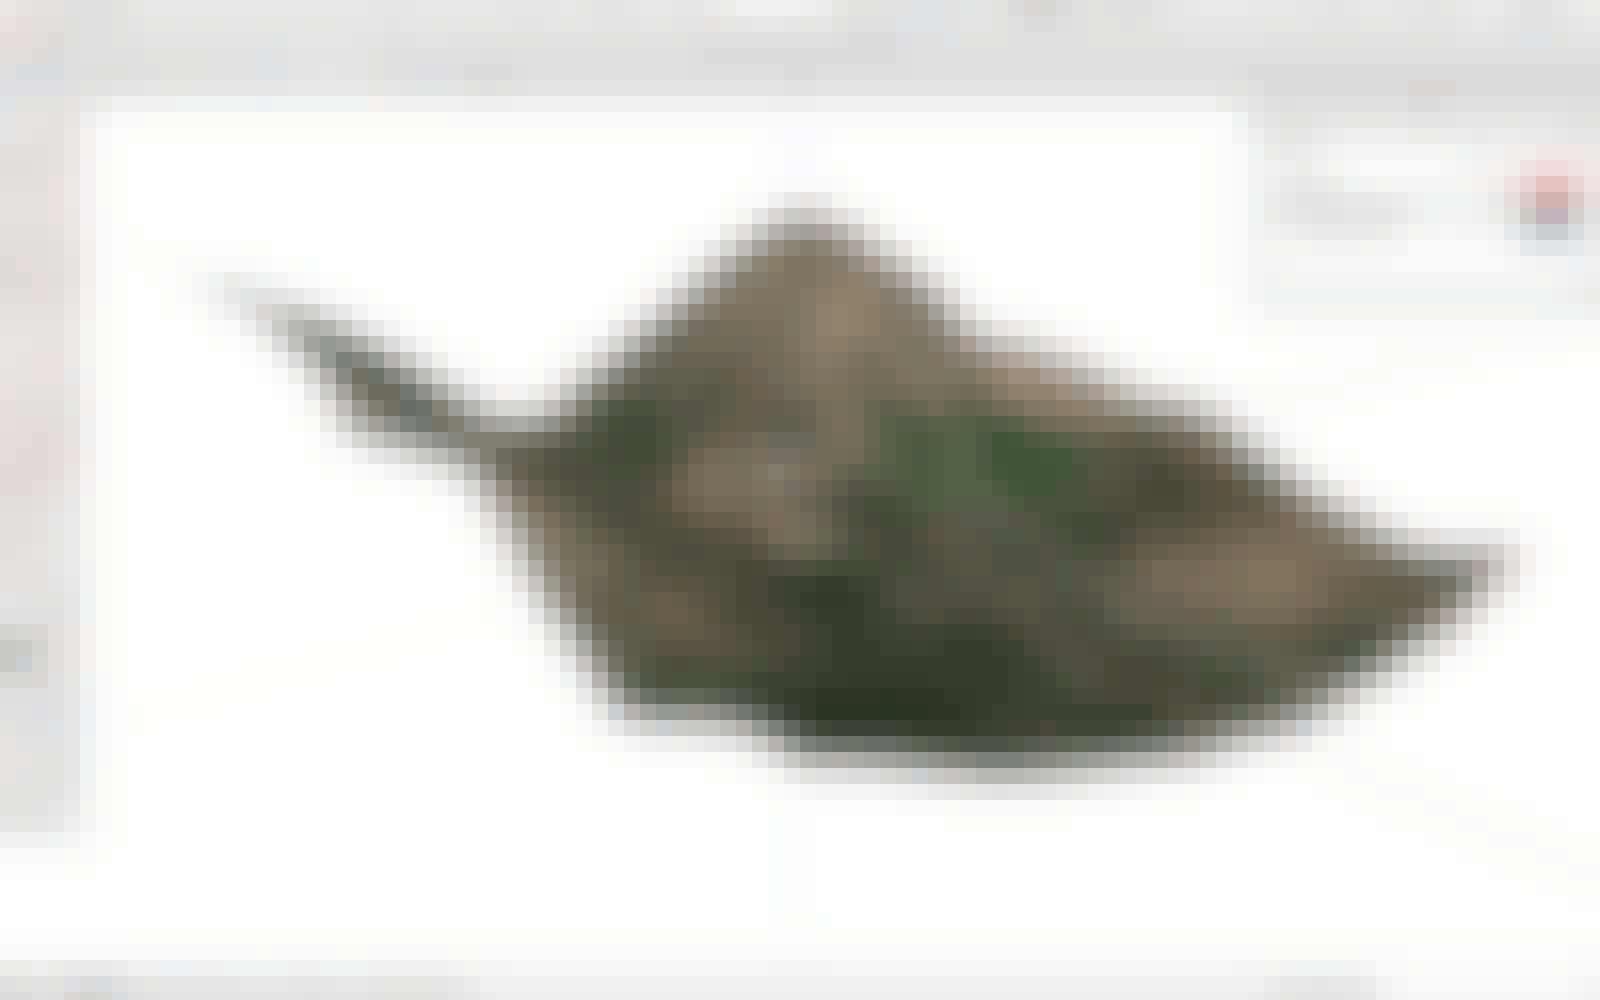
This allows you to build your 3D model on the satellite image to make sure you’ve oriented it properly,

and then position the model into the 3D terrain to see how it fits into the environment.
Also, SketchUp knows exactly where the sun will be shining for any date and time given the location you choose.
What does that mean?
Read about SketchUp’s Shadows feature next...
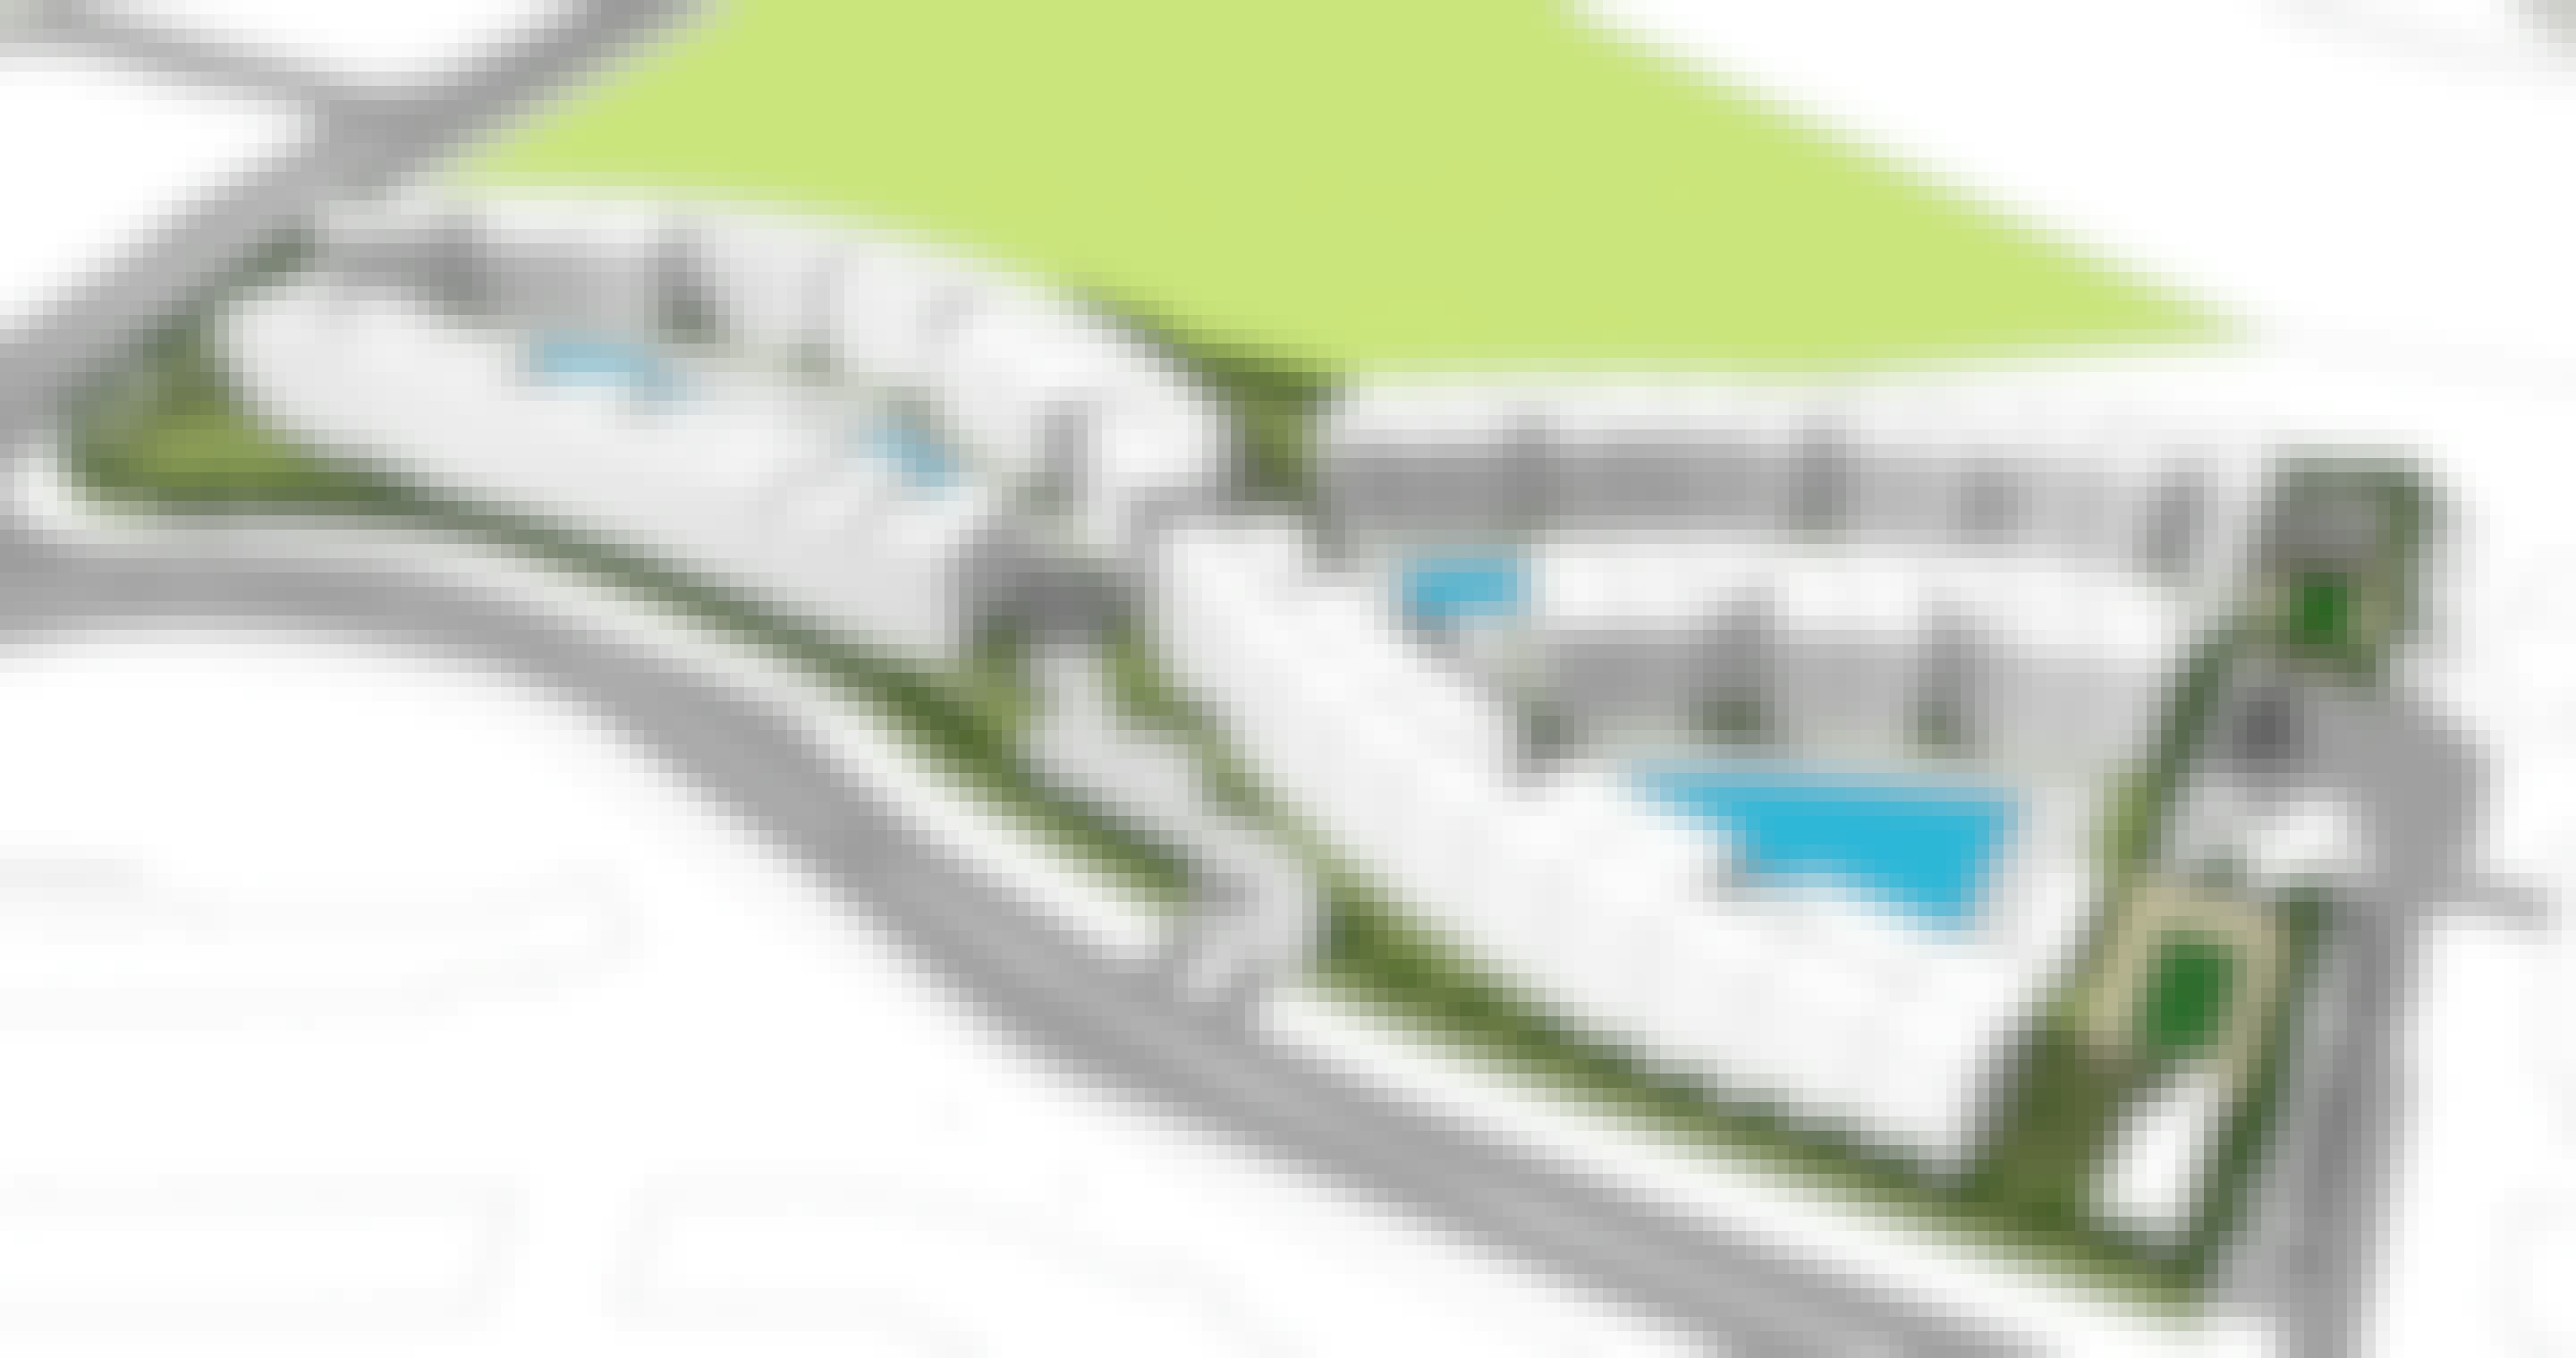
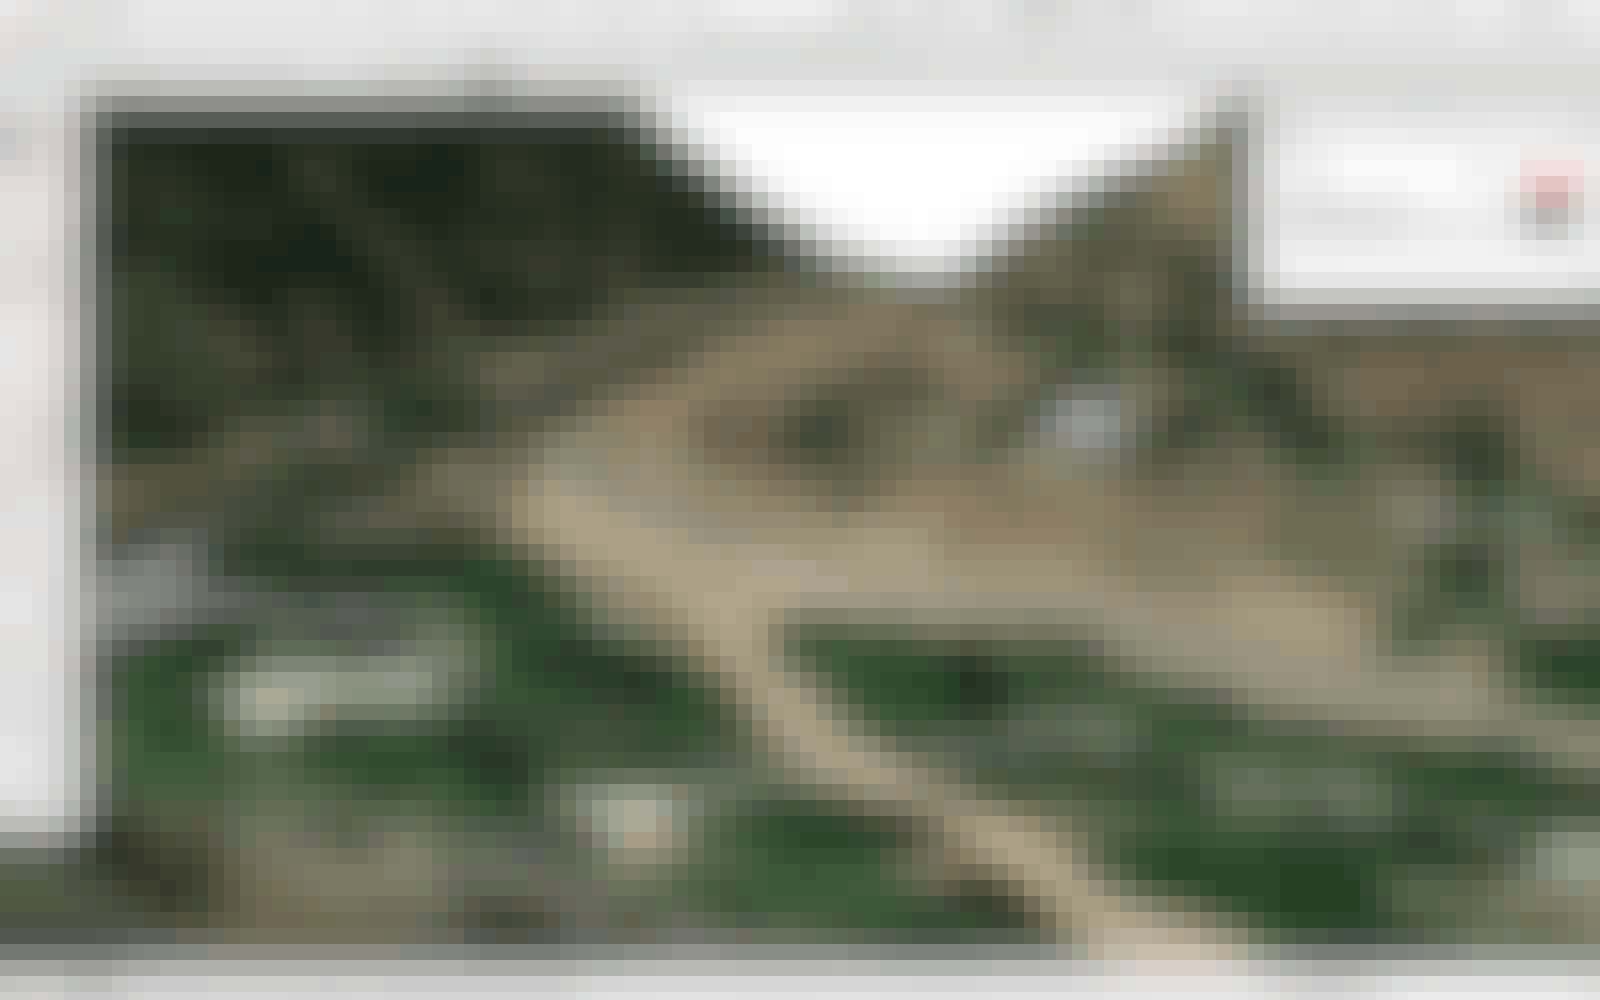
Beyond knowing how your 3D model will situate into the environment around it, it can be important to know what will be in sunlight or in shadows for a given date and time.
Once you’ve geolocated your model, you can use SketchUp’s Shadows feature to set the date and time.
And then you can make design decisions that will provide more shade, or let more sunlight in.
Want to see how sunlight and shadows will track across the environment over the course of the day or year?
No problem:
You can create shadow studies that animate the path of the shadows from morning to evening.
You probably have an app on your phone that comes with photo filters, where it takes just a single tap to give your picture a whole new look and feel.
SketchUp’s Styles feature is similar, only a lot more powerful.
Want to present your 3D model as more of a conceptual sketch?
No problem.
Or you’d rather give it a more artistic, watercolor-like look?
Done.
Or maybe you need to generate a more technical looking drawing?
Simple.
You can pick from a gallery of pre-made Styles. And, if you have SketchUp Go or SketchUp Pro, you can custom create your own, editing the look of your model's Edges, Faces, Background and more.
In SketchUp, you don’t need to draw everything from scratch. Not when you can grab 3D models of almost anything you could possibly need from the 3D Warehouse.
3D Warehouse is a website that contains millions of SketchUp models that are free to download directly into your 3D model.
For example:
If you’re modeling a building, you can search for all of the products and materials you’d like to include.
You can even search for brand names - many companies offer their entire product catalog, and other SketchUp users contribute real-world products as well.
So you can go from your bare 3D model,

to one that’s all dressed-up and ready to go without having to create everything yourself.
But the Warehouse isn’t just for building products:
If you can dream it, it’s probably already on the 3D Warehouse.
To start browsing and downloading 3D models, you can visit the 3D Warehouse website, or access it directly inside SketchUp:
One of the things that makes SketchUp so popular is that it works well with other tools you or your colleagues are already using.
Specifically, SketchUp can export many different file types that can be used by other applications.


So an architect can export a .dwg file to open in AutoCAD or Revit... while someone interested in 3D printing their model can export a .stl file to send to the printer.
If you need to get your SketchUp model into another program, this feature will be especially important for you.
With your phone, you’ve been told “there’s an app for that!”.
Well, with SketchUp, you have a similar situation:
You can add apps called “Extensions” to give SketchUp new powers to solve a wide variety of problems.
You can add Extensions that do simple, useful things like round or bevel corners.

Or you can find ones that do harder things like create complex, organic shapes.

Or even ones that analyze the energy performance of your model.

Basically, anytime you run into a problem you can’t seem to solve with SketchUp’s native tools, there are two main places to search for extensions that can help: SketchUp's Extension Warehouse and Sketchucation's Plugin Store.
As awesome as it can be to orbit around your SketchUp model, it’s a little more cumbersome to try to fly around it during a client presentation.
To give your clients a better experience, you can use SketchUp’s Animation feature to create engaging walk-through or fly-through tours that you either click through like a 3d slideshow, or that you save as a video file you can share or play on the big screen.
One of the most popular kinds of animations to create is a walking tour through each room in a building, guiding a client to imagine what it would feel like to walk through the real space.
But some SketchUp users really push the boundaries, creating animations that show changes in the model - for example, showing the phases of construction over time.

Once you’ve created a 3D model in SketchUp, chances are that you’ll need to produce a set of scaled drawings or presentation documents.
And whether you need to create a dimensioned floor plan, a series of labeled diagrams and details, or a full set of detailed construction documents - LayOut is the tool for the job.
Here's how it works:
In SketchUp, you set-up a scene of your model - a plan view for example.
Then in LayOut, you document that view by adding dimensions, labels and text.
And in LayOut, you also have tools for creating custom graphics, importing photos, creating title blocks... and basically anything else you might need to create a compelling presentation.
(Note: If you want to learn more about using LayOut to create detailed construction documents, jump to Chapter 6)
LayOut is a powerful application in-and-of-itself and we highly recommend that you invest time into learning the fundamentals well.
As with learning SketchUp, if you’re serious about using LayOut on the job, you should either search for a class from a trusted instructor, or opt for an online video course library membership (which includes LayOut classes).
When your job calls for a SketchUp model that includes the landscape - either the existing features or the stuff you are designing - you’ll be thankful for the Sandbox Tools.
With the Sandbox tools, you can create 3D terrain from scratch or generate it from imported topography files.
And then use them to overlay site elements.
Clearly the Sandbox tools were made with Landscape Designers in mind.
But they can also be used to create other organic or undulating surfaces, making them useful to SketchUp users across most industries.
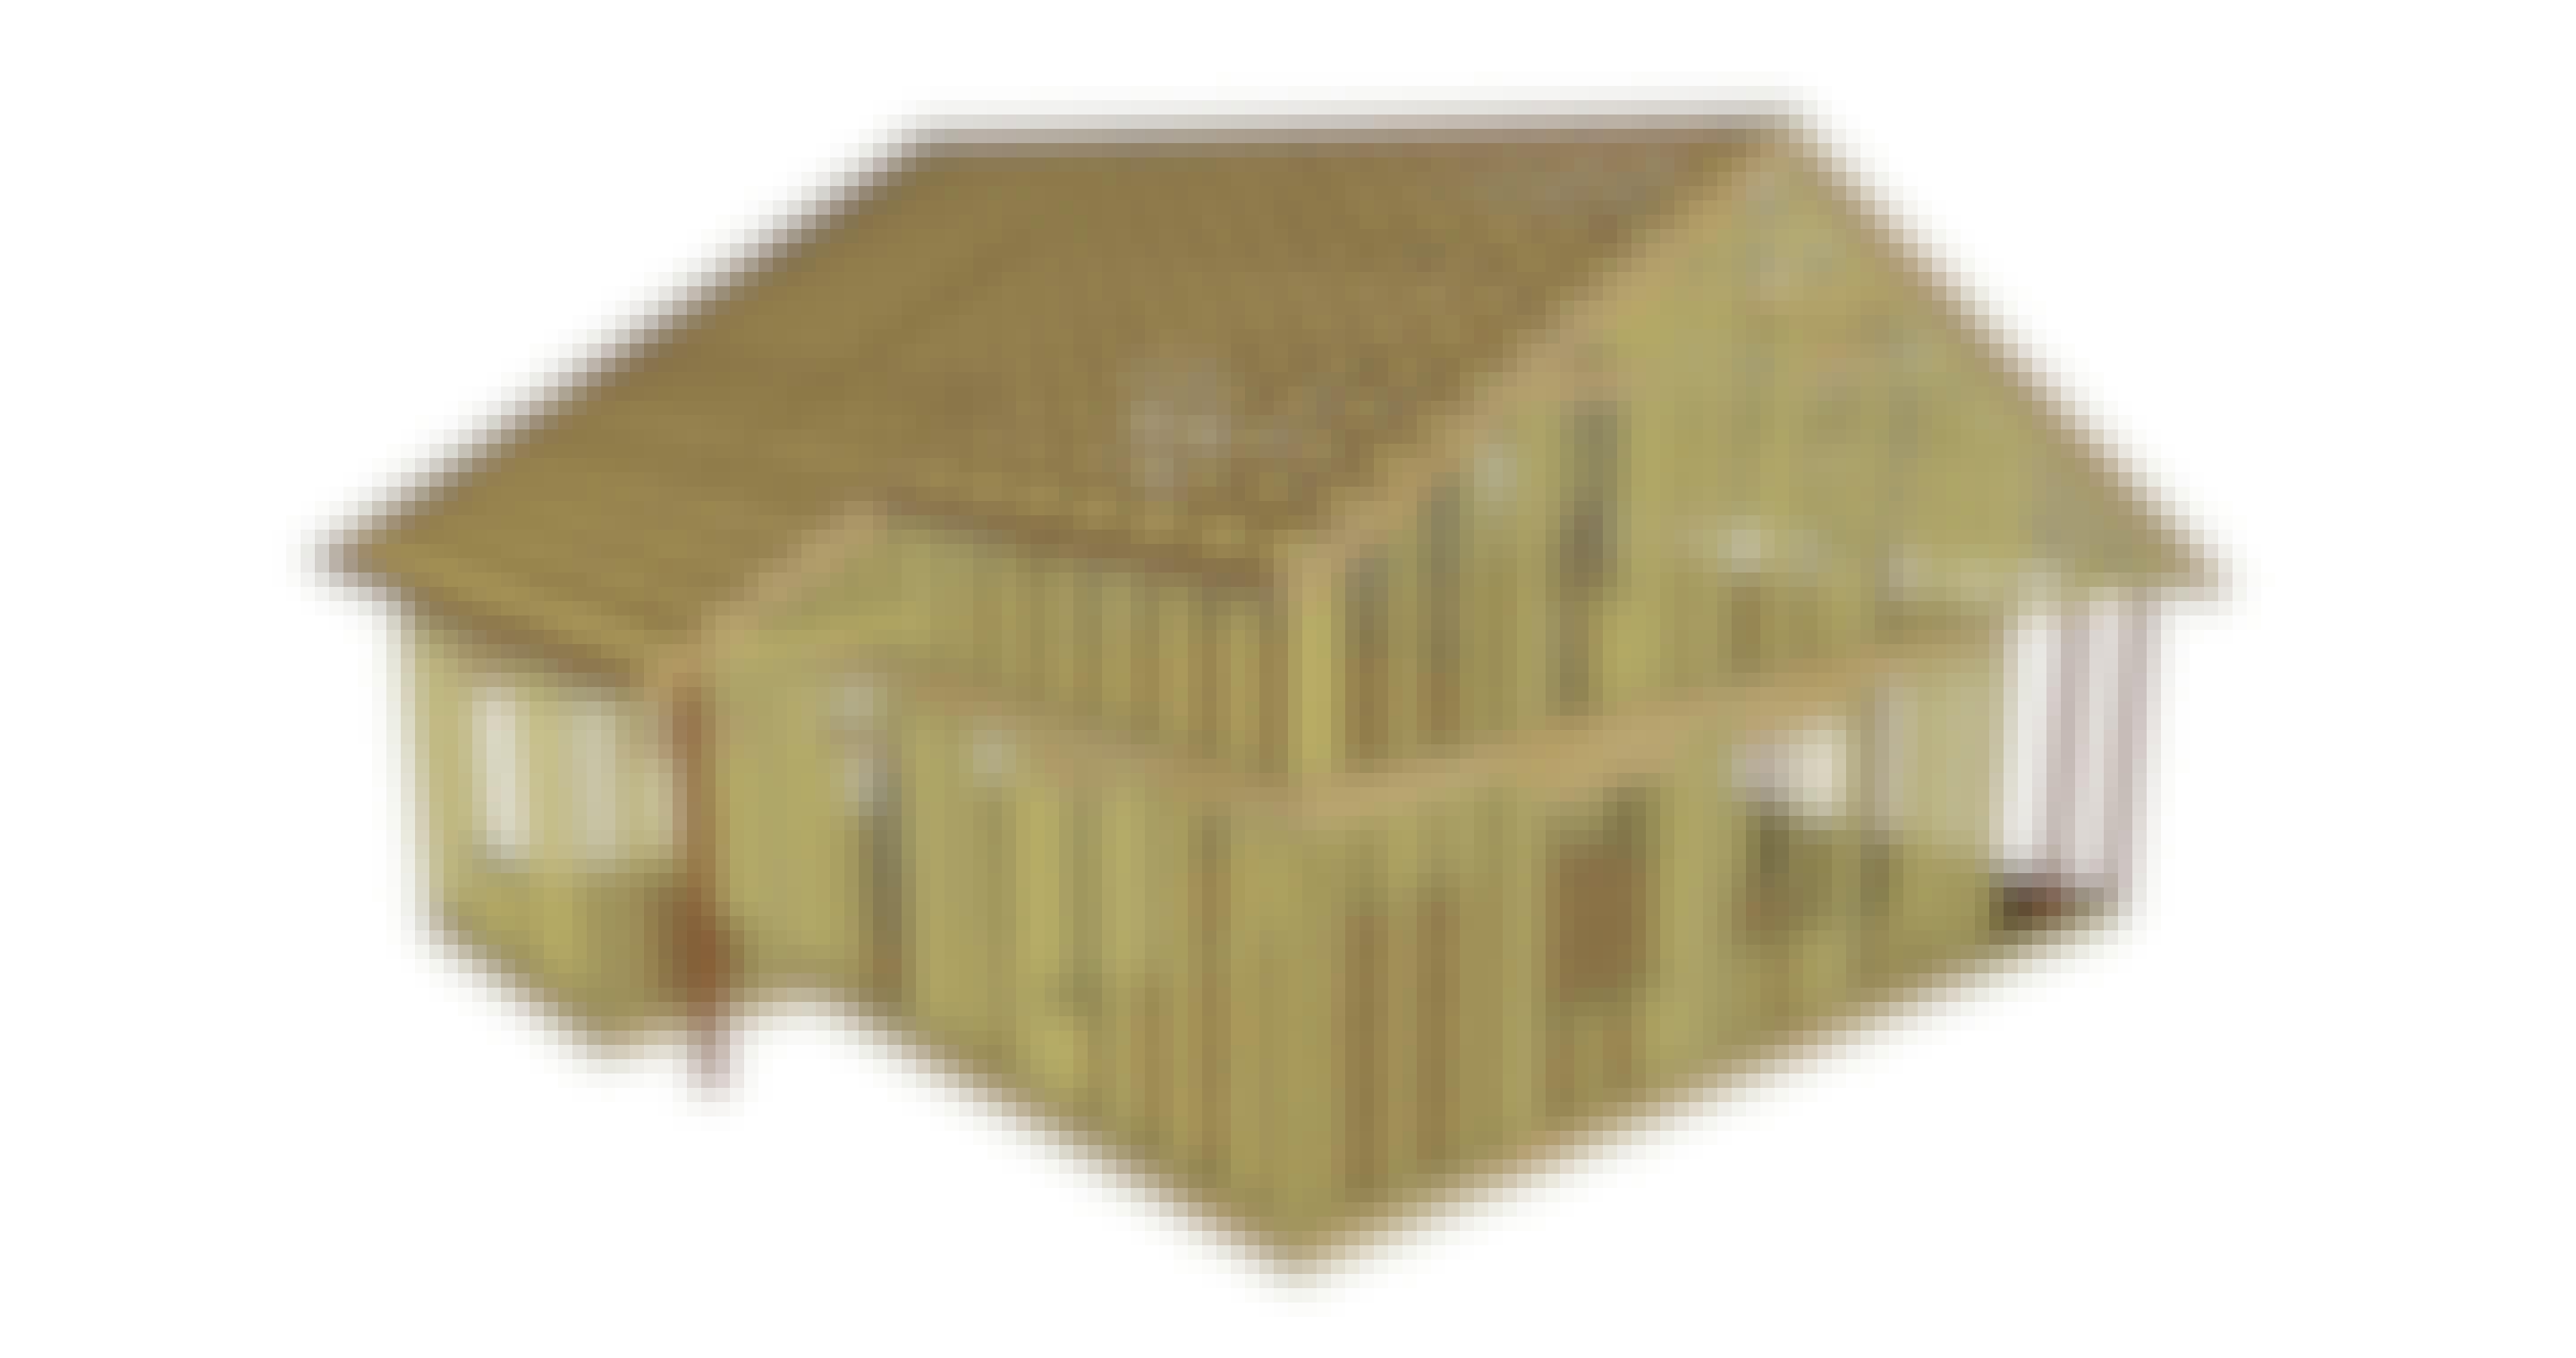
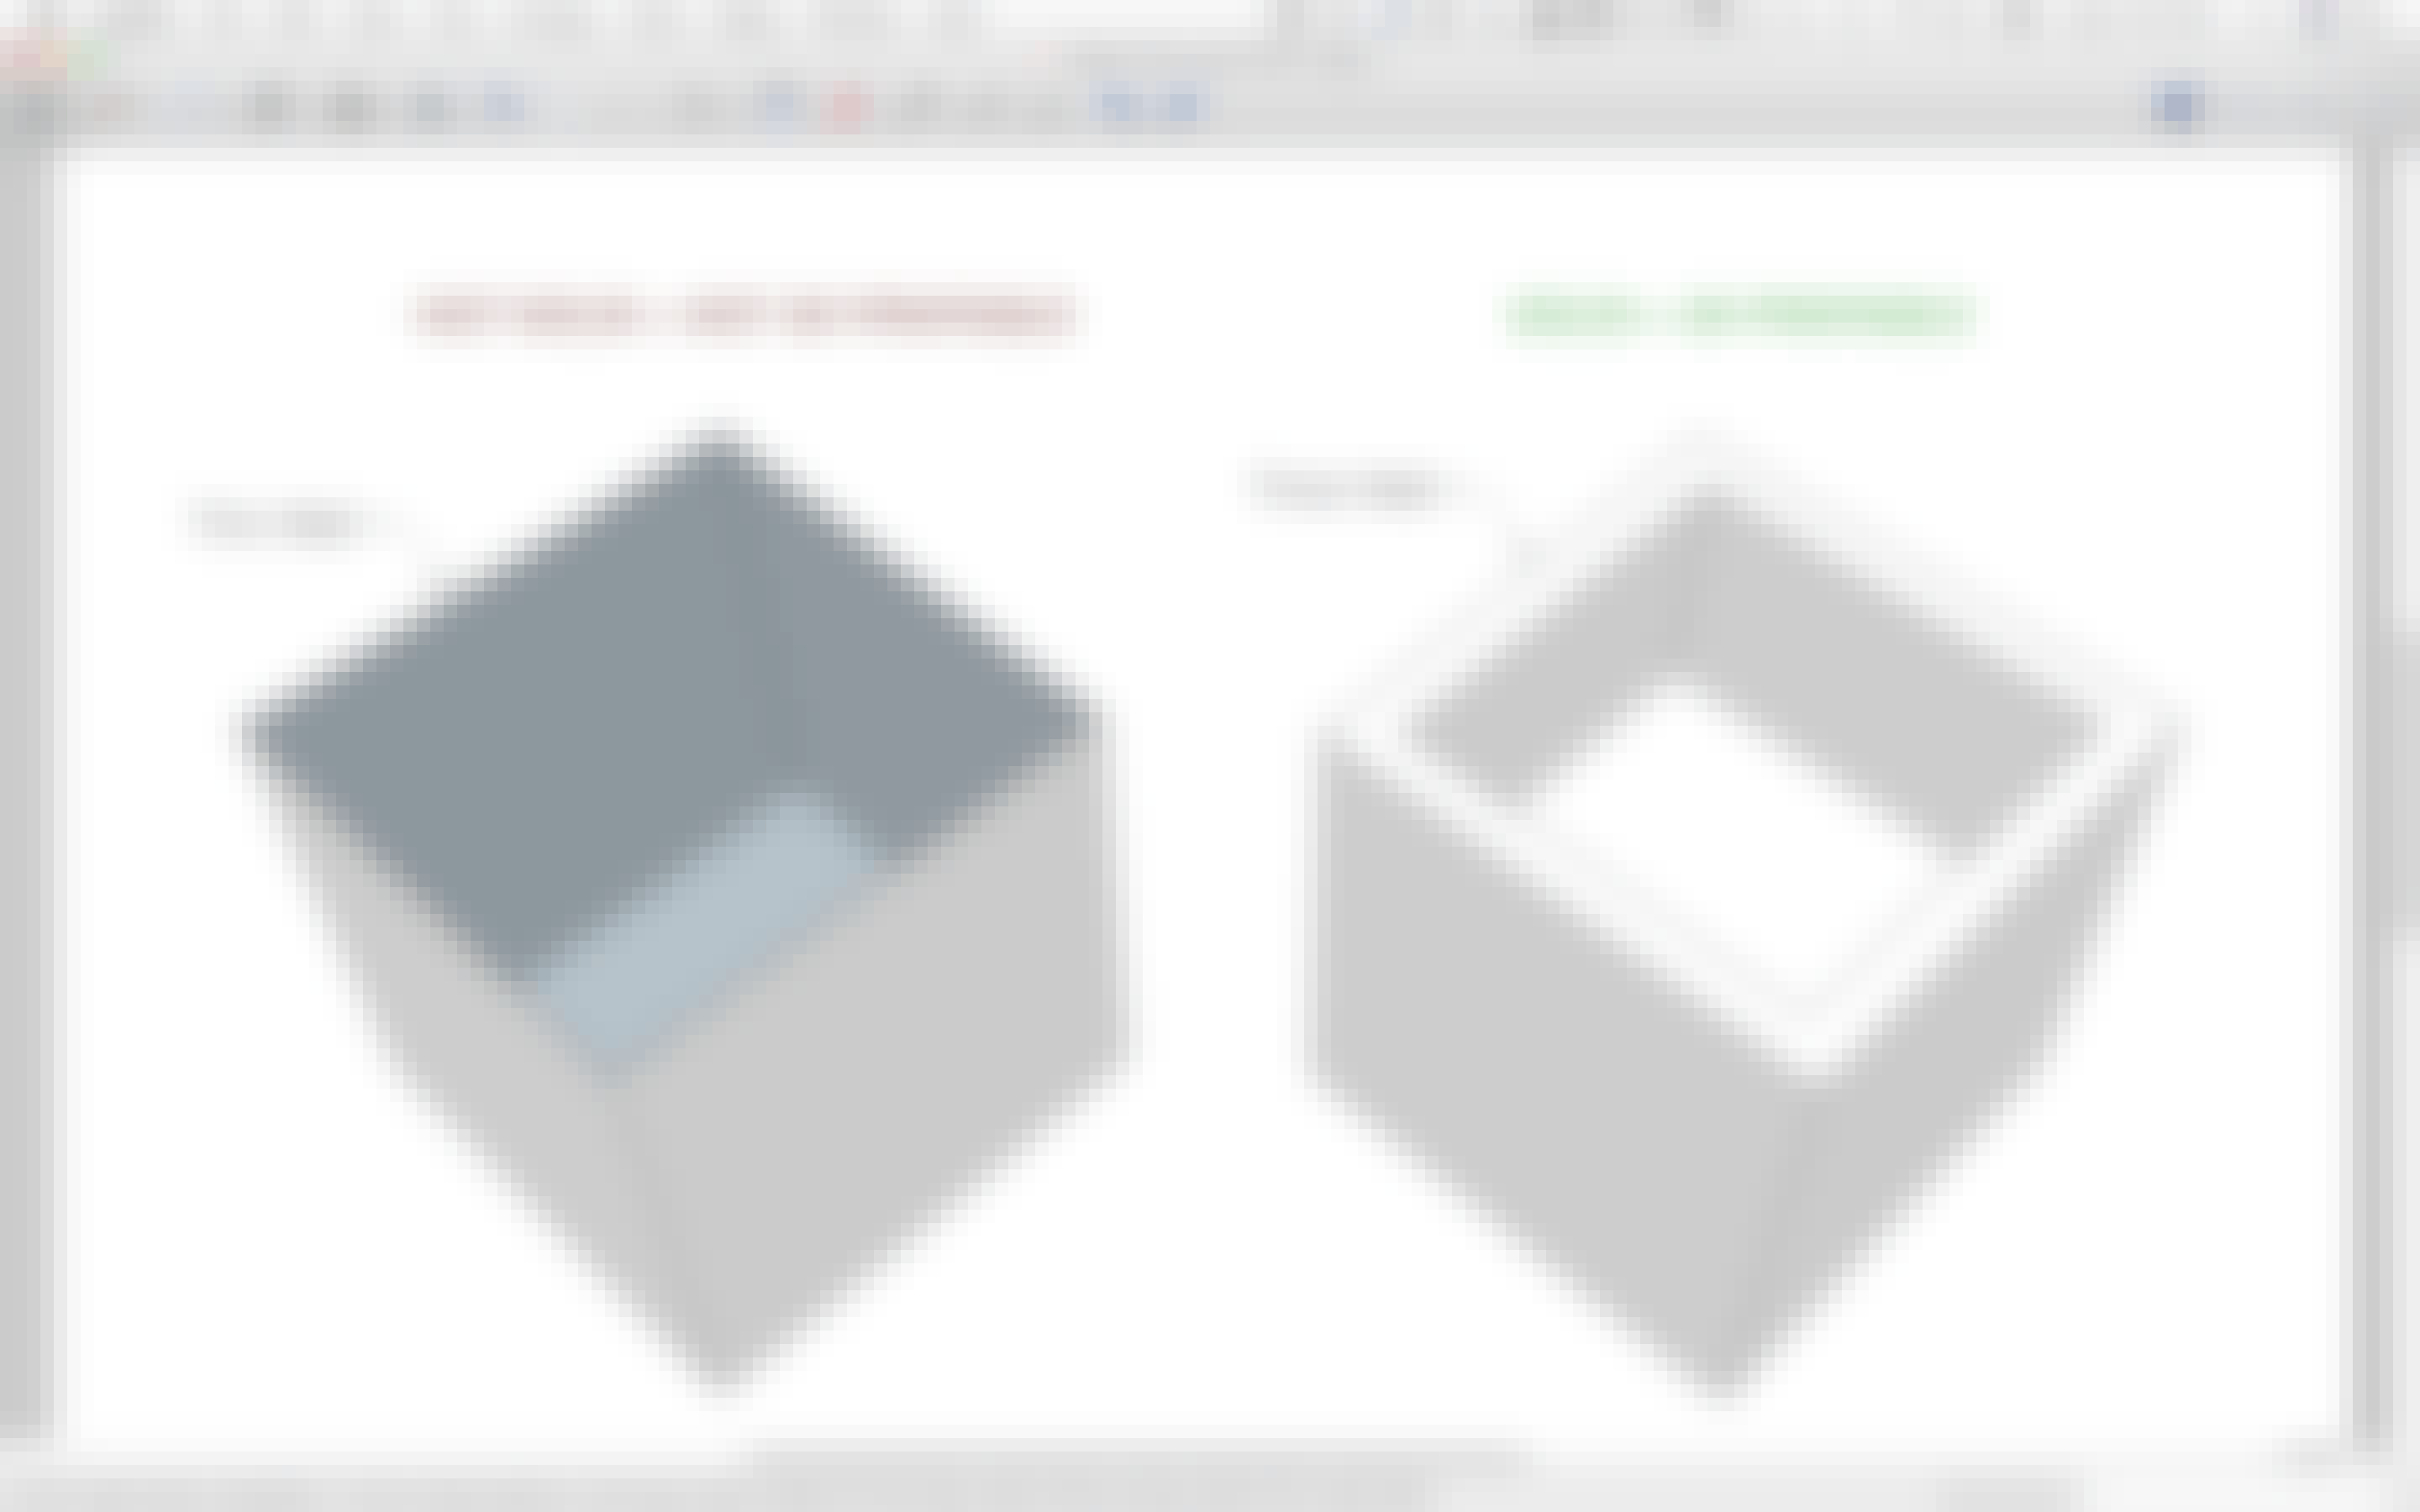
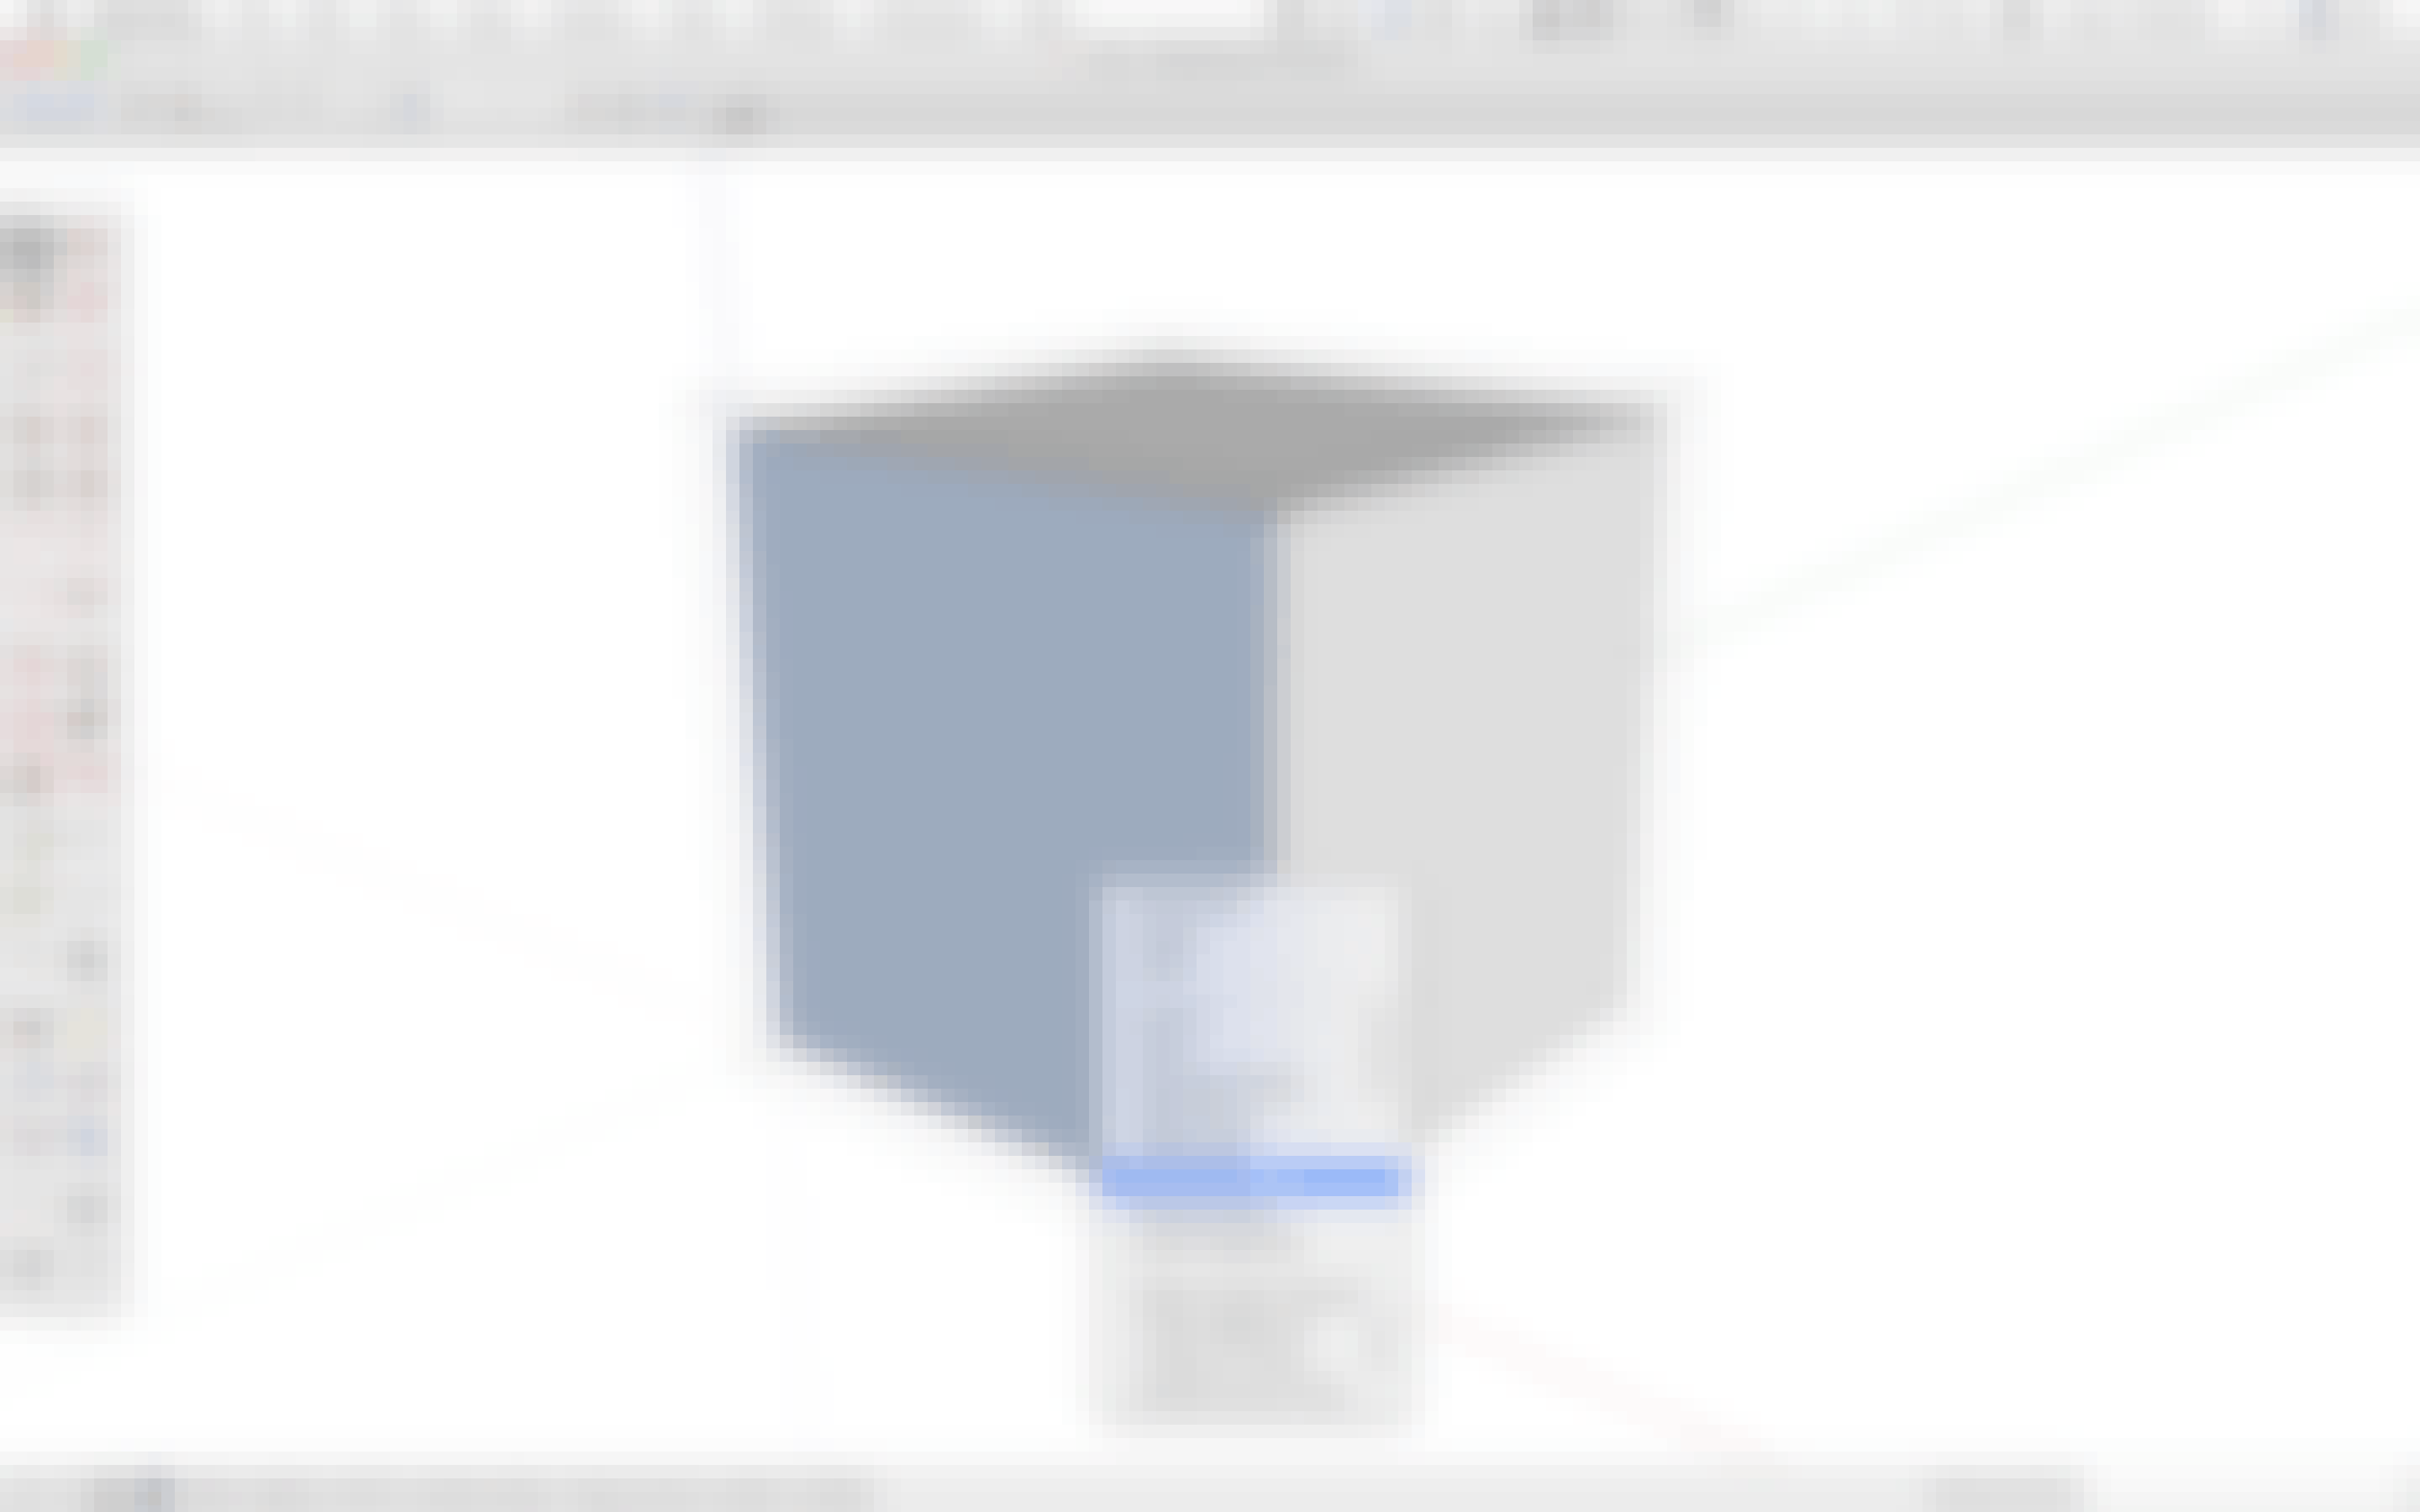
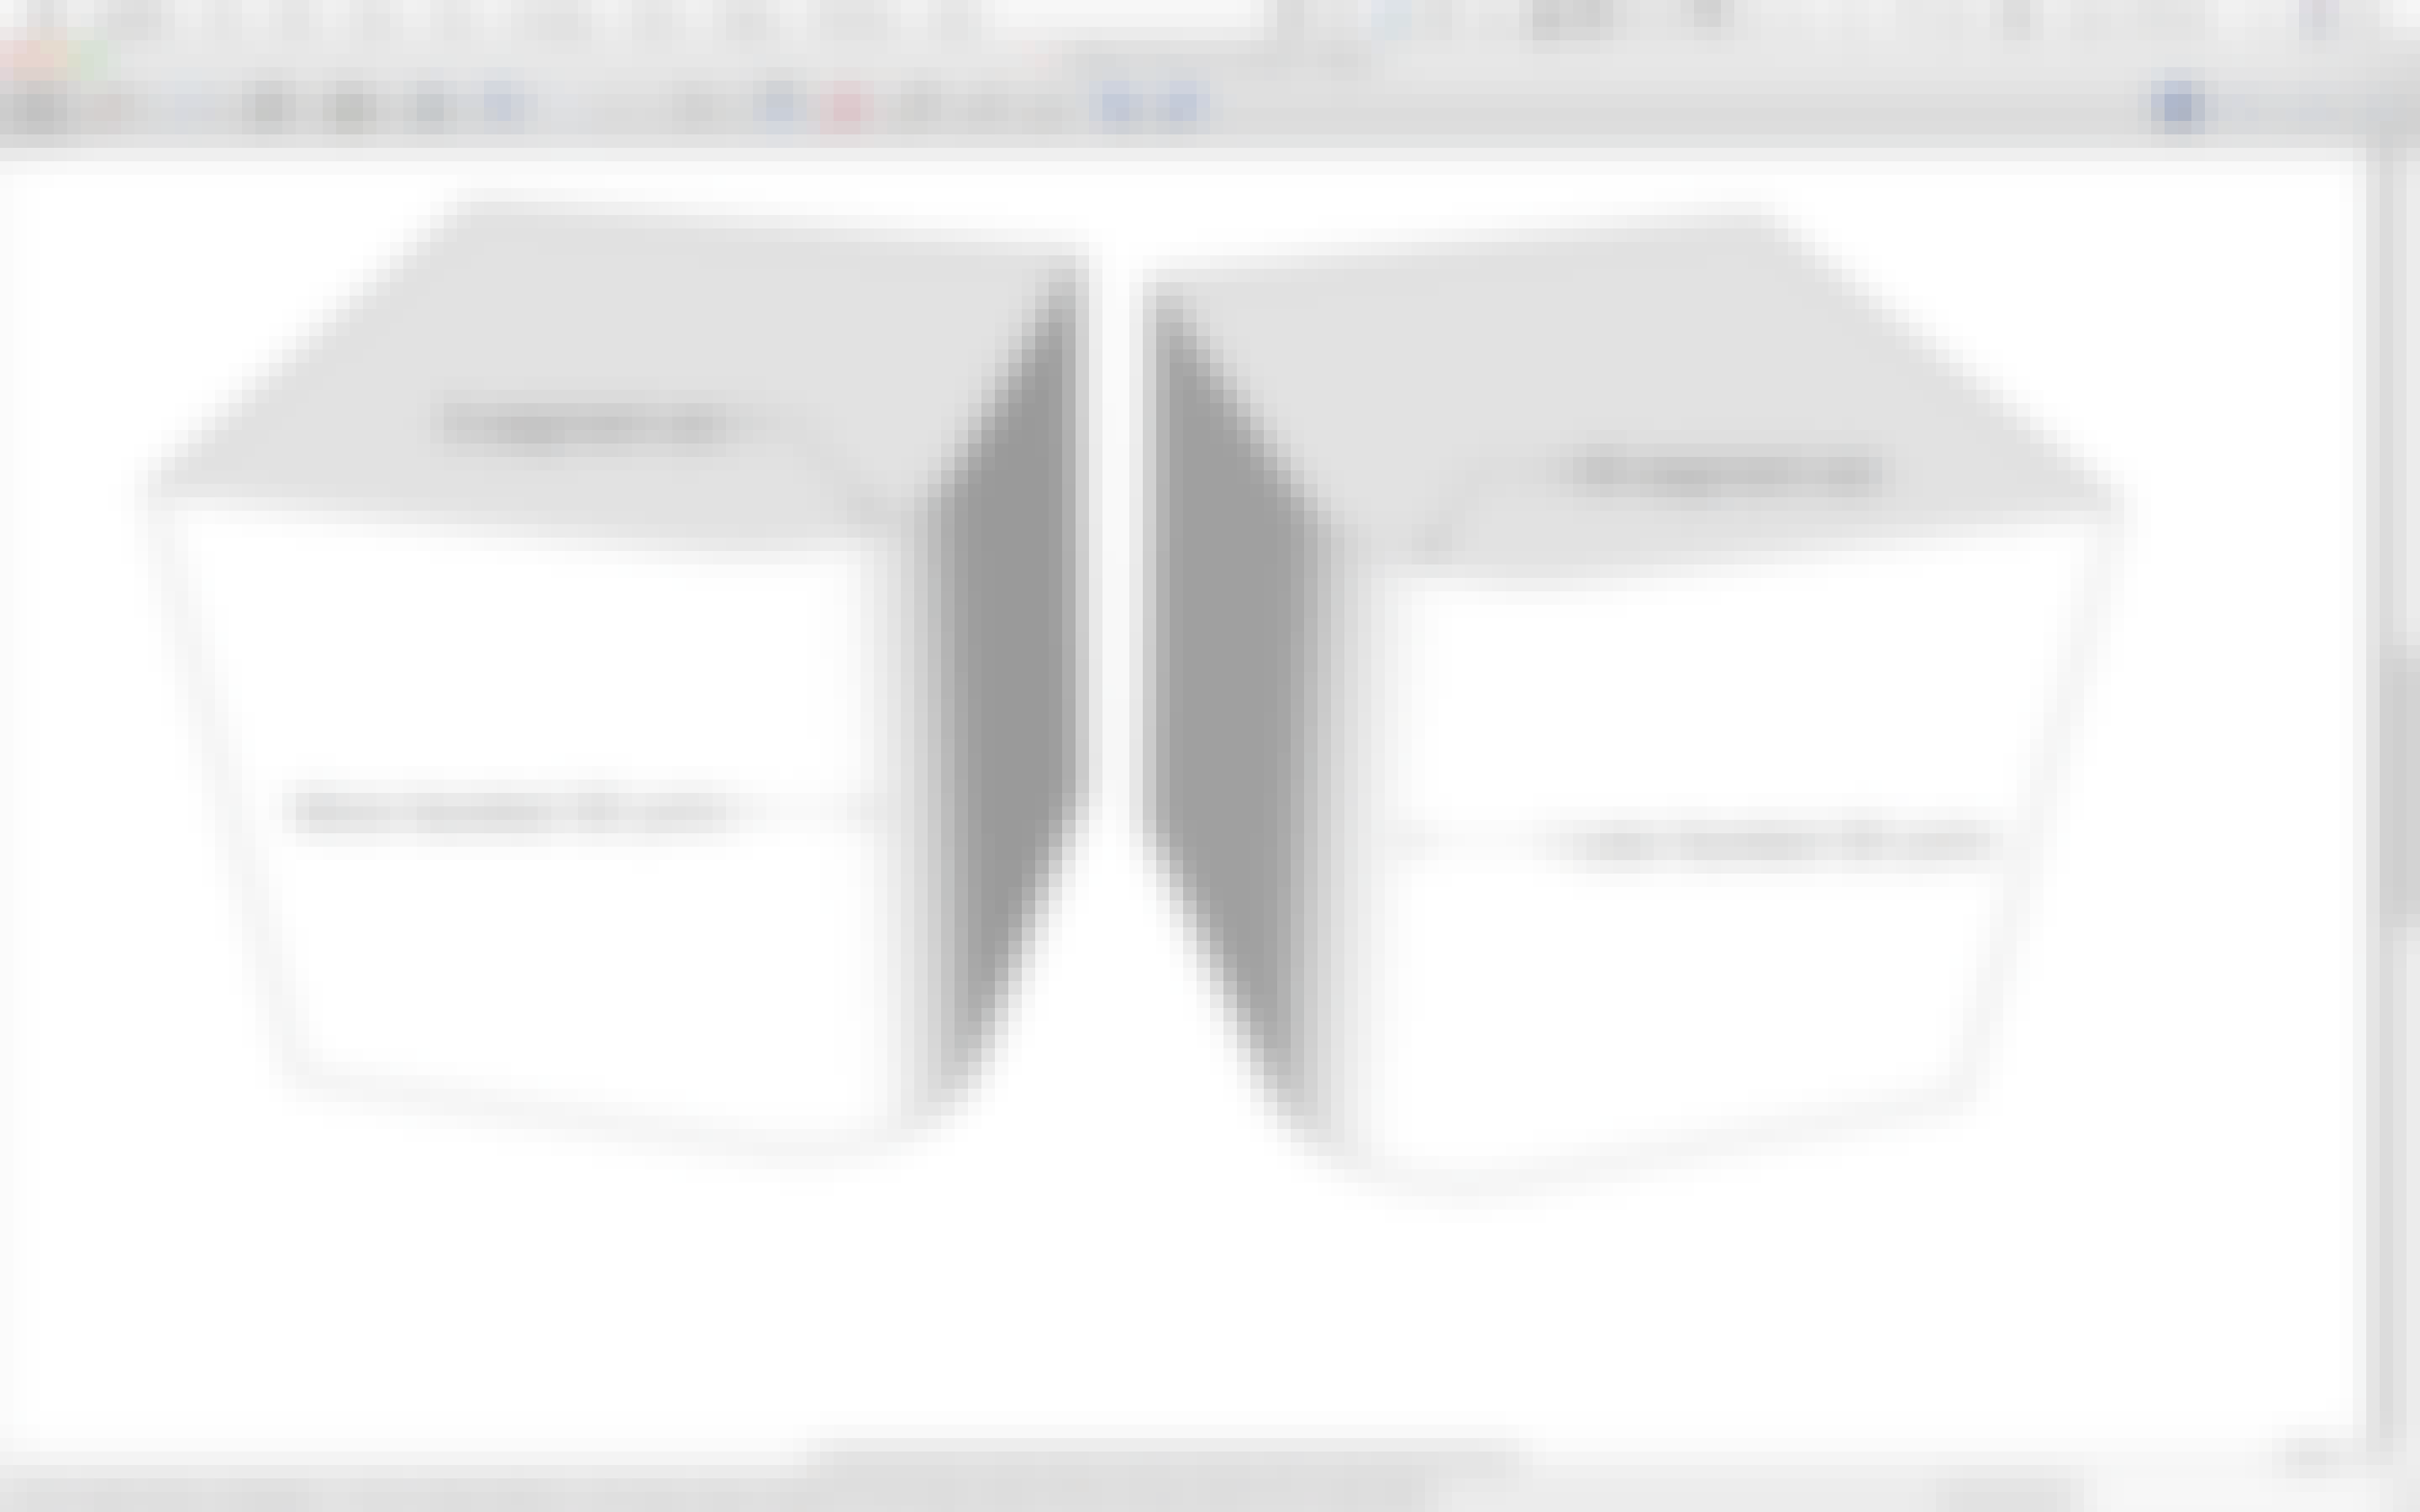
Some jobs require you to create a “Solid” model. A solid model is commonly described as a watertight model.
Take a cube for example:

If it has all six sides in tact, and they are all attached at the edges, it’s a solid.
But if it is missing a side,

or the edges don’t meet up,

water would leak out (if it was filled with virtual water!), which means it would not be a solid.
This sort of thing is important when you want to create a 3D model that can be 3D printed.
Or when you’re relying on getting accurate volume calculations.
Enter the Solid Tools: They help you take existing solids and combine them to create more complicated solid models.
For example:
You can use one solid to cut another to create accurate joinery.
Or you can take an object made of several parts and combine them into a single, solid outer shell for 3D printing.
(Note: For more information about 3D printing, jump to Chapter 8: Creating Models for 3D Printing)
In SketchUp, objects that you might use more than once, in the same 3D model or in a future project, are typically turned into Components.
The types of objects that become components might even represent real-world products - things like cabinets, fencing or sliding glass doors.
In the real world, those sorts of products usually come in a variety of configurations of color, shape, size, material and more. But SketchUp components can only represent one configuration.
Take a cabinet for example:

A SketchUp component of a cabinet might be for the 36” wide option. If you wanted to use the 48” wide option instead, you’d need to have an additional component to represent that size.
Unless the cabinet was made as a Dynamic Component...
A Dynamic Component of the cabinet can be programmed to be shown in either the 36” or 48” wide configuration.
At the same time, it can also be programmed to show different color and material options, different door and drawer configurations and even different styles.
It gets better:
You also can program behaviors that tell the doors to swing open or the drawers to open when clicked.
And you can add information like the product name, price, description, links to the product website and more.
But the cabinet is just one example.
A fence might be programmed so that when someone uses the Scale tool to stretch it across the yard, it automatically adds extra slats and posts (rather than warping).
And a Dynamic Component of a sliding glass door system might let the user enter a custom width and height that will dynamically change the component to fit the opening in their house model.
There are just a couple things to understand about Dynamic Components:
1) You can use Dynamic Components someone else created
Many people and companies have uploaded their Dynamic Component models to the 3D Warehouse. You can download them into SketchUp Pro just like you would with a regular component, then use the Dynamic Component tools to interact with and configure them.
To find Dynamic Components in the 3D Warehouse, start by opening the 3D Warehouse dialog

Then search for something like “cabinet”.

Then click the switch next to Dynamic Components.
And download the one you like.
2) Or you can create your own Dynamic Components
It’s definitely a more advanced skill to learn, but worth the time if it will save you or your customer a bunch of time.
When you’re working in SketchUp, you’re essentially looking through a camera at your 3D model.
But what kind of camera?
And where exactly is it located?
If these questions are important to you, then you need the Advanced Camera Tools.
These tools allow you to specify the exact camera type you want to look through - say a 35mm digital camera for example.
Then you see black bars that indicate which parts of your model will be in the shot given the position of your camera.
And they place a physical camera in your model so you can actually see where the camera would sit.
This feature is incredibly useful for Production Designers, Art Directors and Set Designers in the Film, Stage & Entertainment industries as they can visualize which elements of the set will be seen on camera before having to build it out.
There are two ways the Advanced Camera Tools help you specify which type of camera you’ll be using:
1) You can select from a list of cameras
2) Or, you can create your own custom camera, specifying the Focal Length, Aspect Ratio and Image Width

Once you’ve selected your camera, you have access to traditional camera moves such as Pan, Roll, Tilt, Dolly, Truck and Pedestal.
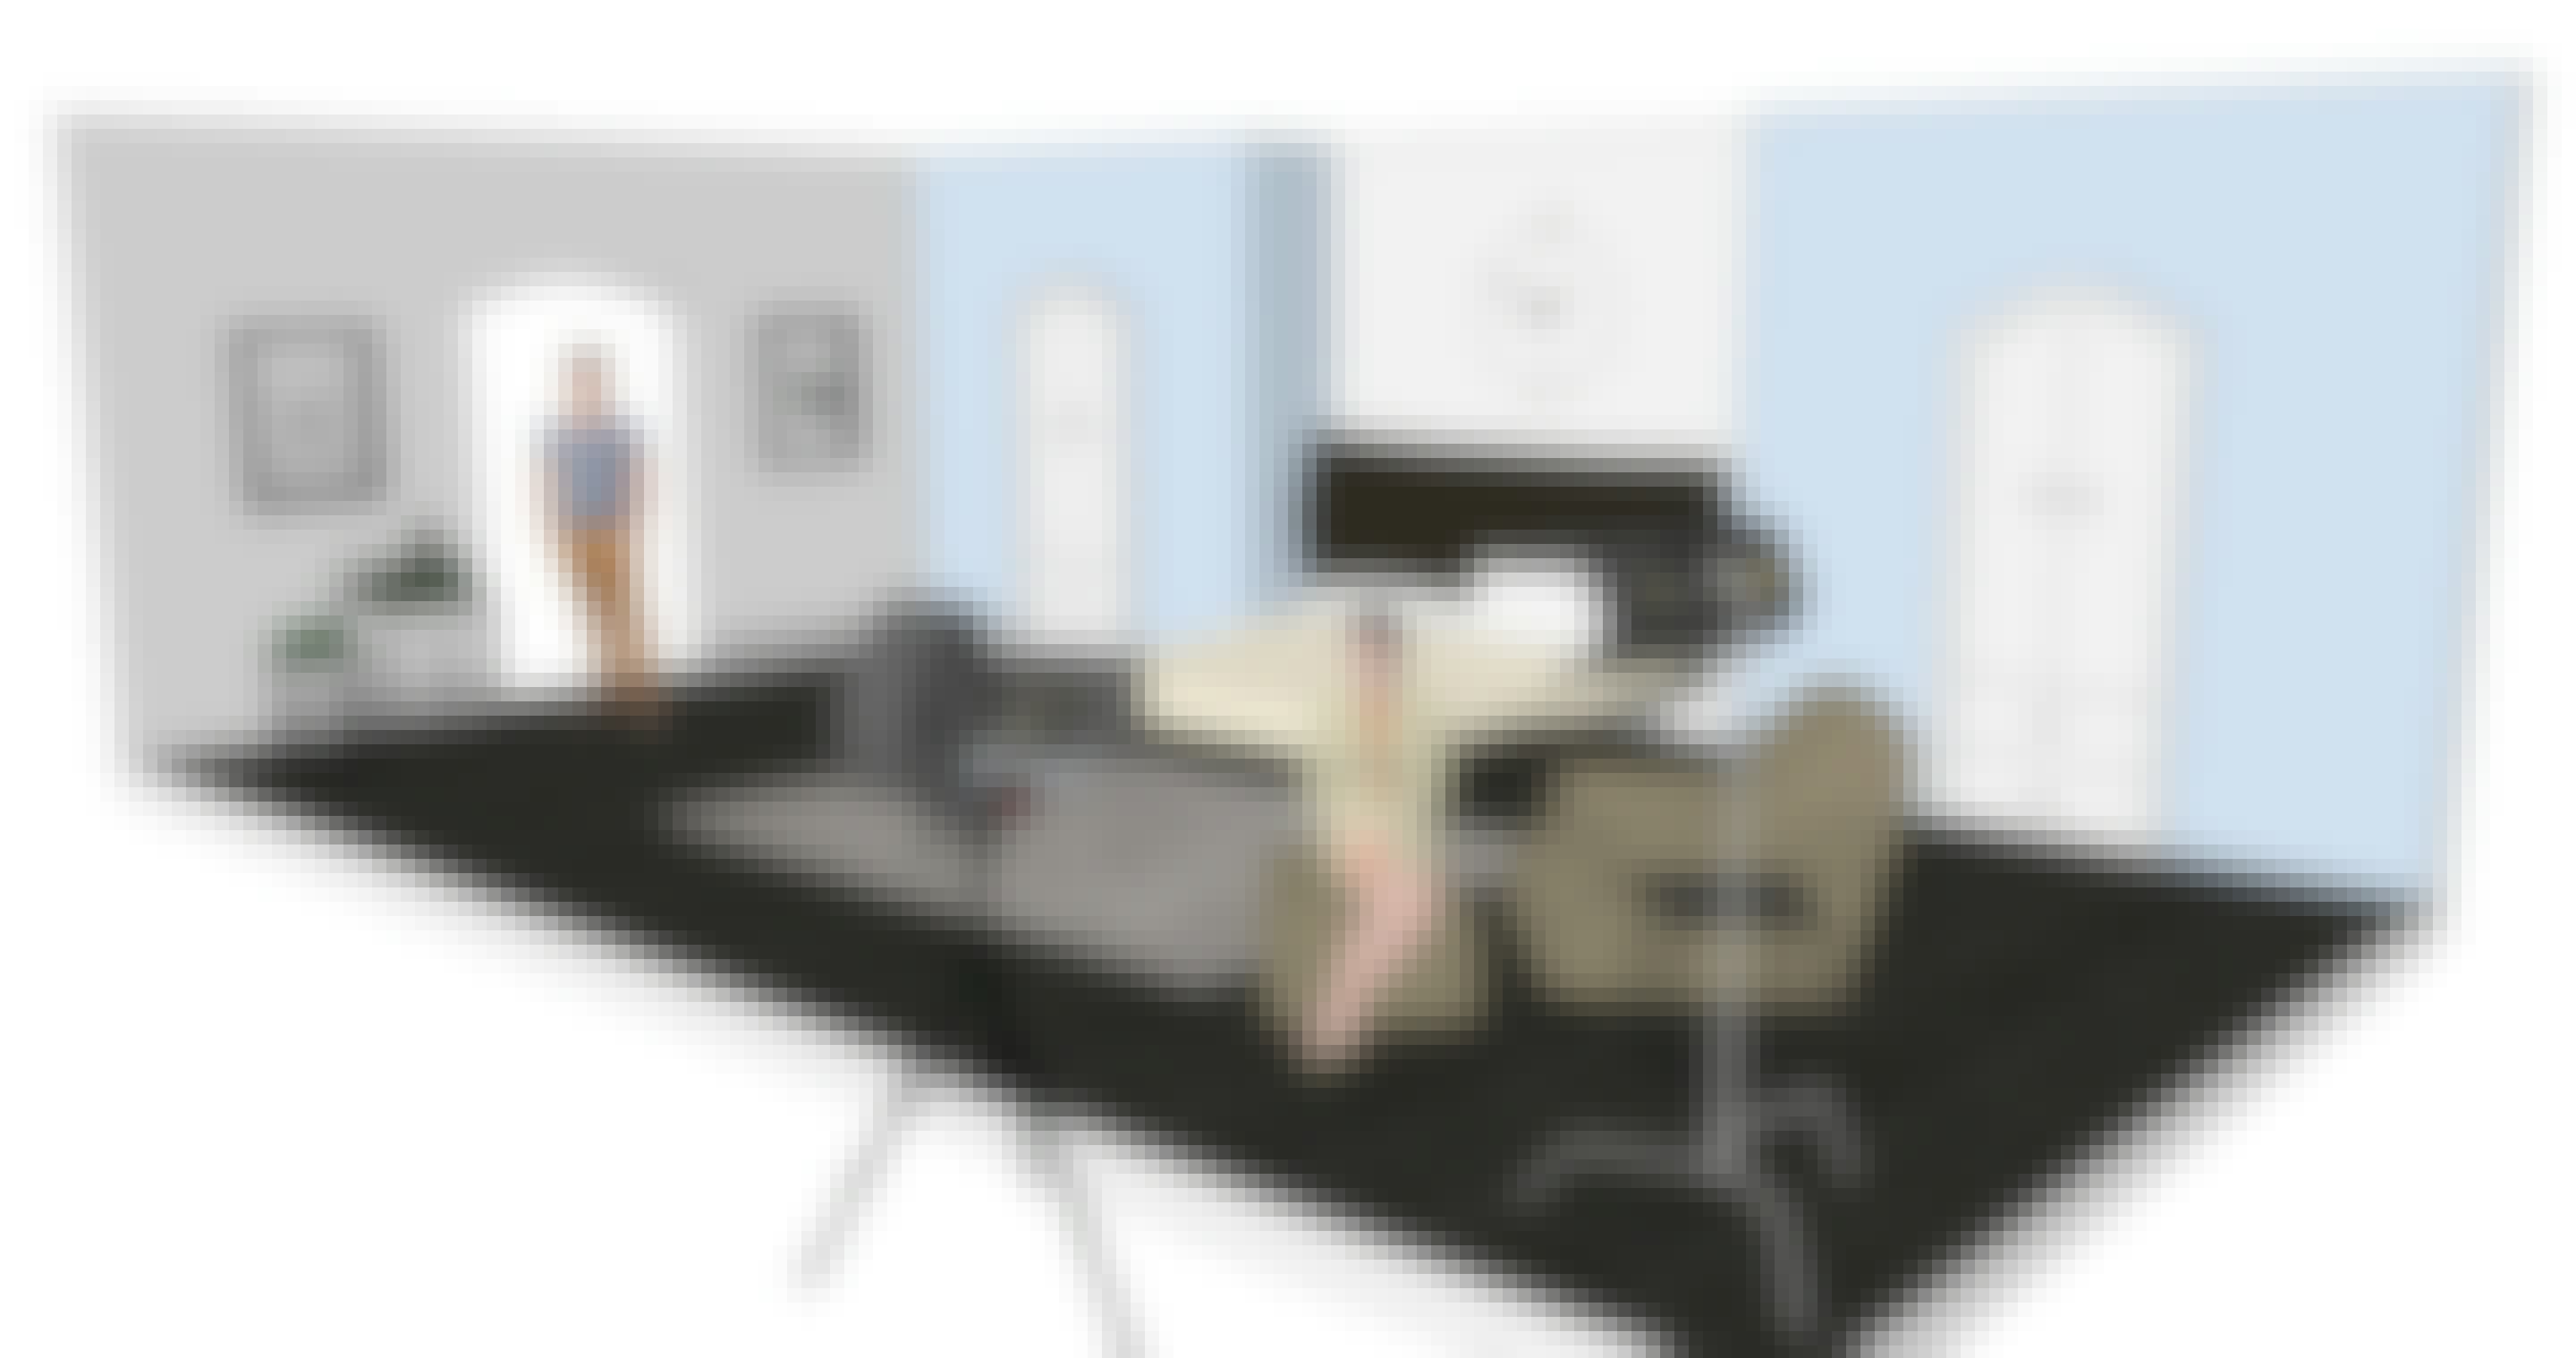
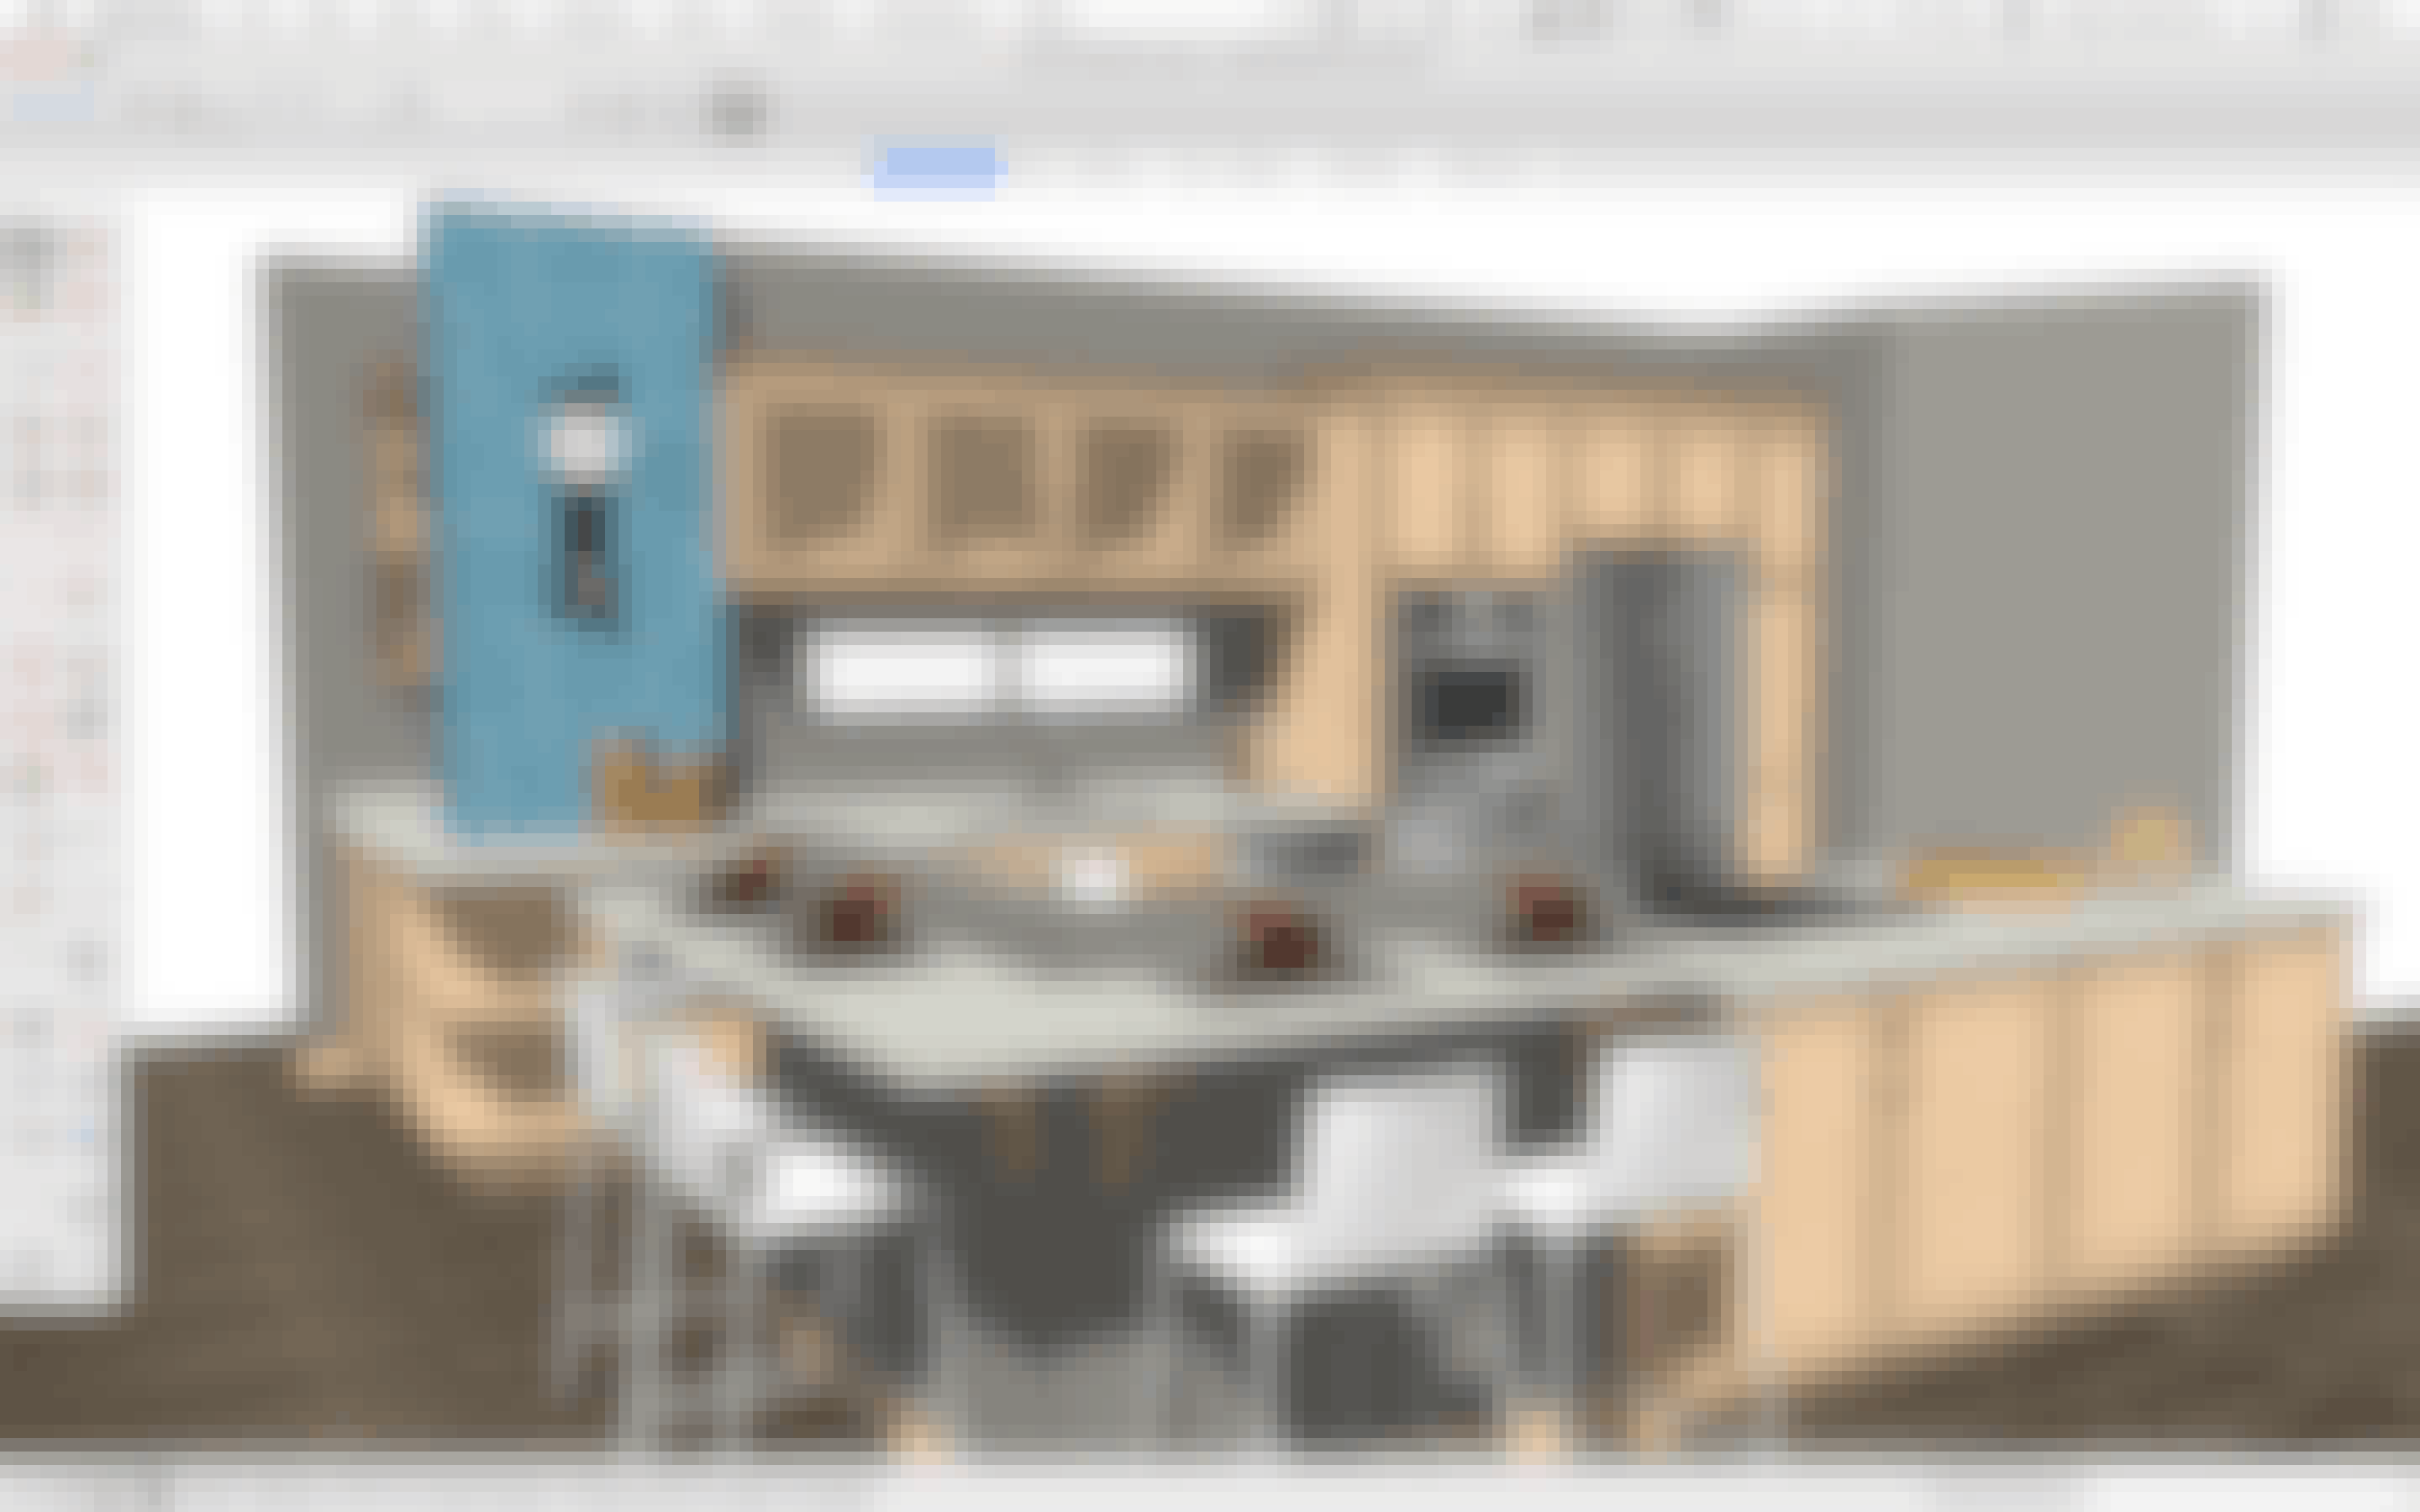
When you’re designing something new, or remodeling an existing space, it can be really helpful to show what your design will look like in the real-world.
That’s where SketchUp’s Match Photo feature comes into play:
You can take a photo of the existing condition and then use it to help you overlay your 3D model into the context of the environment.
This is a huge win for someone who’s an Interior Decorator looking to help a client visualize how furniture will look in an existing space.

And it’s also awesome for a Builder who wants to show how a new building will fit into the existing neighborhood.

And the fun doesn’t stop there: Match Photo allows you to take the opposite approach and use a photo as the basis for creating a 3D model of something in it.
For example: Let’s say you’re a Set Designer and you want to create a 3D model of a real-world building so you can re-design it as part of your film set. You take a picture of the building, then use Match Photo to set-up the photo so you can quickly build a 3D replica.

And then design-in your set elements!
When SketchUp looks at this model, what do you think it sees?
SketchUp is a tool for creating geometry. We use SketchUp to create geometry that represents real-world stuff. And naturally, we desperately want SketchUp to understand what our 3D models represent!
But out of the box, SketchUp doesn’t know anything about what we’ve created. It thinks the dresser is just a bunch of geometry.
Fortunately, SketchUp’s Classification and Reporting features can help us bridge the communication gap.
These features allow you to label objects with information about what they are.
Then, you can generate a report of the objects in your model and it will include the information you added.
And the list goes on.
Really, how you use these features will depend heavily on the type of work you do. So long as you input the right kind of information into your model, you can output reports that help you get the job done.
There are a few ways to input data:
1) Add data to Components via Advanced Attributes

2) Add data to Dynamic Components

3) Create your own Schema and add via Components Advanced Attributes
SketchUp comes preloaded with the IFC 2x3 schema. (IFC stands for Industry Foundation Classes, an open data model standard for building information.)
What’s a schema, you might ask?
It’s like an outline of how a group of things fits together.
So the IFC 2x3 schema allows people involved in Building Information Modeling to share data in a standardized way - where a “door” in one software can be understood to be a “door” in another software.
If that’s important to you, you can classify objects via Advanced Attributes since the IFC 2x3 schema comes preloaded.
But what if you have another classification system, or schema, in mind?
Let’s say you have a catalog of Furniture and inside you have the furniture types of bed, dresser and nightstand. You could create a Furniture schema that allowed you to standardize the tagging of objects.
After adding data, create your report
When you've finished adding data to your SketchUp model, you can create a report template and generate a .csv report. It will contain all of the information you added, plus other things SketchUp already knows about your model such as quantity, length, volume and more.
(Note: For more information on reporting, jump down to Chapter 7: Creating Estimates, Takeoffs and More)
As you can probably tell by now, SketchUp is a very powerful tool that can do a number of amazing things.
If you take a closer look underneath the hood, you’ll see that SketchUp is equipped with a powerful plain text programming language called Ruby
Ok, but why should you care?
In SketchUp, you have access to a Ruby API (Application Programming Interface).
That means you can write lines of Ruby code that program SketchUp to do things.
What kind of things?
Well, there are three general types of problems the Ruby API can help you solve:
1) Automate repetitive tasks
For starters, you can program SketchUp to automate the kinds of tasks where you find yourself clicking hundreds of times in a fairly repeatable pattern.
For example, a project might require you to Push Pull thousands of shapes to various, specific sizes. A little bit of Ruby code could save a ton of time.
2) Customize data & reporting functions
You could also write some Ruby code to augment data reporting efforts.
For example, an contractor might want to program SketchUp to push bill of materials information into another project management software.
3) Create Computational Geometry
Finally, you can write Ruby code to help you produce "computational geometry" or 3D shapes and patterns that are nearly impossible to create by hand.
For example, an Architect might want to create and use mathmatecally derived patterns in their design.
Rather than figure out how to create these types of complex patterns by hand, it's far easier to write Ruby code that uses math functions to automatically create perfect patterns.
But these are just a few examples. You are only limited by your imagination.
If writing custom Ruby scripts is your kinda thing, be sure to take a look at the SketchUp Ruby API documentation and this list of helpful learning resources.
Find a topic you need to learn and jump right in!
This chapter will give you a clear idea of how rendering in SketchUp works, will help you choose the right rendering extension, and includes some helpful advice about an important step in the rendering process that people often miss.
Whenever you need to see more realistic light and reflections in your model, you’ll need a rendering extension.
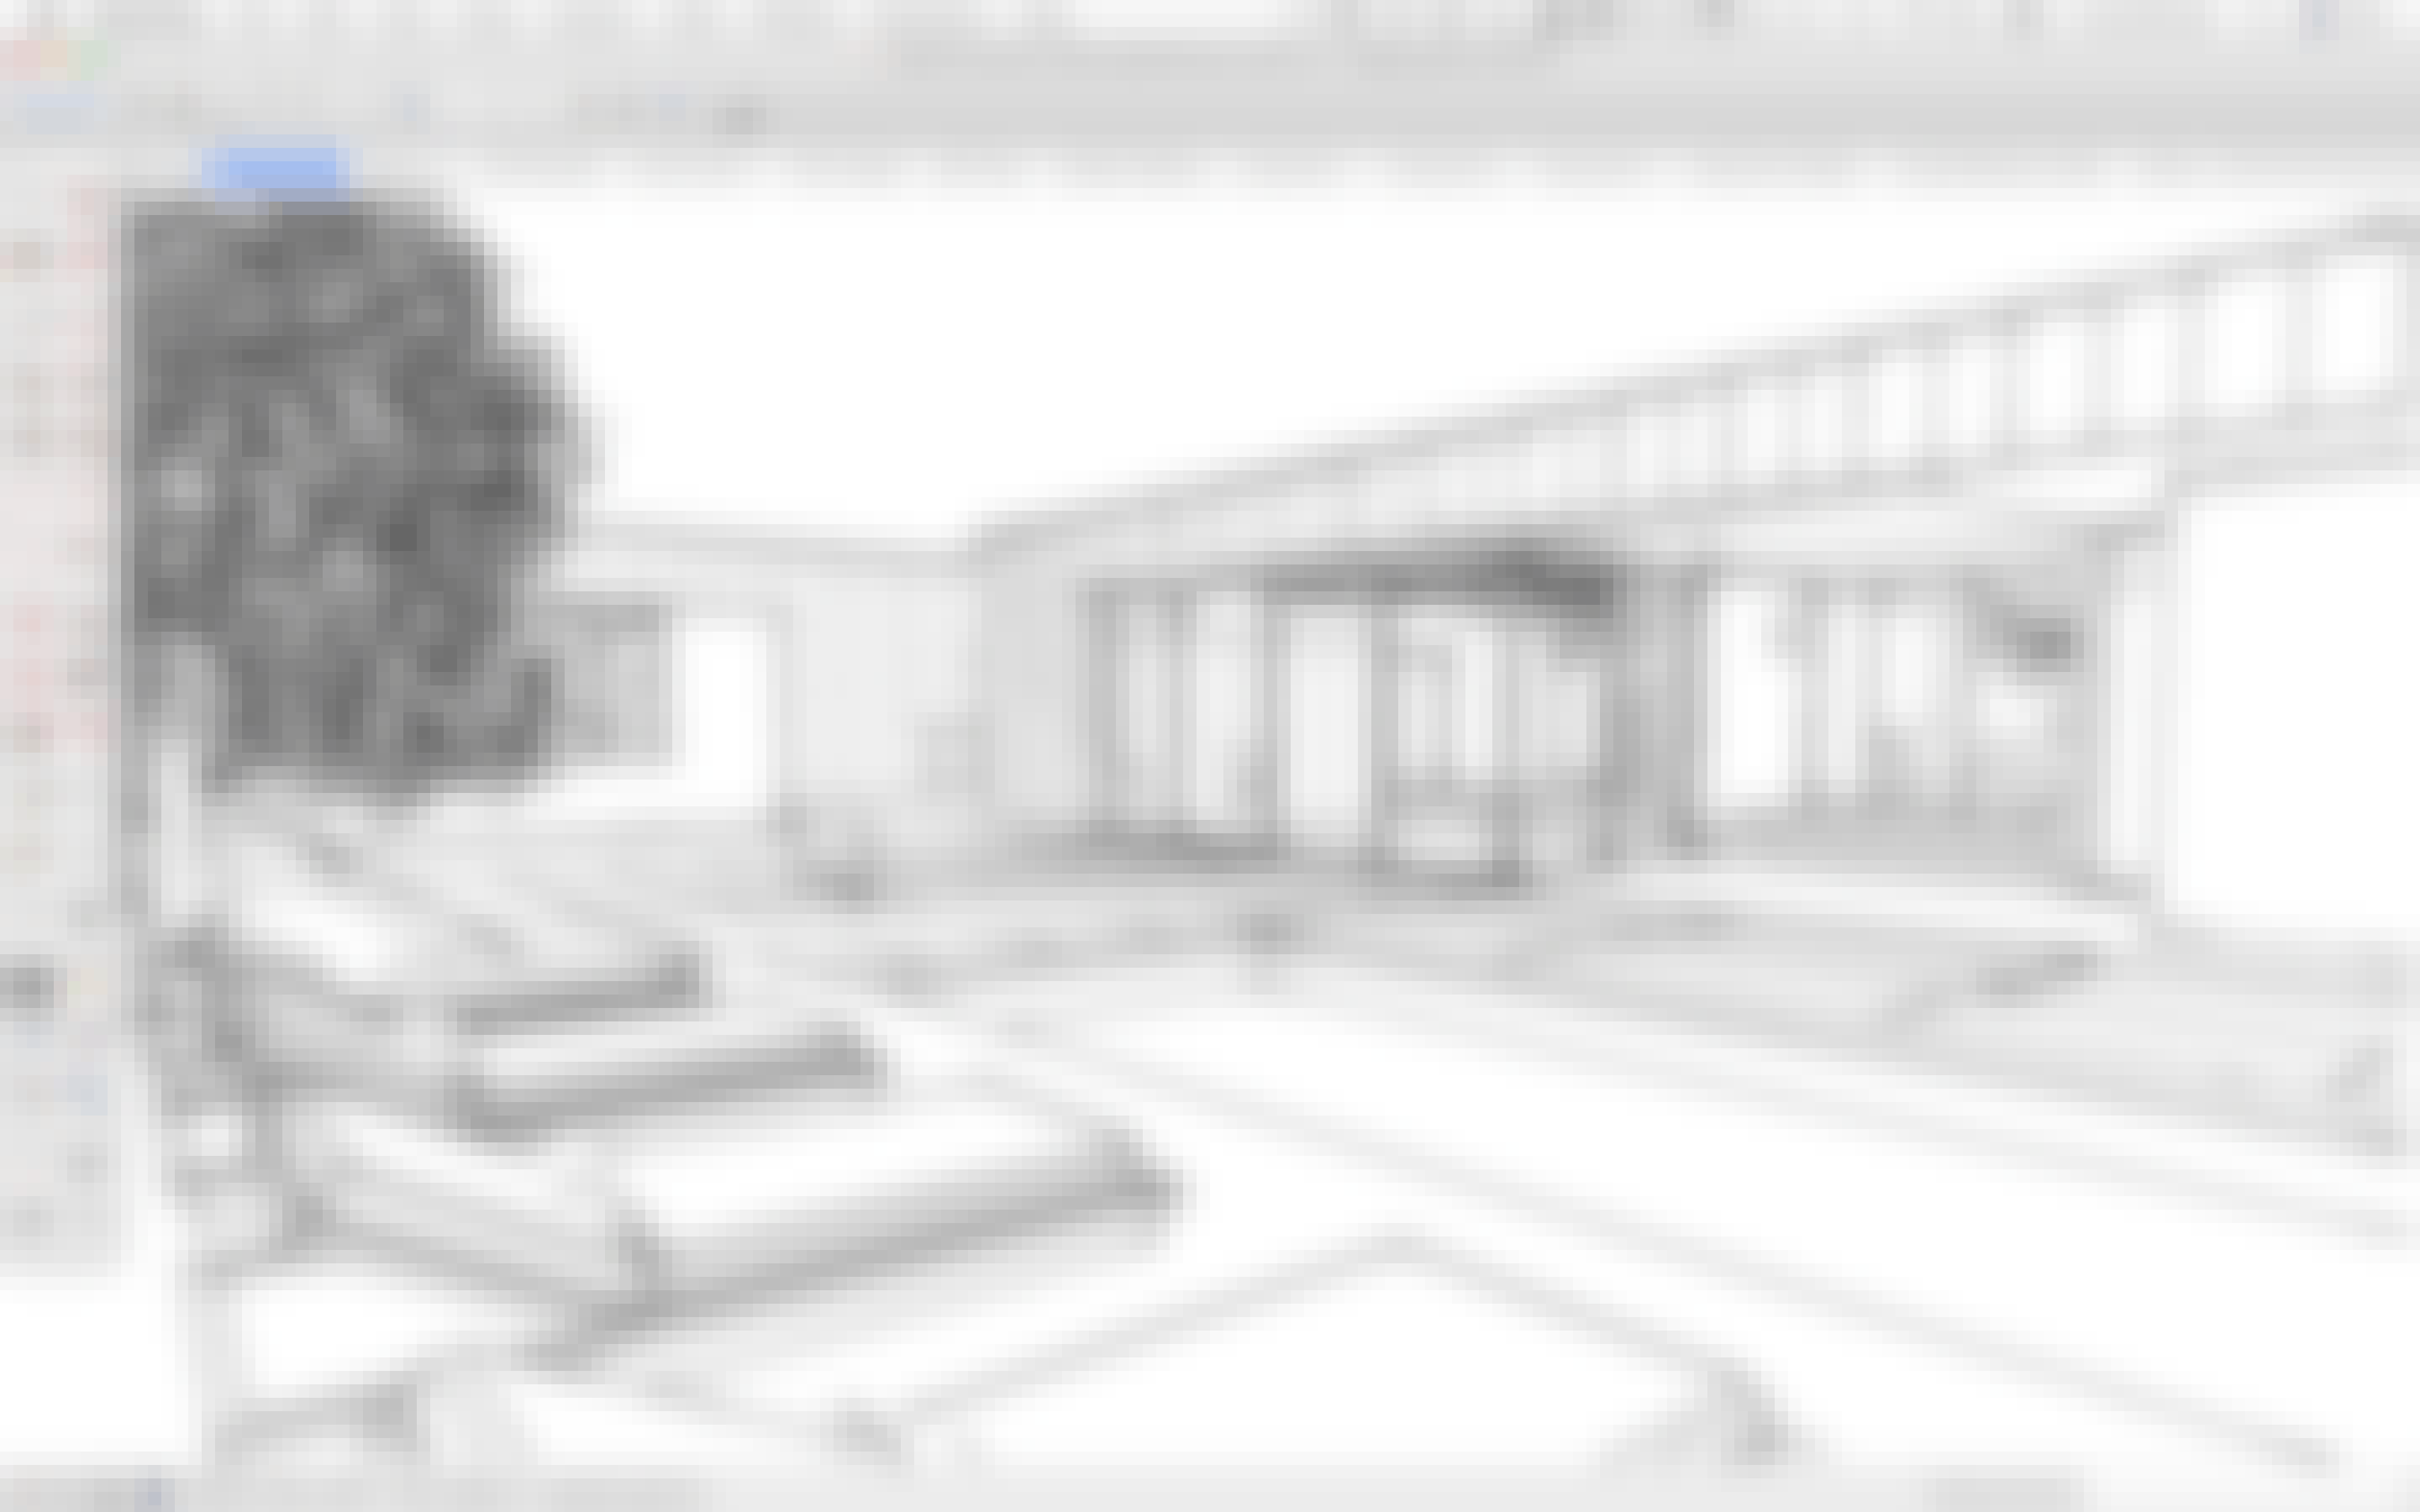
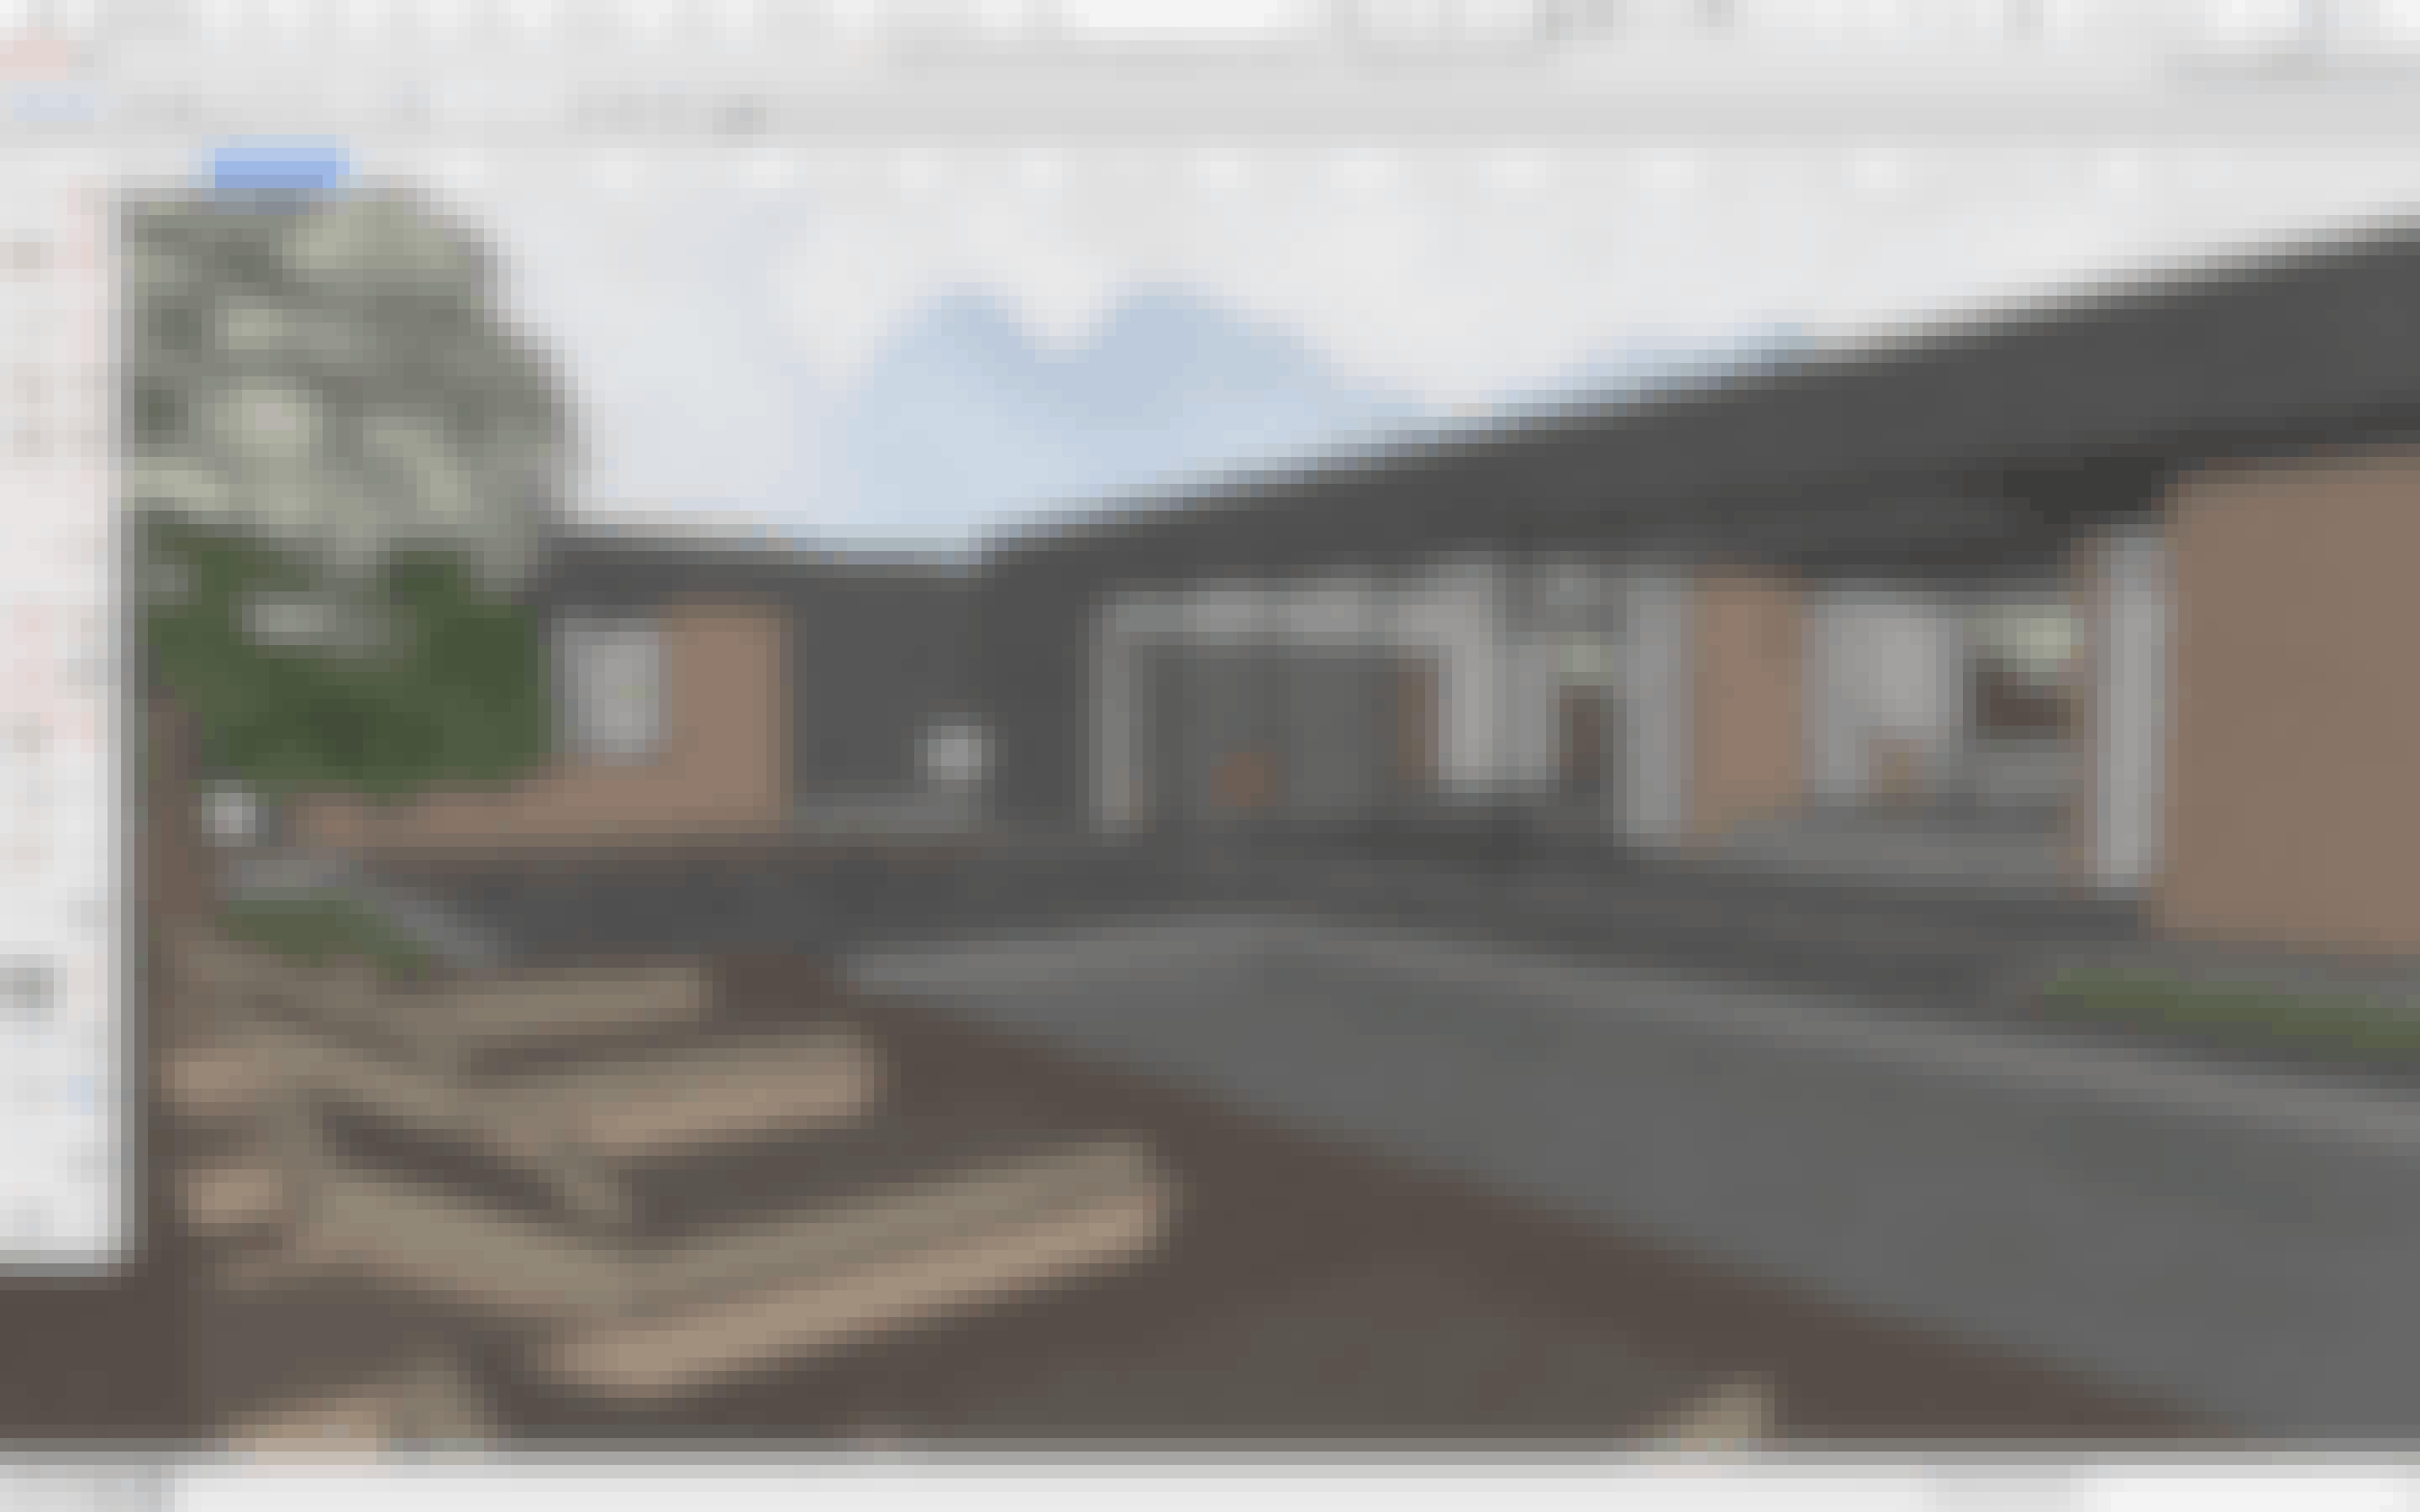
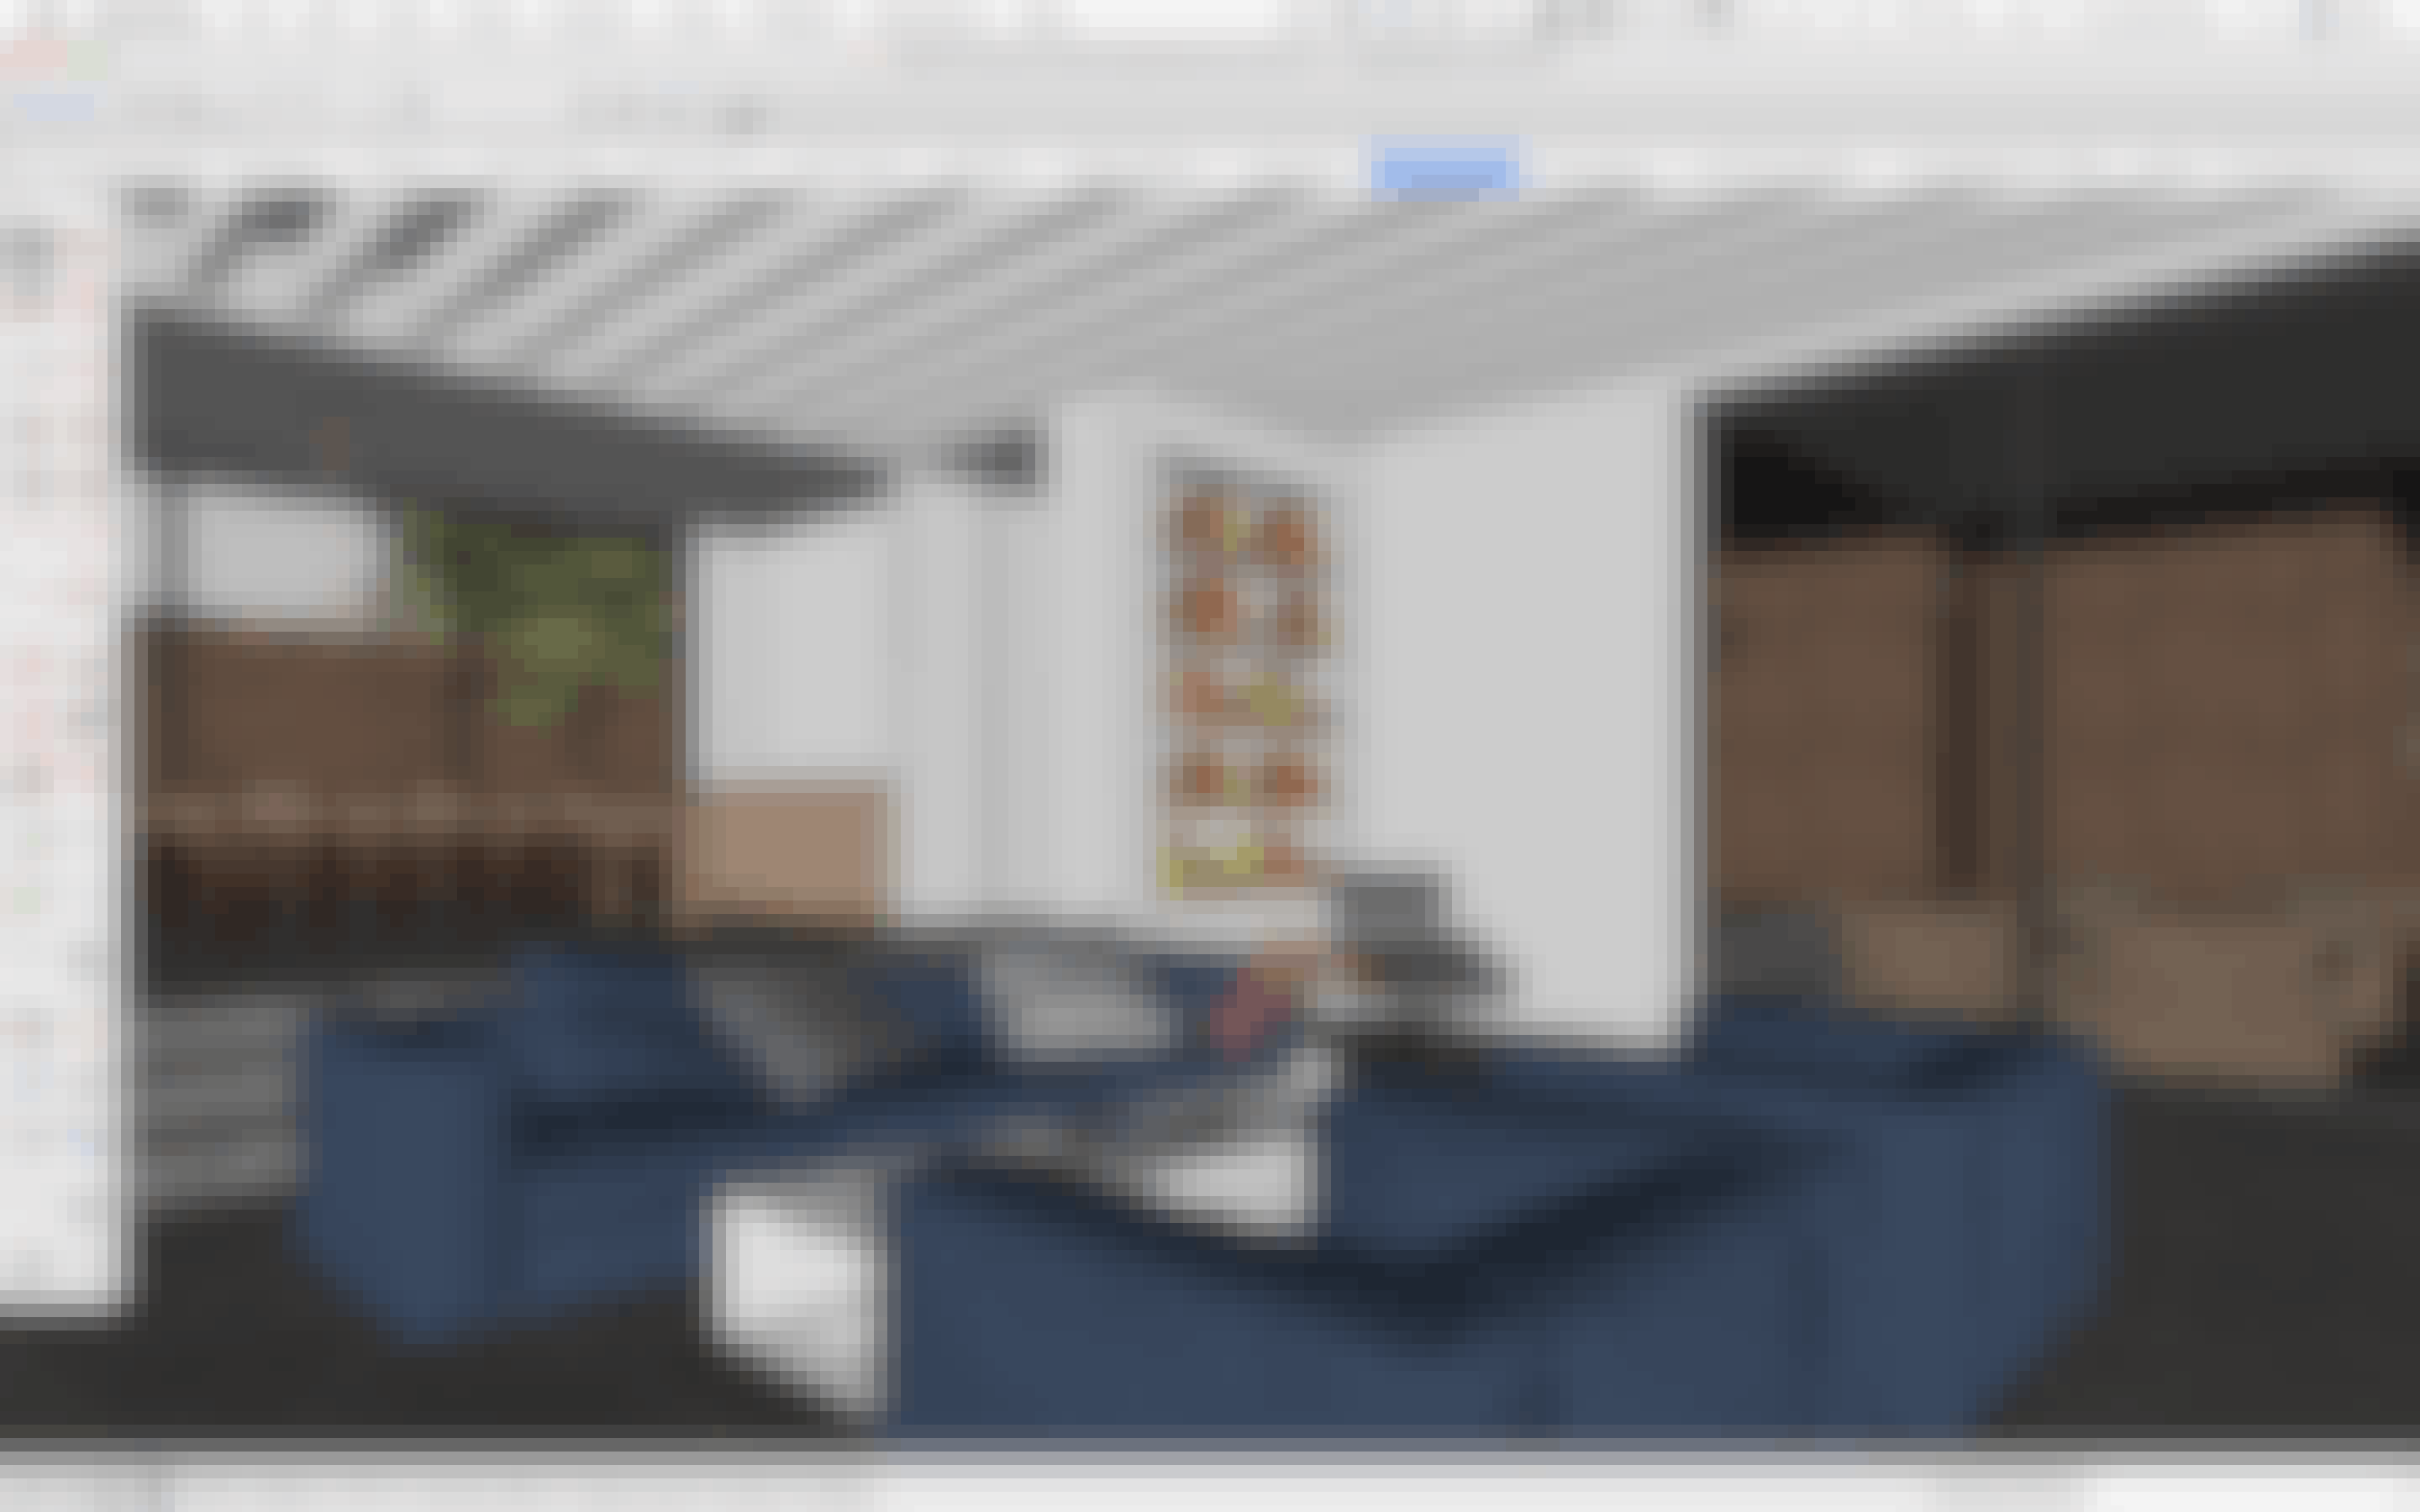
An extension helps you turn a less realistic looking 3D model like this…
...into a photorealistic picture like this!

Want to learn how to render your SketchUp models?
We made a video that gives a solid introduction:
After you watch the video, you'll be ready to give rendering a try but you'll be faced with a challenging decision.
Which rendering extension should you buy?
The next section will help you make the right choice.
When you’re new to rendering, choosing the right extension is ridiculously hard.
To start, you have over 20 extensions to choose from.
And they range in price from free to several hundred dollars per year (and well beyond for some).
Here's the list:
| RENDER INSIDE SKETCHUP |
|---|
| Ambient Occlusion |
| Ariel Vision |
| Brighter 3D |
| Enscape |
| iRender NXT |
| LightUp |
| Maxwell Render |
| Octane Render |
| Raylectron |
| SU Podium |
| Thea Render |
| V-Ray for SketchUp |
| RENDER OUTSIDE SKETCHUP |
|---|
| D5 Render |
| Indigo |
| Kerkythea |
| Keyshot |
| Lumen RT |
| Lumion 3D |
| LuxCoreRender |
| SimLab Composer |
| SketchAIR |
| Twinmotion |
A newer option worth knowing about is AI-assisted rendering. Some engines above already include it — Chaos Veras, for instance, is built into both Enscape and V-Ray — and newer real-time tools like D5 Render lean on AI heavily. These can turn a rough model into a presentation image in seconds, trading some control for that speed.
Every one of them also comes with a long list of features.
But since you're just getting started with rendering, you won't know which features are important.
And to top it off, you won't be able to easily evaluate the kinds of factors that will make a big differences to you.
Like how easy an extension is to learn...or whether you're likely to struggle with it on a deadline.
So how do you choose?!?
Over the past 10+ years, We've helped a lot of our students make this choice and we'd be happy to help you too!
Want some advice?
Tell us about your situation and we’ll have a member of our team make a recommendation.
Once you've figured out which extension you're going to use, you'll be ready to give rendering a try.
Keep reading for our advice on that topic below.
We created a free SketchUp tutorial that you should watch before you start rendering.
We talk specifically about V-Ray for SketchUp in the video but it applies to all rendering extensions.
(It covers an important step that people often miss)
Watch it and you'll learn 5 things to do in this step to avoid getting underwhelming results.
As you set out to learn your rendering extension, I want to share what our students say they wished they knew when they first learned how to render:
Be careful not to make the mistake of heading down the wrong path and trying to learn everything on your own.
Watching free tutorials on YouTube and elsewhere will make you feel like you know how to use your extension's tools and features.
But when it's time for a real project, you'll run into issues.
And you won't find tutorials for every unique issue you run into. Worse, you end up wasting a ton of time watching videos only to find that you are still struggling.
Luckily, there is a different path.
You need to take a well-structured class with a curriculum that not only gives you a comprehensive introduction to your extension but also teaches you how to apply that knowledge when you are on a deadline on a real world project.
Good news: For some rendering extensions, we have courses that do exactly that!
(V-Ray for example)
They are all in our Video Course Library, along with other courses on professional topics. The courses are based on in-person classes we teach that cost $1500 to attend. We've just broken them down into bite-sized video tutorials that provide a more convenient and economical way for professionals to take our classes.
You can find out more about our Video Course Library here.
Now, if you're the kind of person that needs to be sitting in a classroom with an instructor, tell us where you're located and we'll see if we can make a recommendation.
Are you already using SketchUp?
If you need to create design presentations or construction documents, you're going to want to use LayOut.
It has all of the features you need to get the job done and its tight integration with SketchUp will save you A TON of time.
This chapter will give you a quick overview of how SketchUp Pro and LayOut work together to make your life easier, and help you figure out if LayOut can do what you need it to do.
At the end of the day, you’re required to produce design documentation and drawings that people around you depend on to get the job done.
SketchUp Pro makes that kind of stuff a breeze. Here’s how it works:
1) Create a 3D Model
You start by creating a well-organized, 3D model in SketchUp.
2) Set-up Scenes
While still in SketchUp, you set-up the exact views of your model that you need to document, and you save those views as Scenes.
3) Send to LayOut
Once you've dialed-in all of your Scenes, you're ready to send your SketchUp file to LayOut.
4) Set-up Viewports
In LayOut, you'll have a Viewport that's linked to your SketchUp file.
You can set-up as many Viewports as you need, making sure to set each to show one of the Scenes you set in SketchUp.
And while you're at it, you set the Scale of your floor plan and elevation Viewports too.
5) Document your SketchUp model with LayOut's tools
Whether you need to produce simple 2D plans and drawings, or a full set of detailed construction documents, LayOut has all the tools you need to get the job done. And, for many of you, there are extensions you can use that will make your workflow even easier.
LayOut works great with SketchUp but can it do what you need it to do?
Have a conversation with us. Tell us what you’re needing to be able to do and we can help you decide whether LayOut is the right tool. We can also let you know if there are extensions that you may want to take a look at.
As soon as you are sure LayOut is right for you, you're ready to give it a try.
Next chapter has some helpful tips for how to get started.
There are 7 features you need to master in SketchUp first to be successful in LayOut later:
Once you know the ins and outs of these key features, you'll be ready to take LayOut out for a test-drive.
Like SketchUp, LayOut feels very approachable.
So much so that you're likely to think you can just figure it out on your own.
But, also like SketchUp, as soon as you try to use LayOut on a real project you'll discover that doing things the wrong way sends you down a path you'll wish you had avoided.
You need to take a well-structured class with a curriculum designed to give you a comprehensive introduction.
Good news: We have a course called The Complete Intro to LayOut that does exactly that!
It's in our Video Course Library, along with a number of other courses on professional topics. This course is based on an in-person class we teach that costs $1500 to attend. We've just broken it down into bite-sized video tutorials that provide a more convenient and economical way for professionals to take the class.
You can find out more about our Video Course Library here.
Now, if you're the kind of person that needs to be sitting in a classroom with an instructor, tell us where you're located and we'll see if we can make a recommendation.
We’d recommend starting with the free tutorials on SketchUp’s website.
Professionals use SketchUp's reporting tools to create estimates, takeoffs as well as all sorts of other reports.
In this chapter you'll learn how SketchUp's reporting tools work.
And we'll also show you some popular extensions that can make your job easier and save you a ton of time.
Let’s dive in!
After creating a 3D model in SketchUp, you can use SketchUp's reporting tools to generate a report.
For example, you can produce a Bill of Materials.
Or you can perform a Quantity Takeoff.
But here's the thing, and this is important:
SketchUp doesn't have a Bill of Materials tool.
And it doesn't have a Quantity Takeoff feature.
What it has are general purpose reporting tools that you have to know how to use to be able to get what you want.
But, if you know what you’re doing in SketchUp, you can use its built-in reporting features to produce many different types of useful reports.
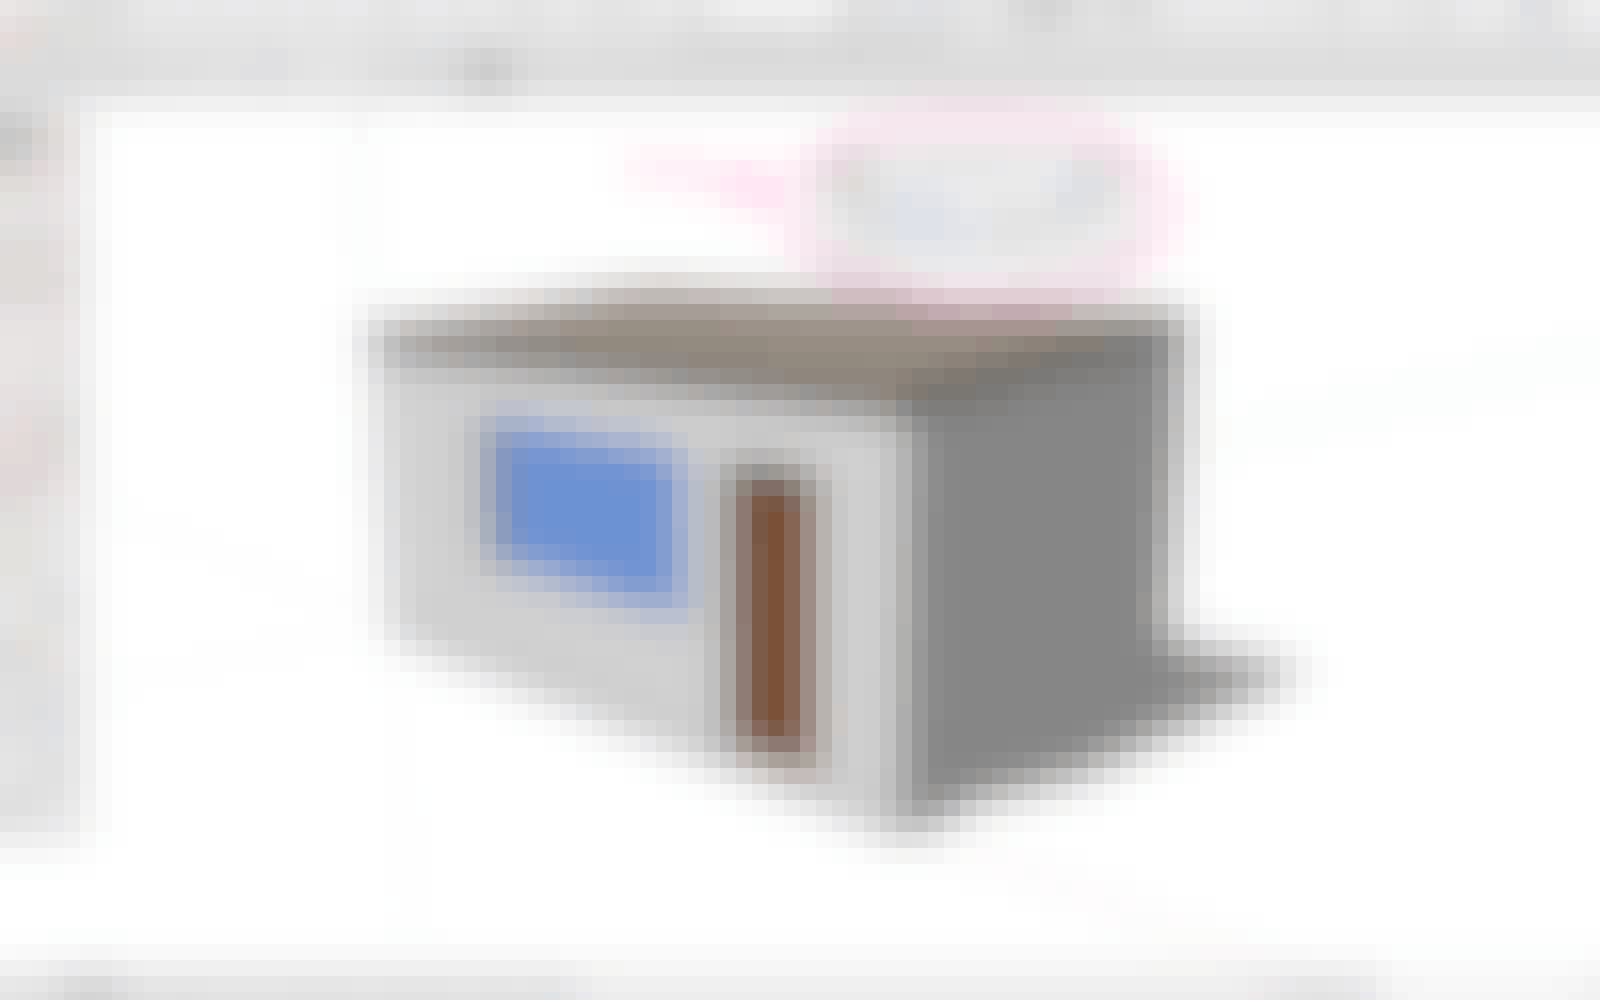
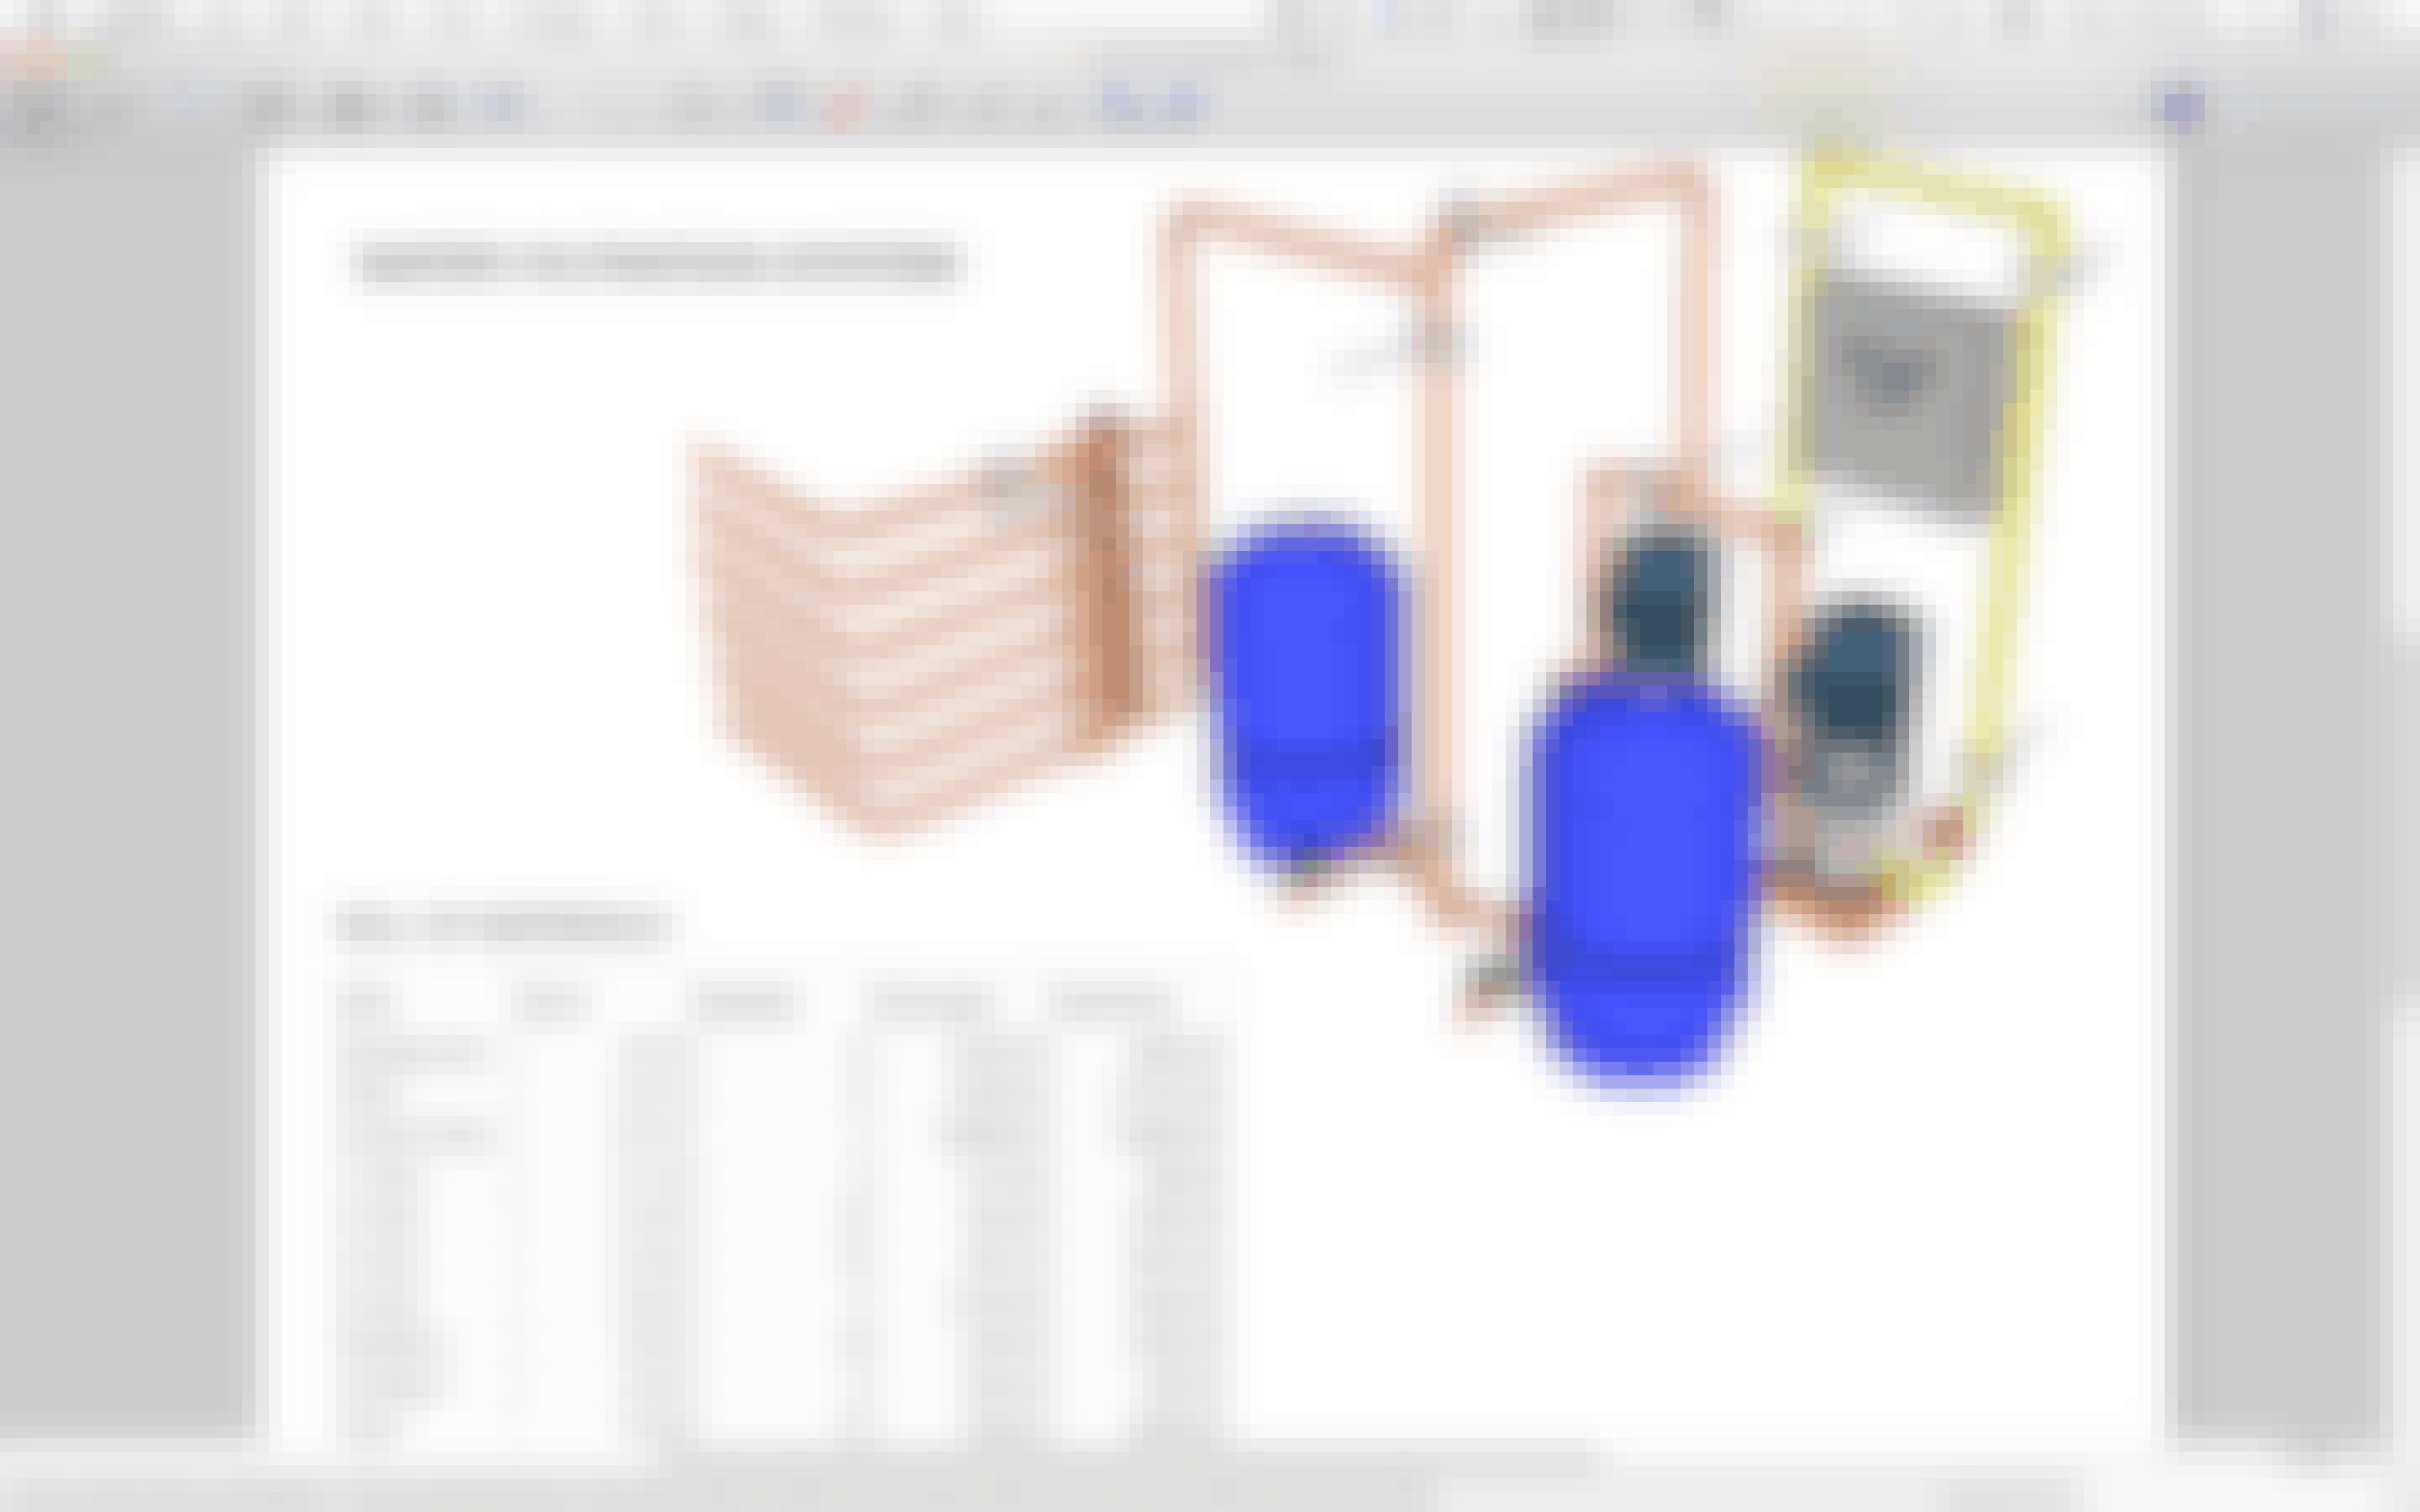
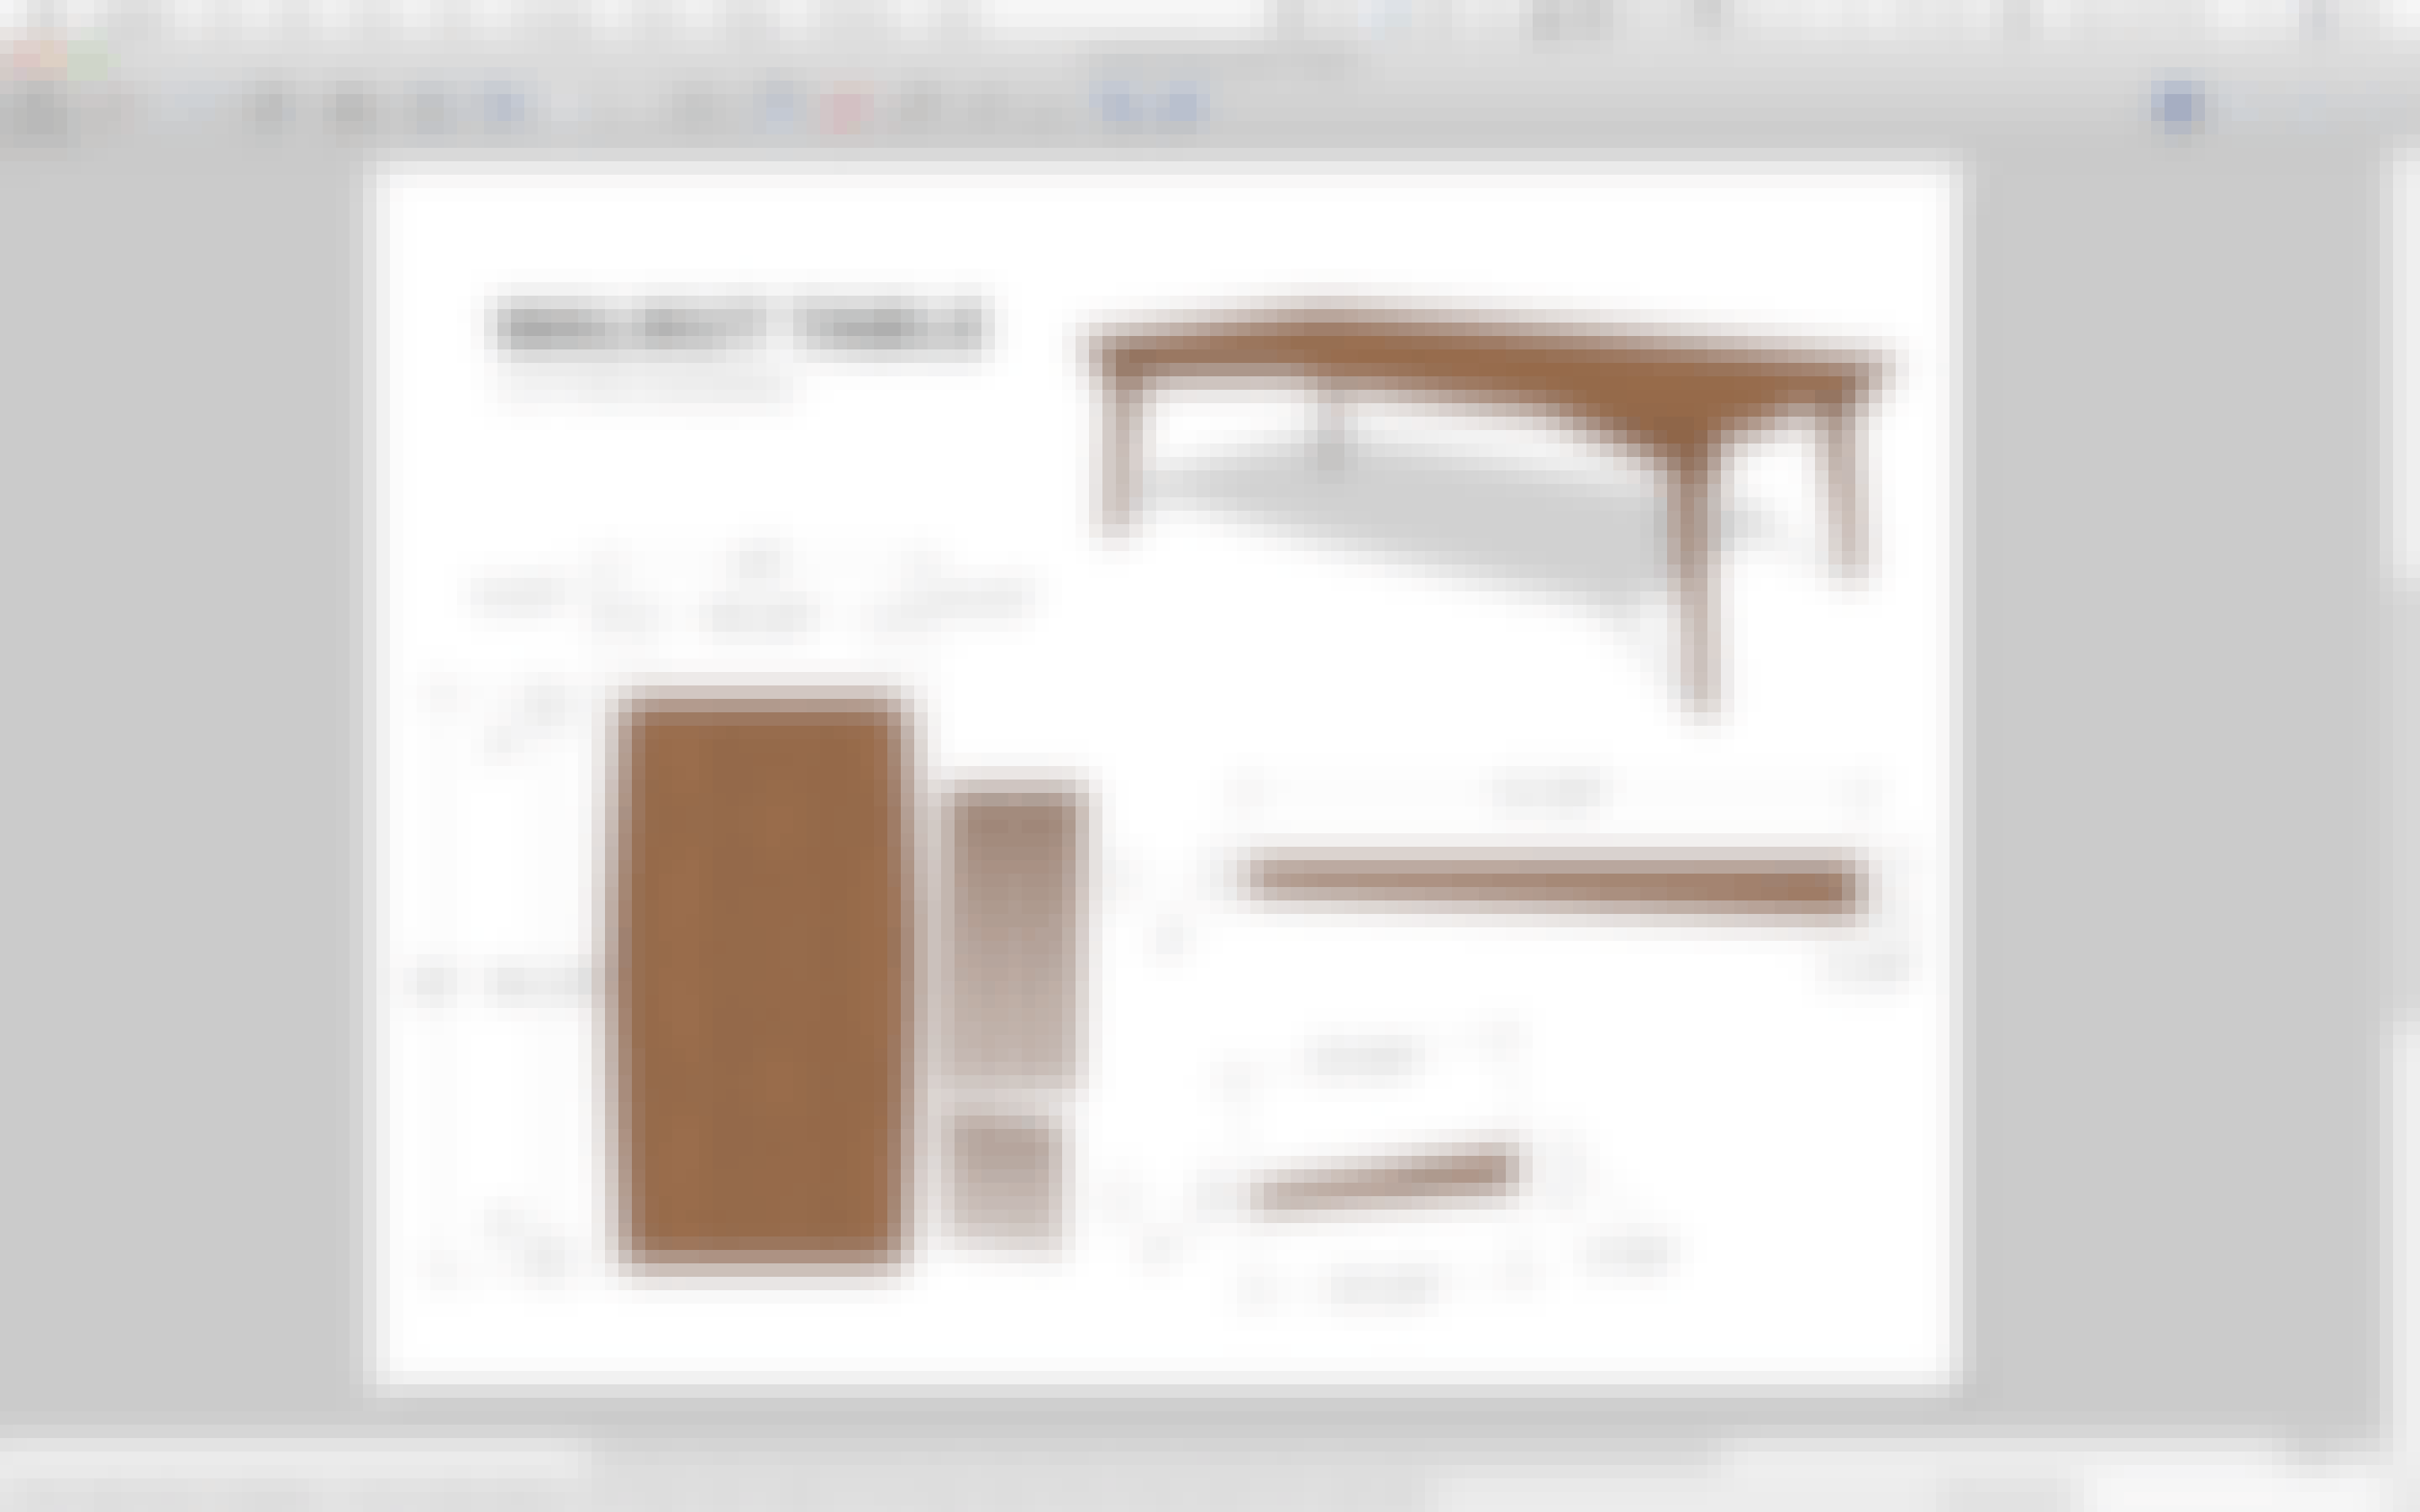
As you’re designing in SketchUp, the software is already keeping track of a bunch of information about your 3D model.
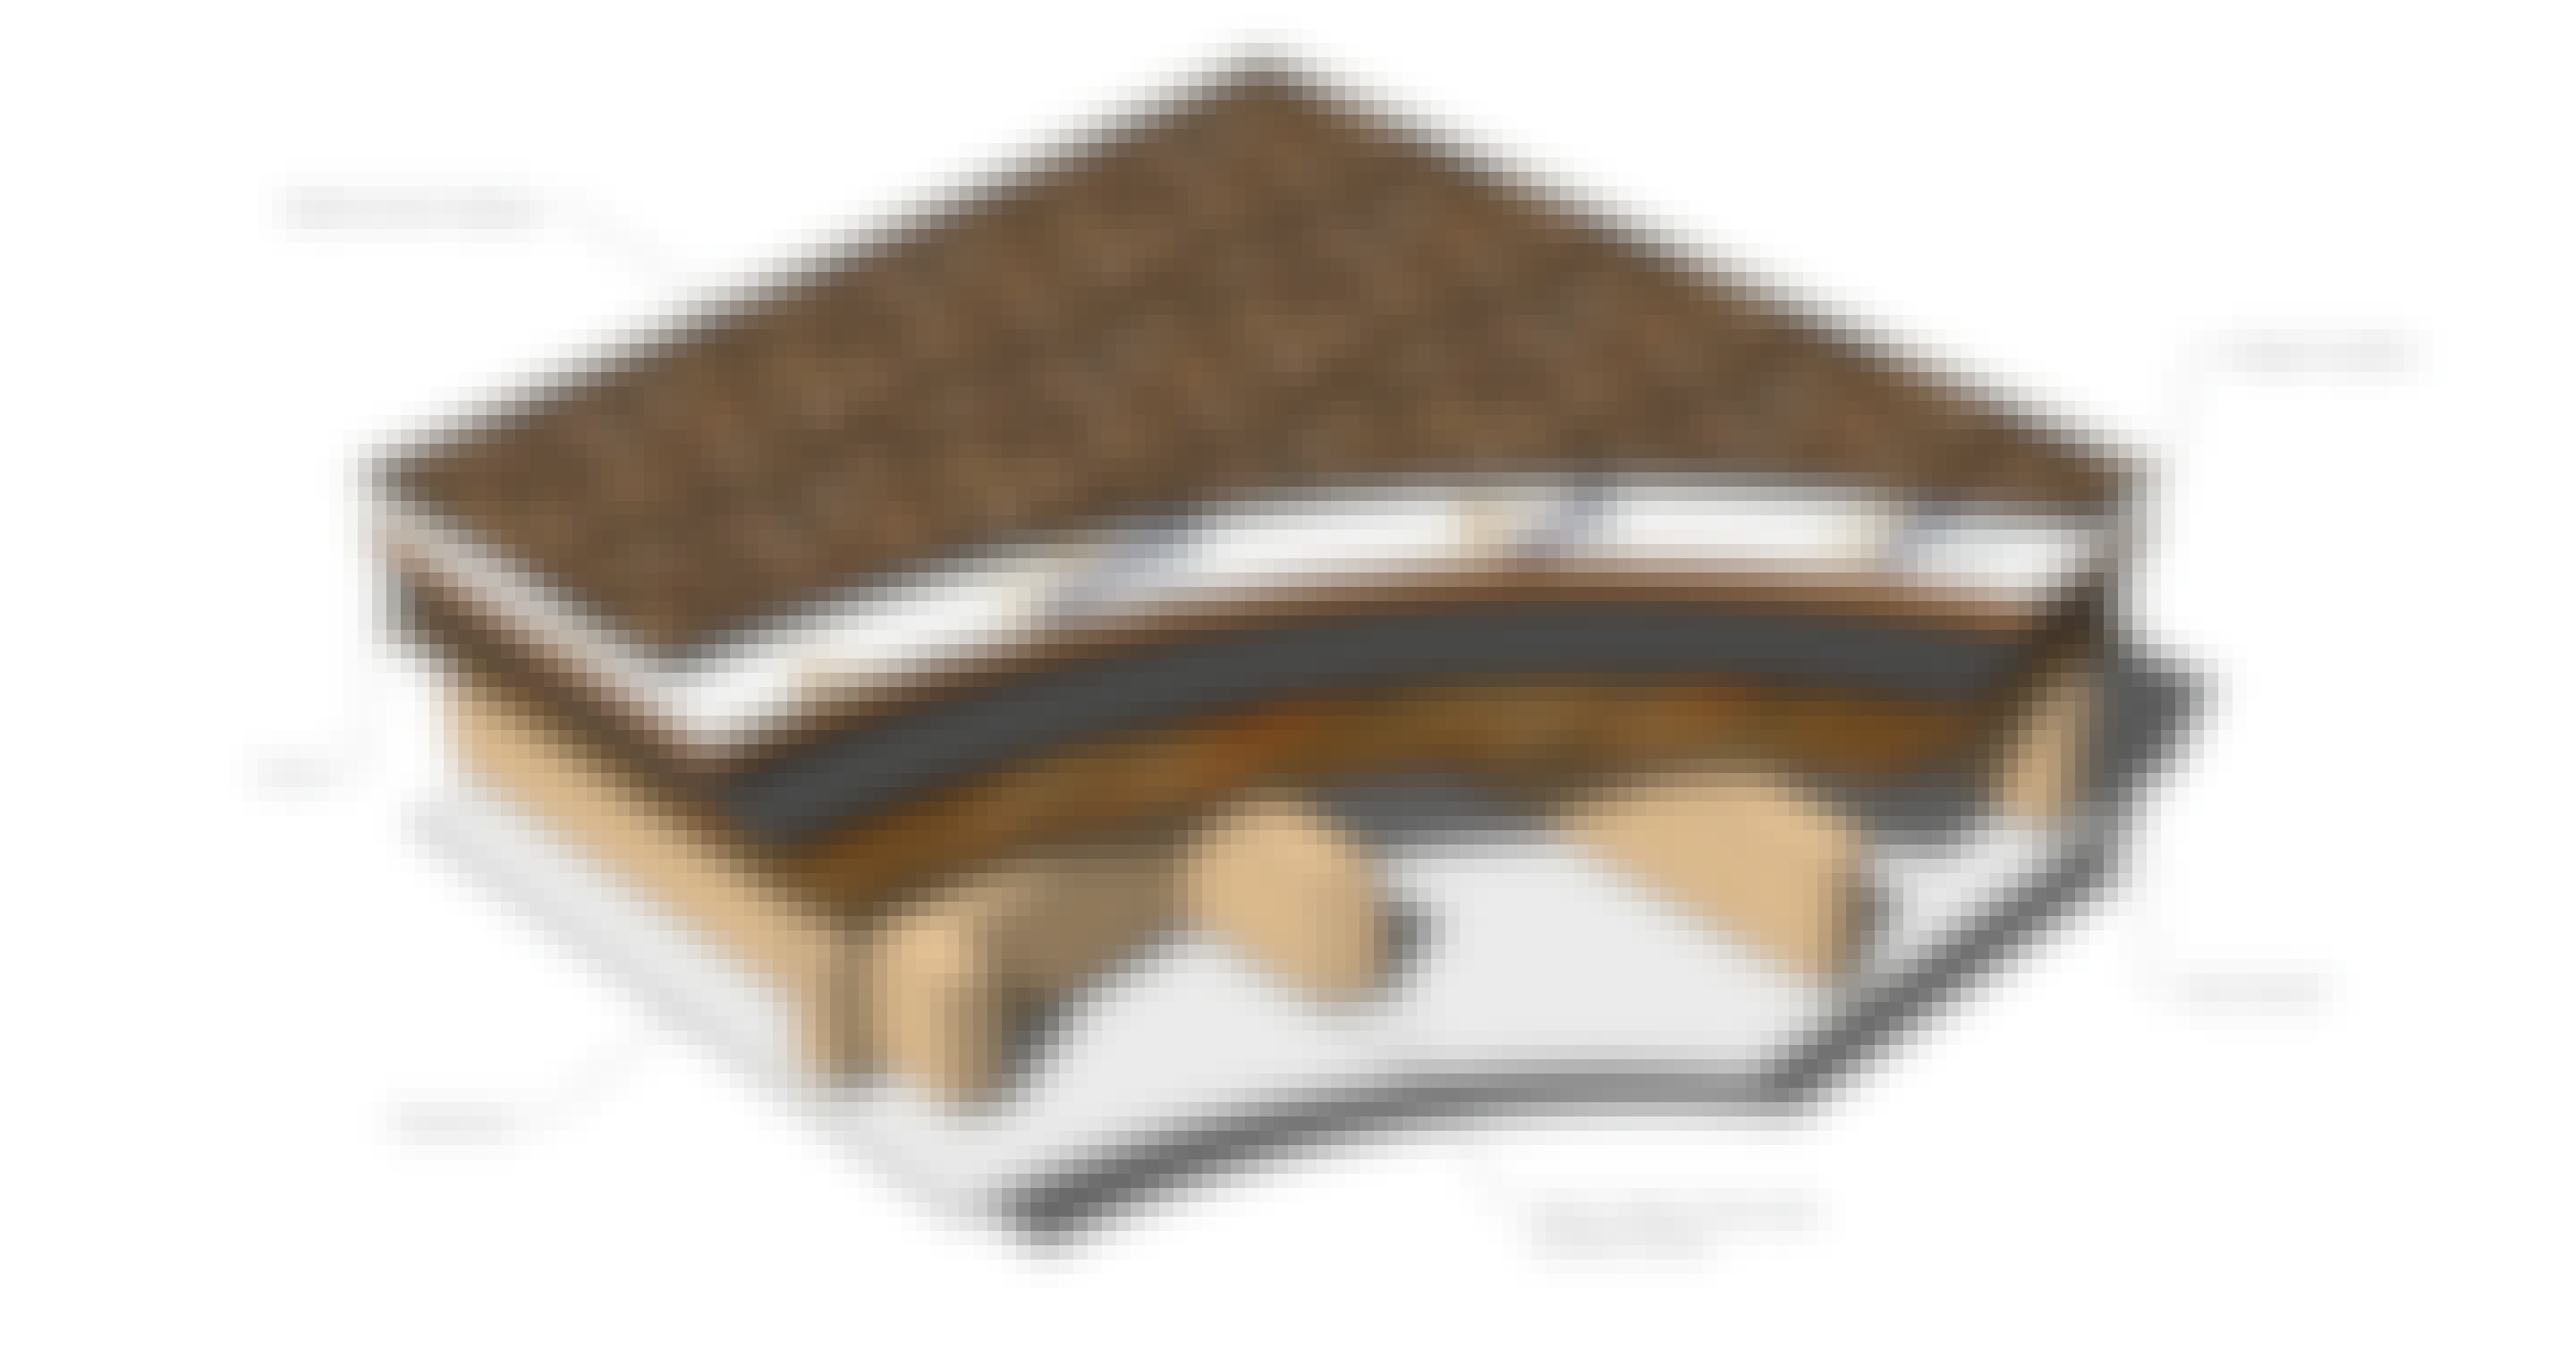
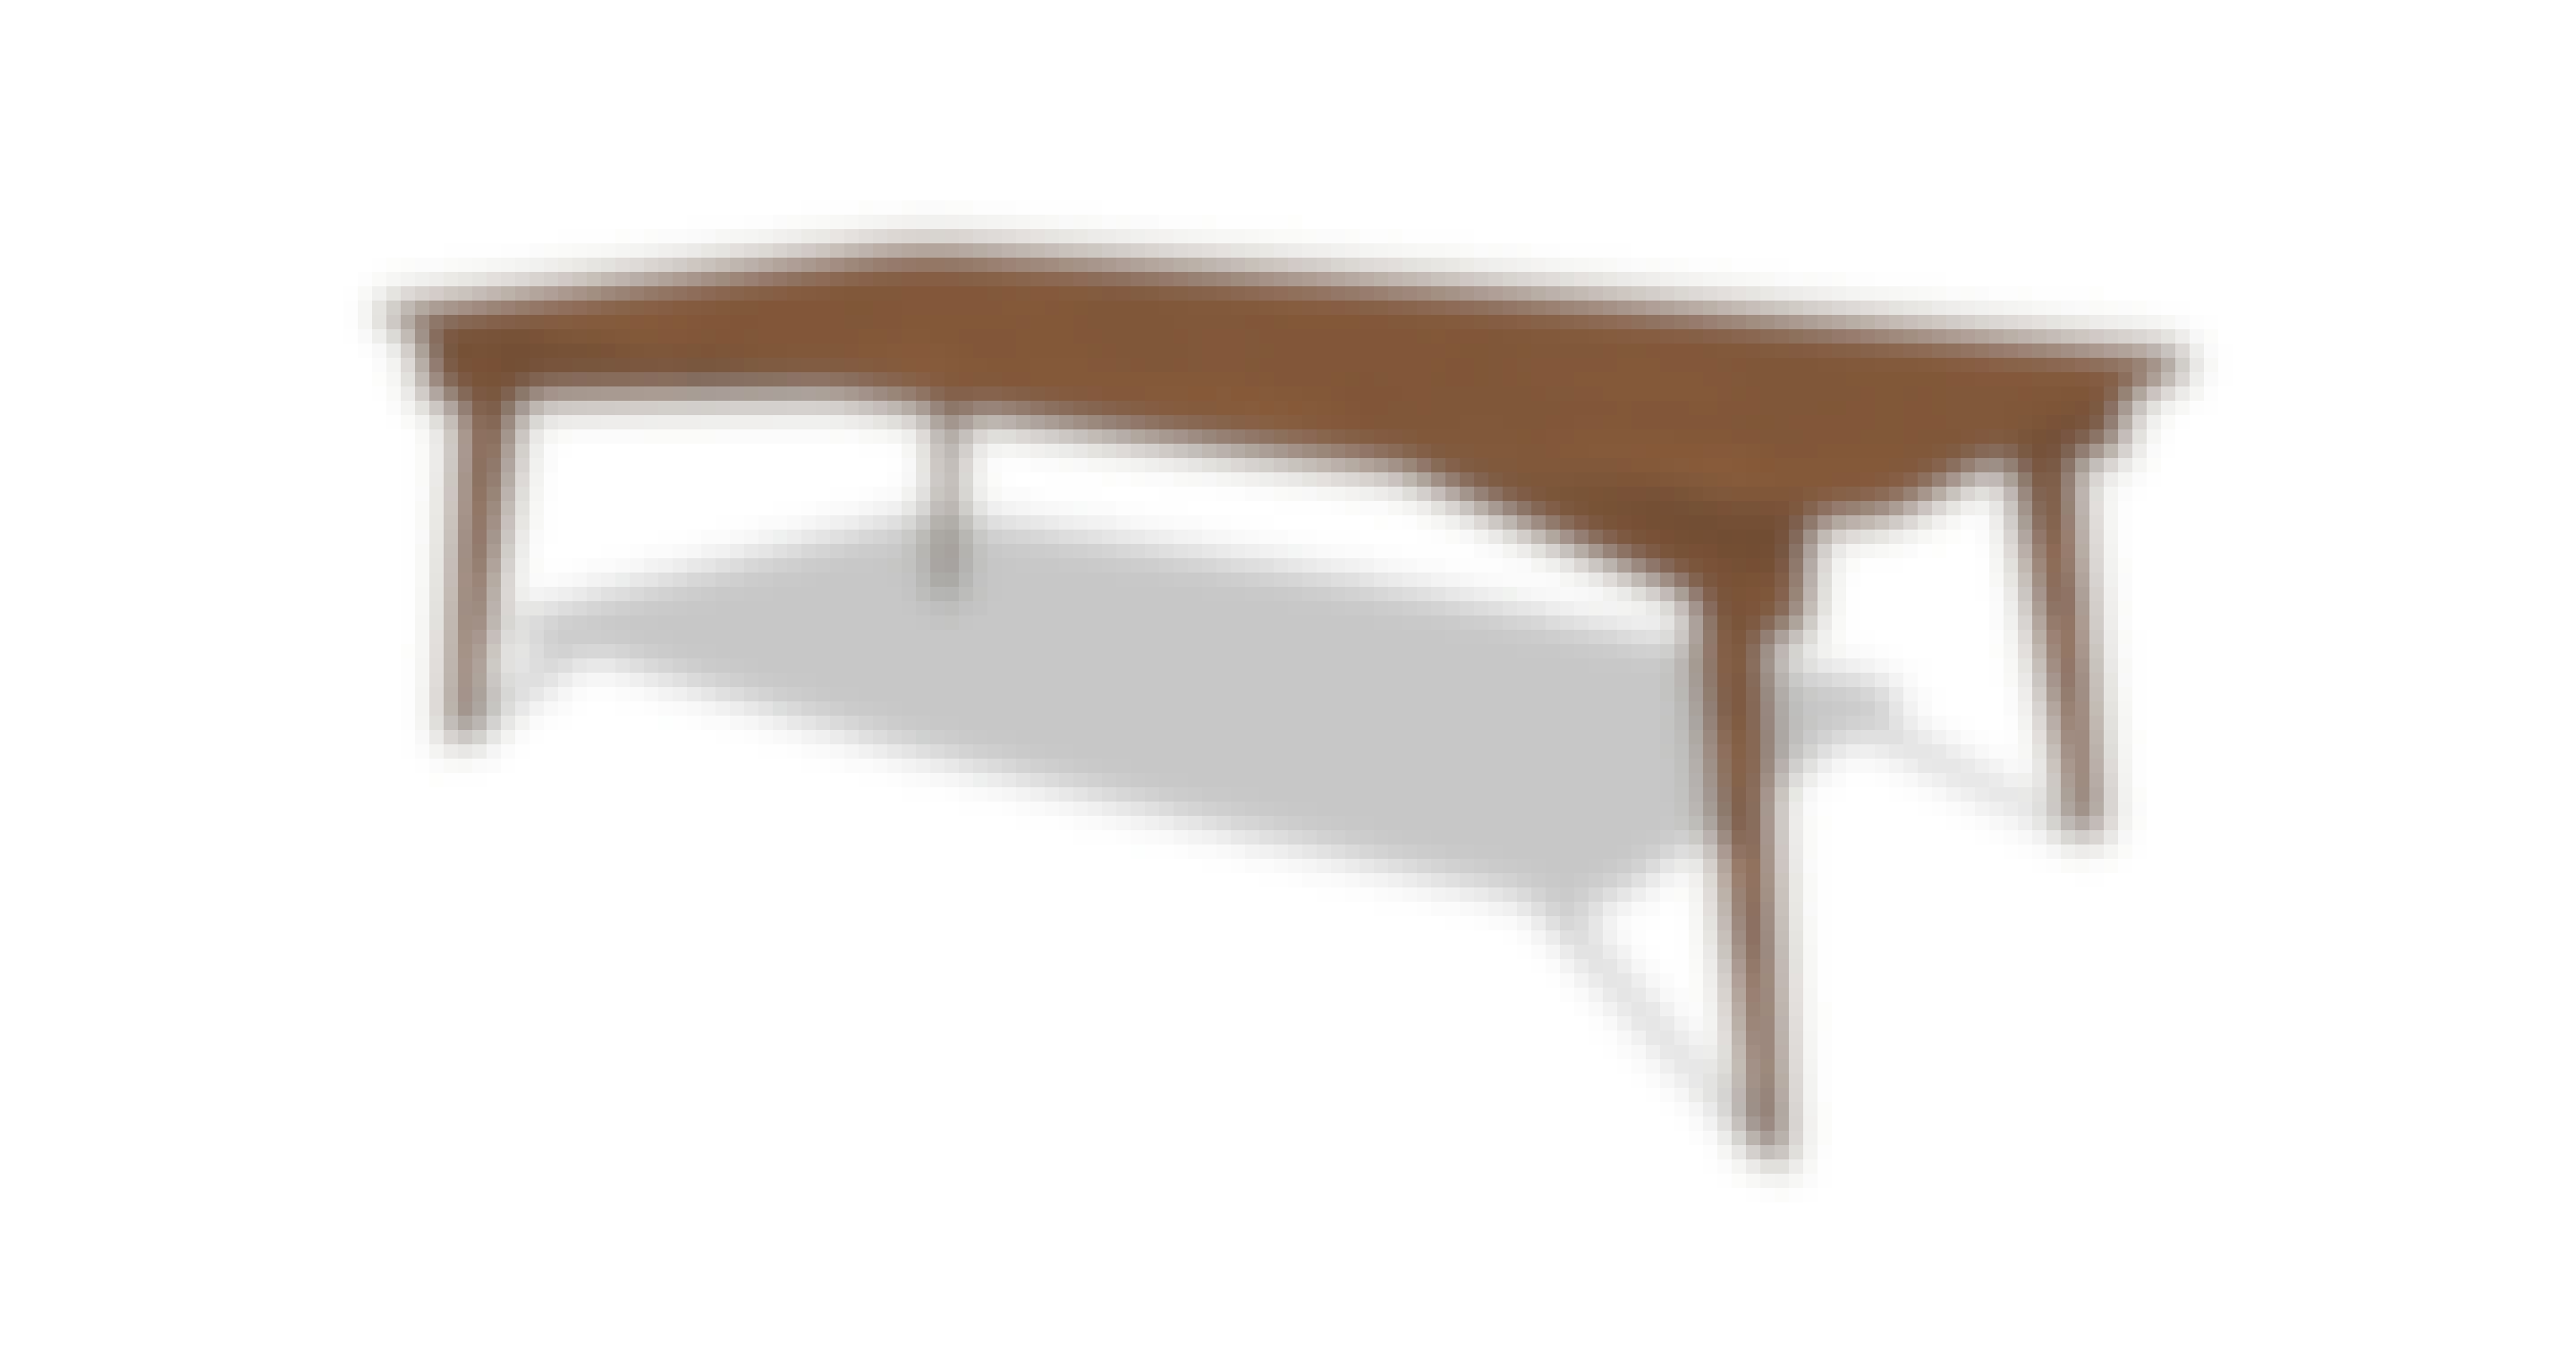
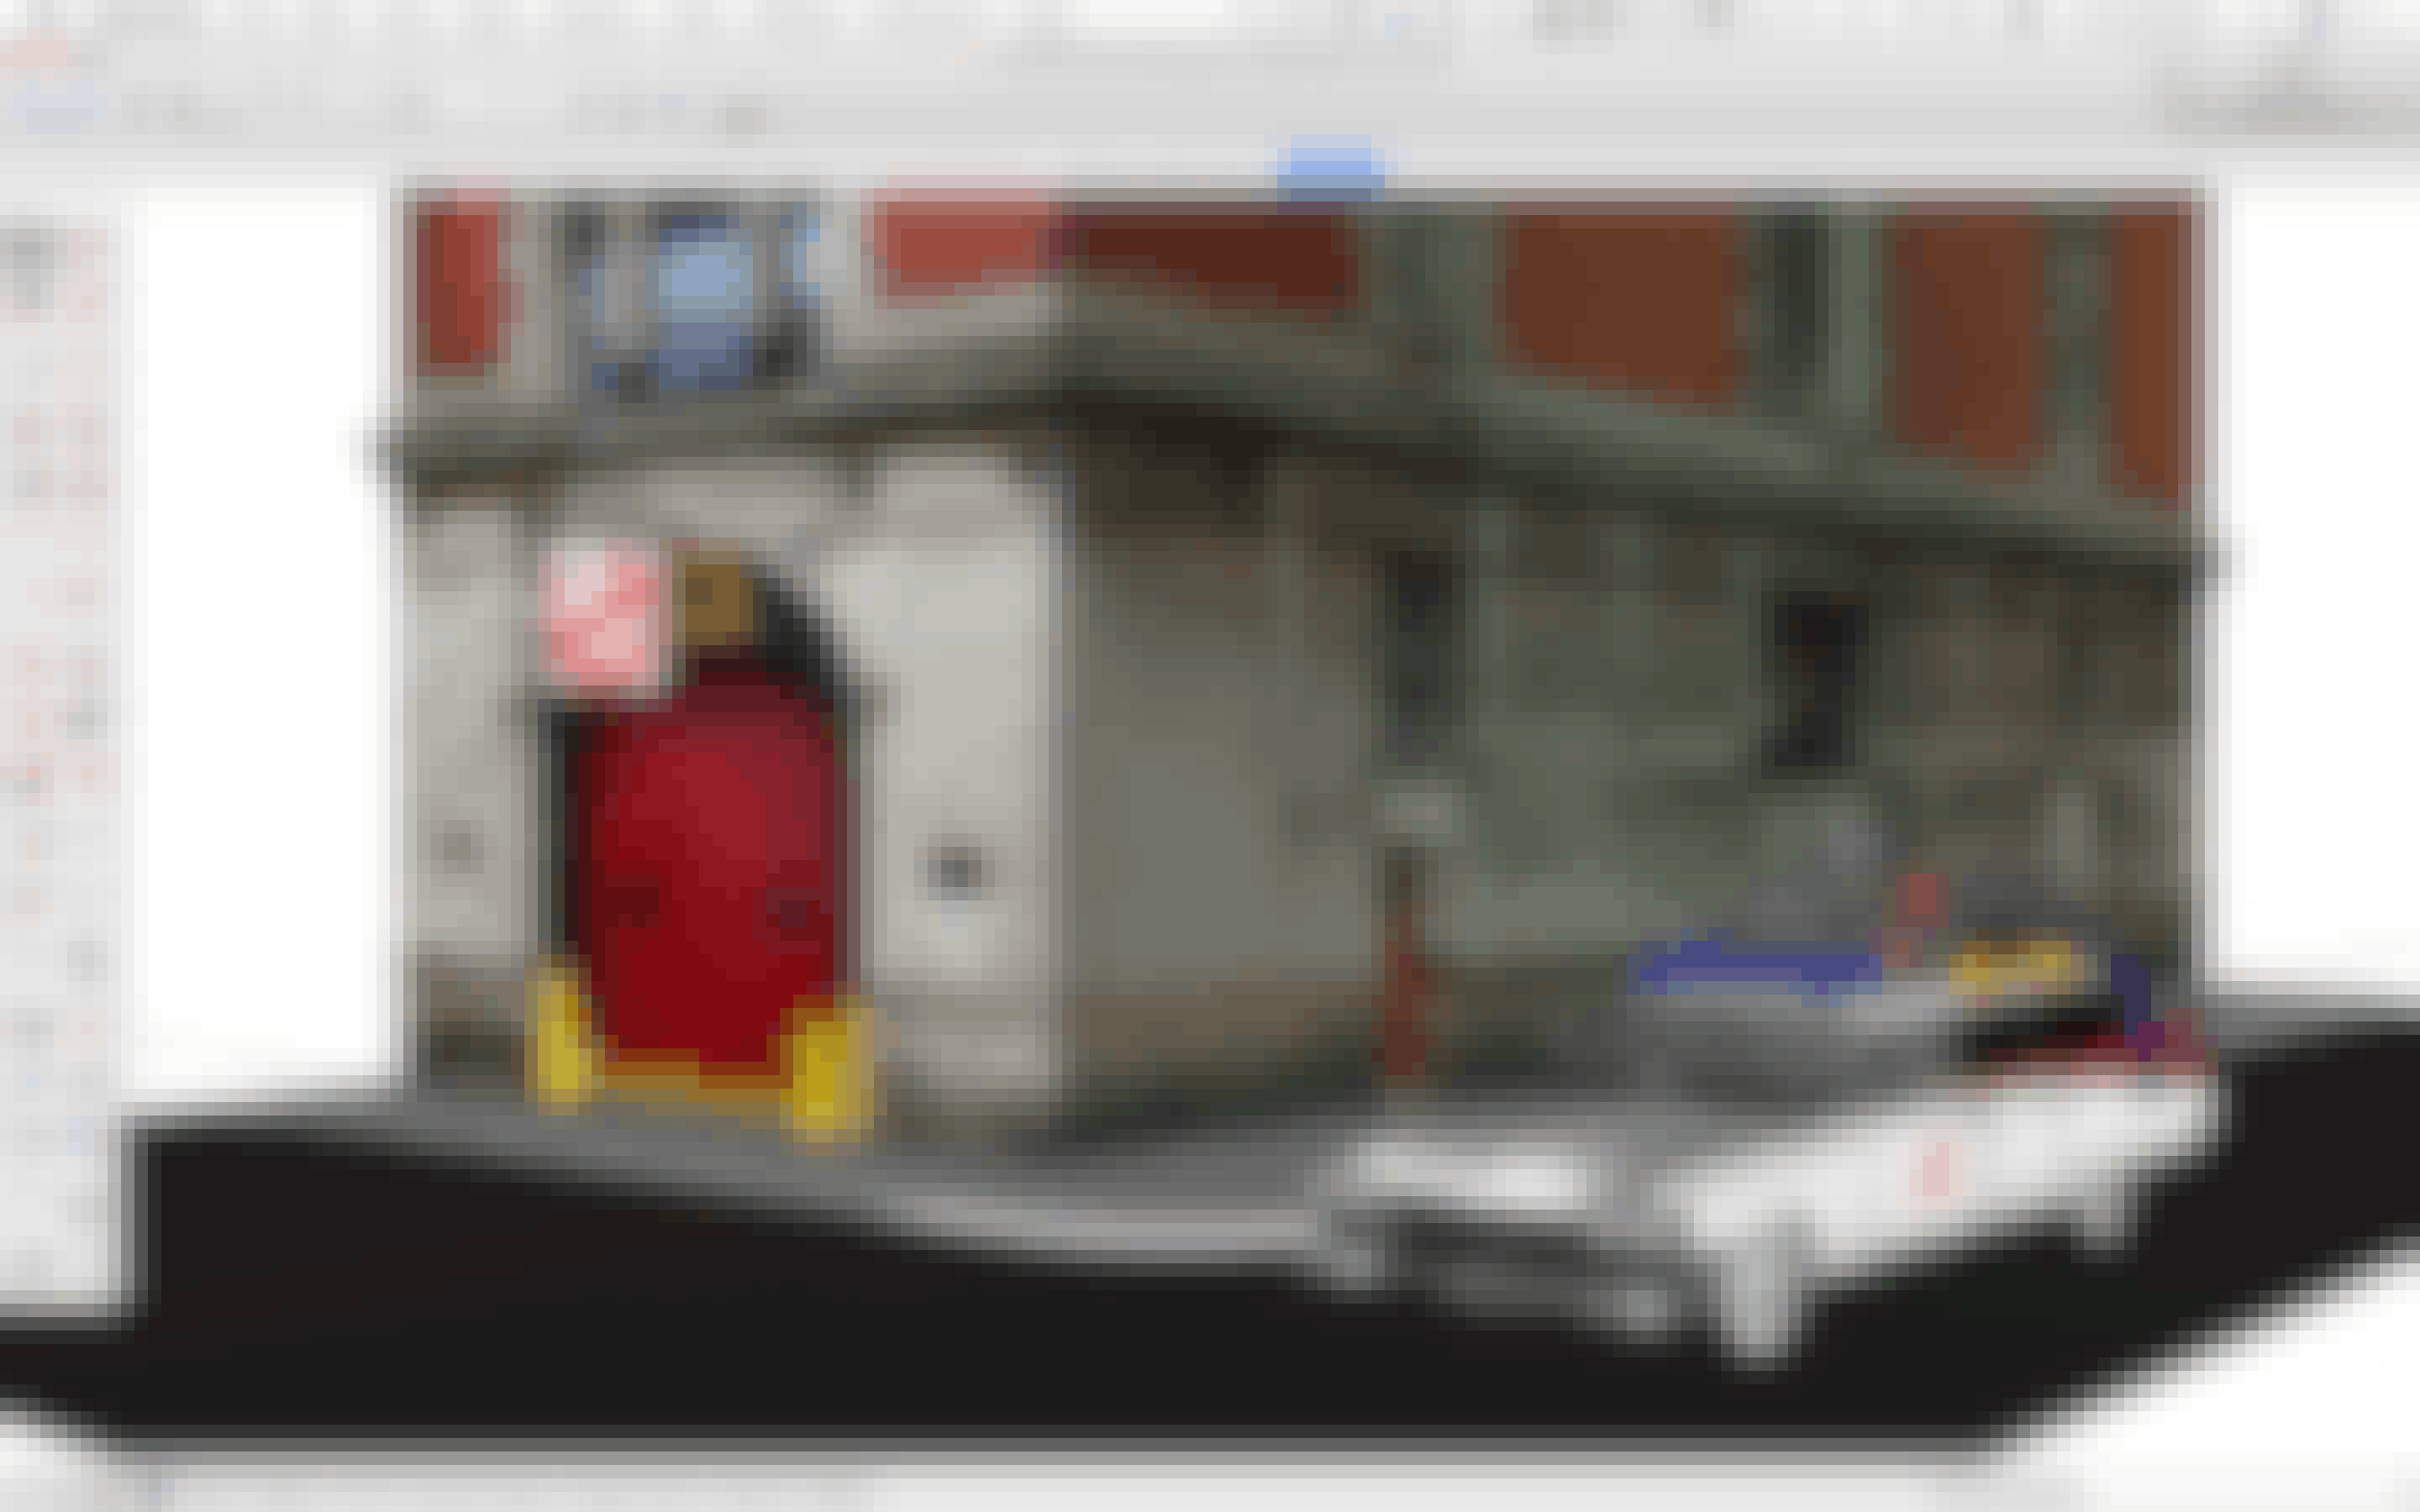
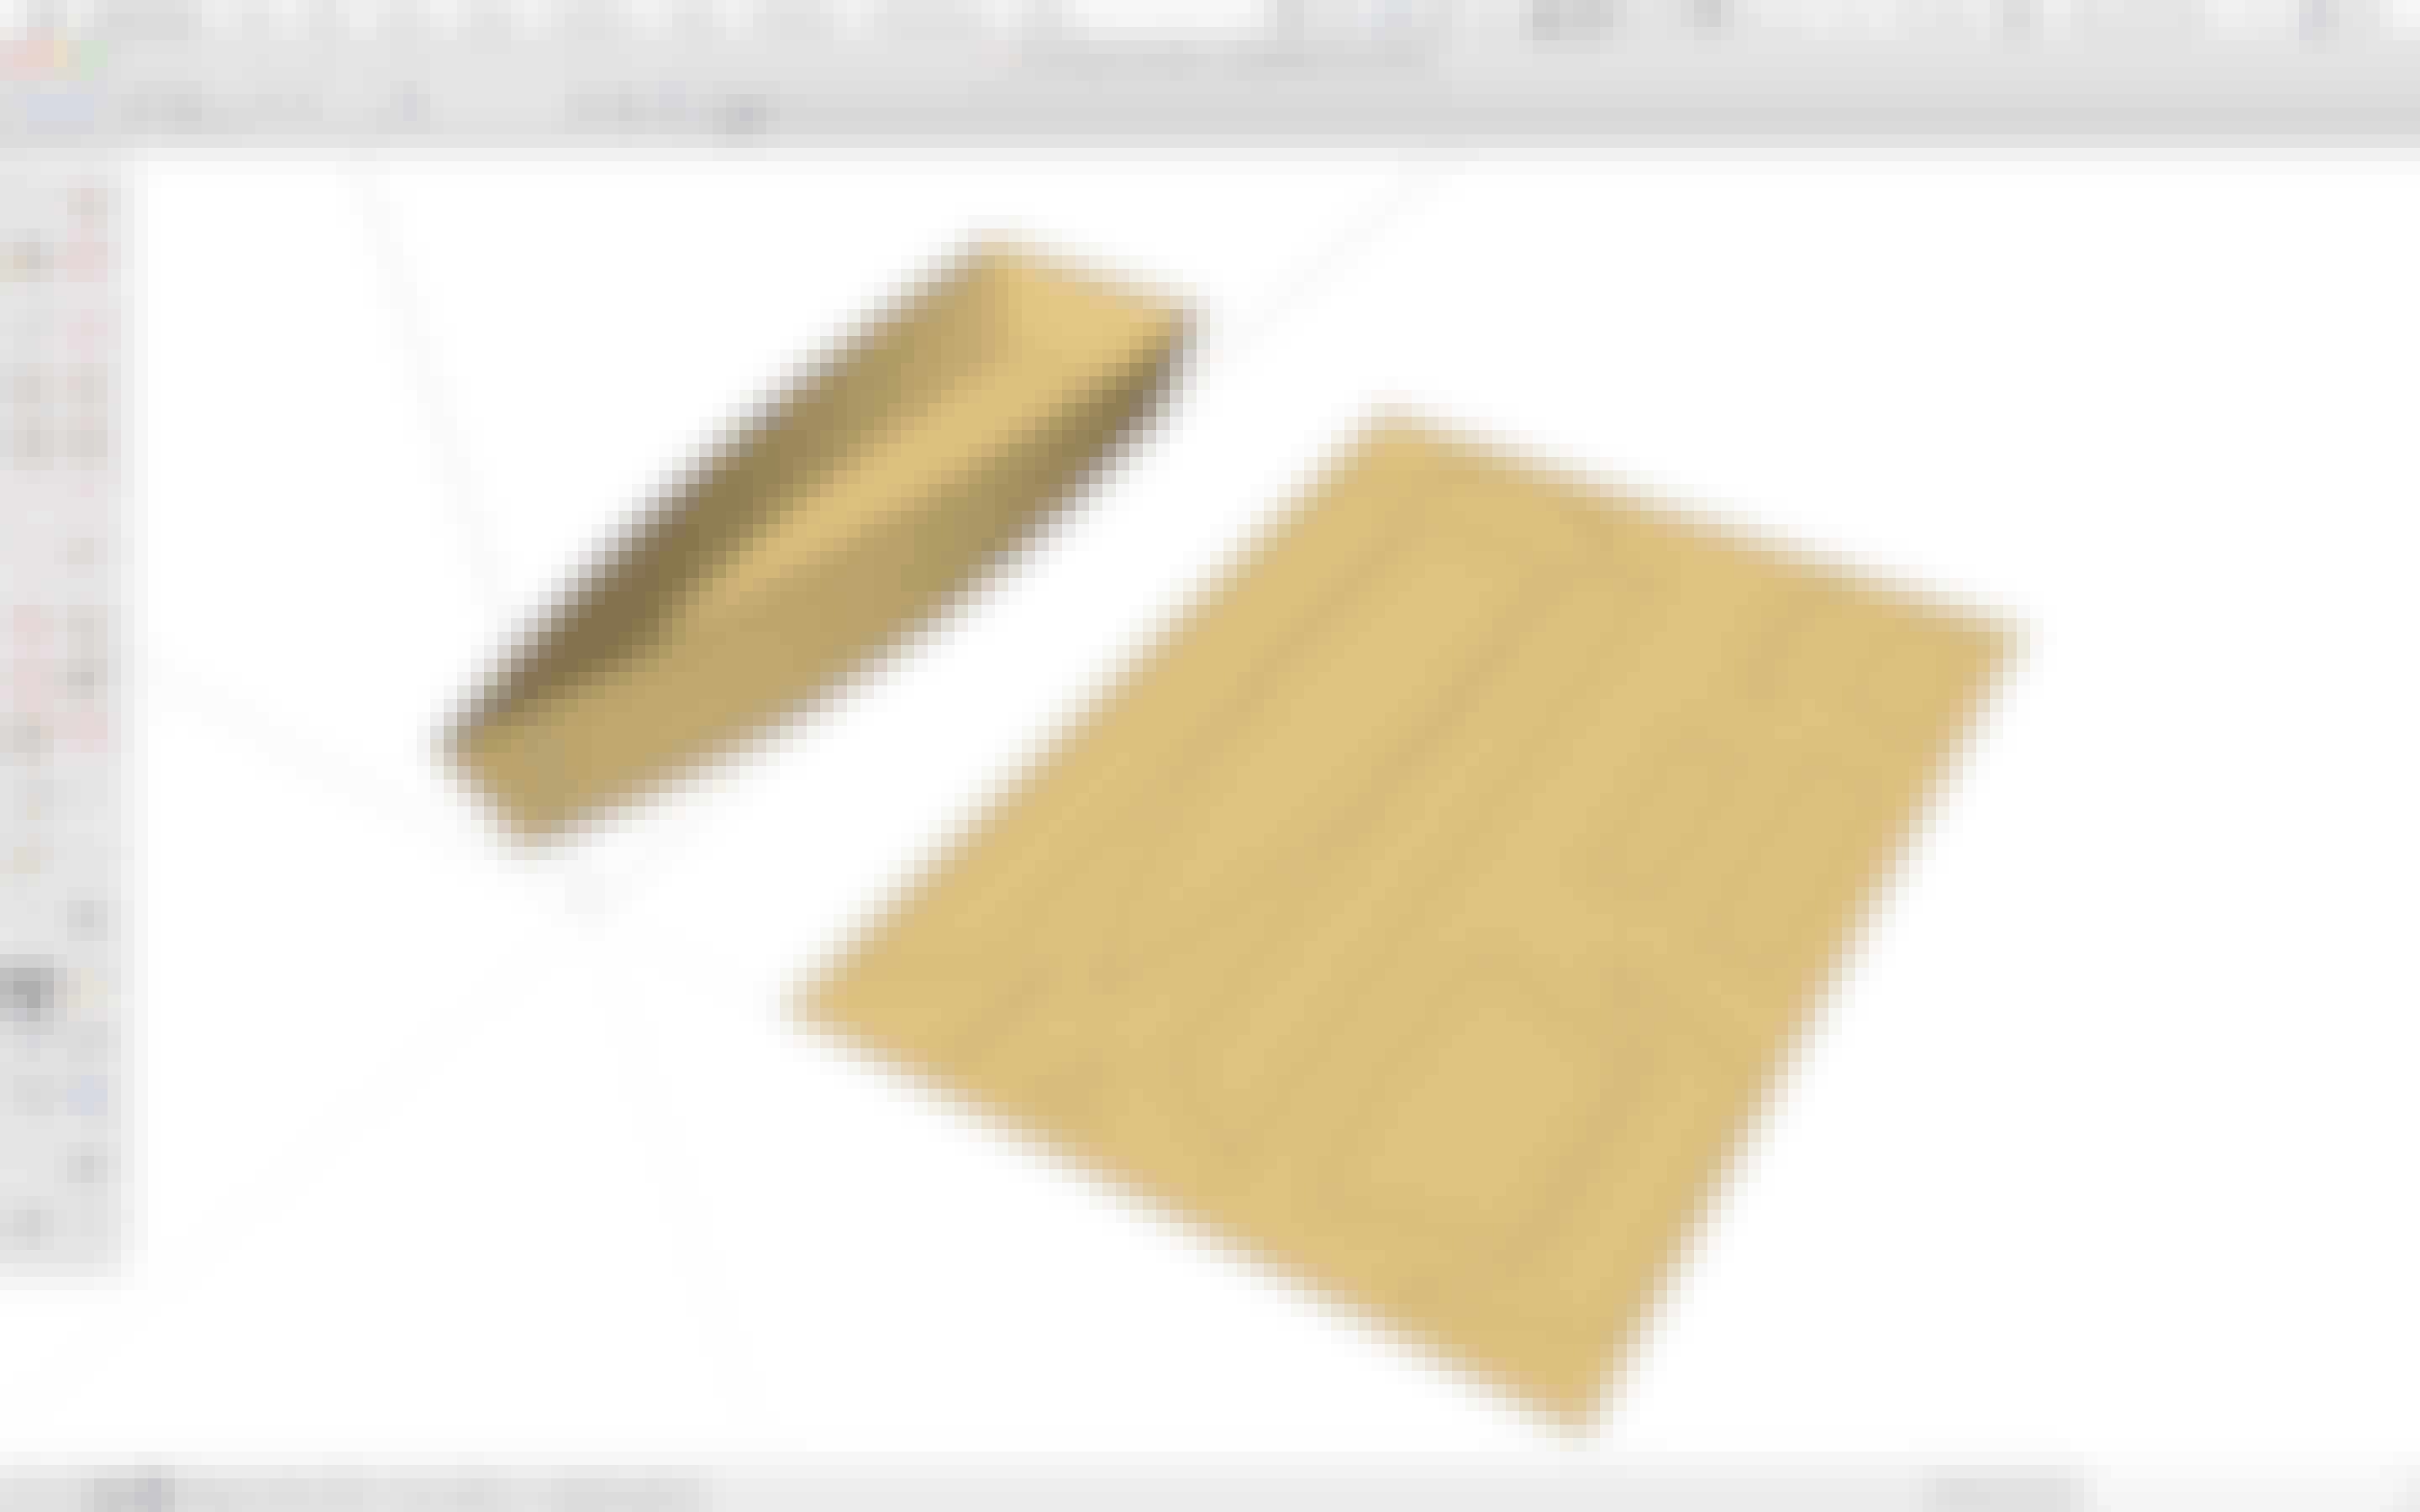
Take this sheet of plywood, for example:

SketchUp knows its length, width and height.
It also knows the surface area.
And it even knows the material that has been applied to the surfaces - plywood in this case.
So if those are the only sorts of things you need to know, you can use SketchUp Pro’s Generate Report feature to export a .csv file that can be opened in a spreadsheet program such as Excel, Numbers or Google Sheets.

But what if you need more information in your report?
Let’s say you want to know the name of the sheet of wood, it’s price and a SKU code.
For information like this that SketchUp doesn’t automatically know about your model, you have to add it yourself.
You can add data to your SketchUp model in a few different ways:
For one, when you make an object a Component you have the option to add a name and open the Advanced Attributes to specify things like price or an associated website URL.

Now when the existing attributes within the Components dialog aren’t what you’re looking for, you can create your own custom attributes via the Component Attributes tool in the Dynamic Components toolset.

And then you can set-up your own custom report type to generate a new report that pulls all the new information about your sheet of plywood.

To summarize: Getting the report you want out of SketchUp, boils down to:
SketchUp may not have a Bill of Materials tool, or tools for other specific report types. But often you'll find an extension that will have the more specific tools and features you need.
If you need more reporting power, here are a few extensions that could help:
Have a conversation with us! Tell us about what you're wanting to do in SketchUp, and we’ll make some recommendations about tools and training that can help you reach your goal.
This chapter will help you figure out if SketchUp is the right tool for the kinds of models you need to 3D print.
You'll also gain a high level understanding of how to create 3D printable models in SketchUp.
The short answer: It depends.
Let's start by saying that SketchUp can be used to successfully create nearly any type of 3D printable model you might need.
However, it is not the very best tool to use when you need super precise curvature or perhaps more mechanical, functional real-world objects.
To be clear:
You can use SketchUp to create curvy or organic looking 3D models to be 3D printed. And they can turn out nicely.
But if you need mathematical precision and accuracy to those curves, perhaps a tool like Blender, Rhino or 3DS Max would be a better choice.
Similarly, you can use SketchUp to design 3D models of more mechanical, functional things to be 3D printed. And they can turn out nicely as well.
But if you're an engineer, perhaps a tool like Inventor or SolidWorks would be better for the task.
So long as you're aware of SketchUp's limitations in the more advanced scenarios above, you can be confident that SketchUp is a great choice when you're just getting started with 3D printing.
And for many, even as they become experienced 3D printers, SketchUp can continue be the right tool for all of their needs.
The key is to learn the fundamentals for how to use SketchUp to create models that can be 3D printed.
First things first: You must have a solid understanding of SketchUp's fundamentals.
You'll run into all sorts of trouble later if you don't invest some time learning the right way to use the basic tools and features up front.
And second: You need to make sure you know the design requirements for the 3D printer or 3D printing service you'll be using.
(More on that later.)
With those things covered, there are a few rules to keep in mind for designing a 3D printable model in SketchUp:
1) Model Large, Then Scale Down
Most objects you design to be 3D printed will be somewhat small, as most printers have a limit to how large an object they can print.
In SketchUp, when you design small things, it can be easy to create issues that prevent your model from being 3D printable.
There's a trick to overcome this:
Simply create your model at a larger scale - say 100x or 1000x the size it should be - and then scale it down by the same factor at the end.
2) Create "Solid" Groups or Components
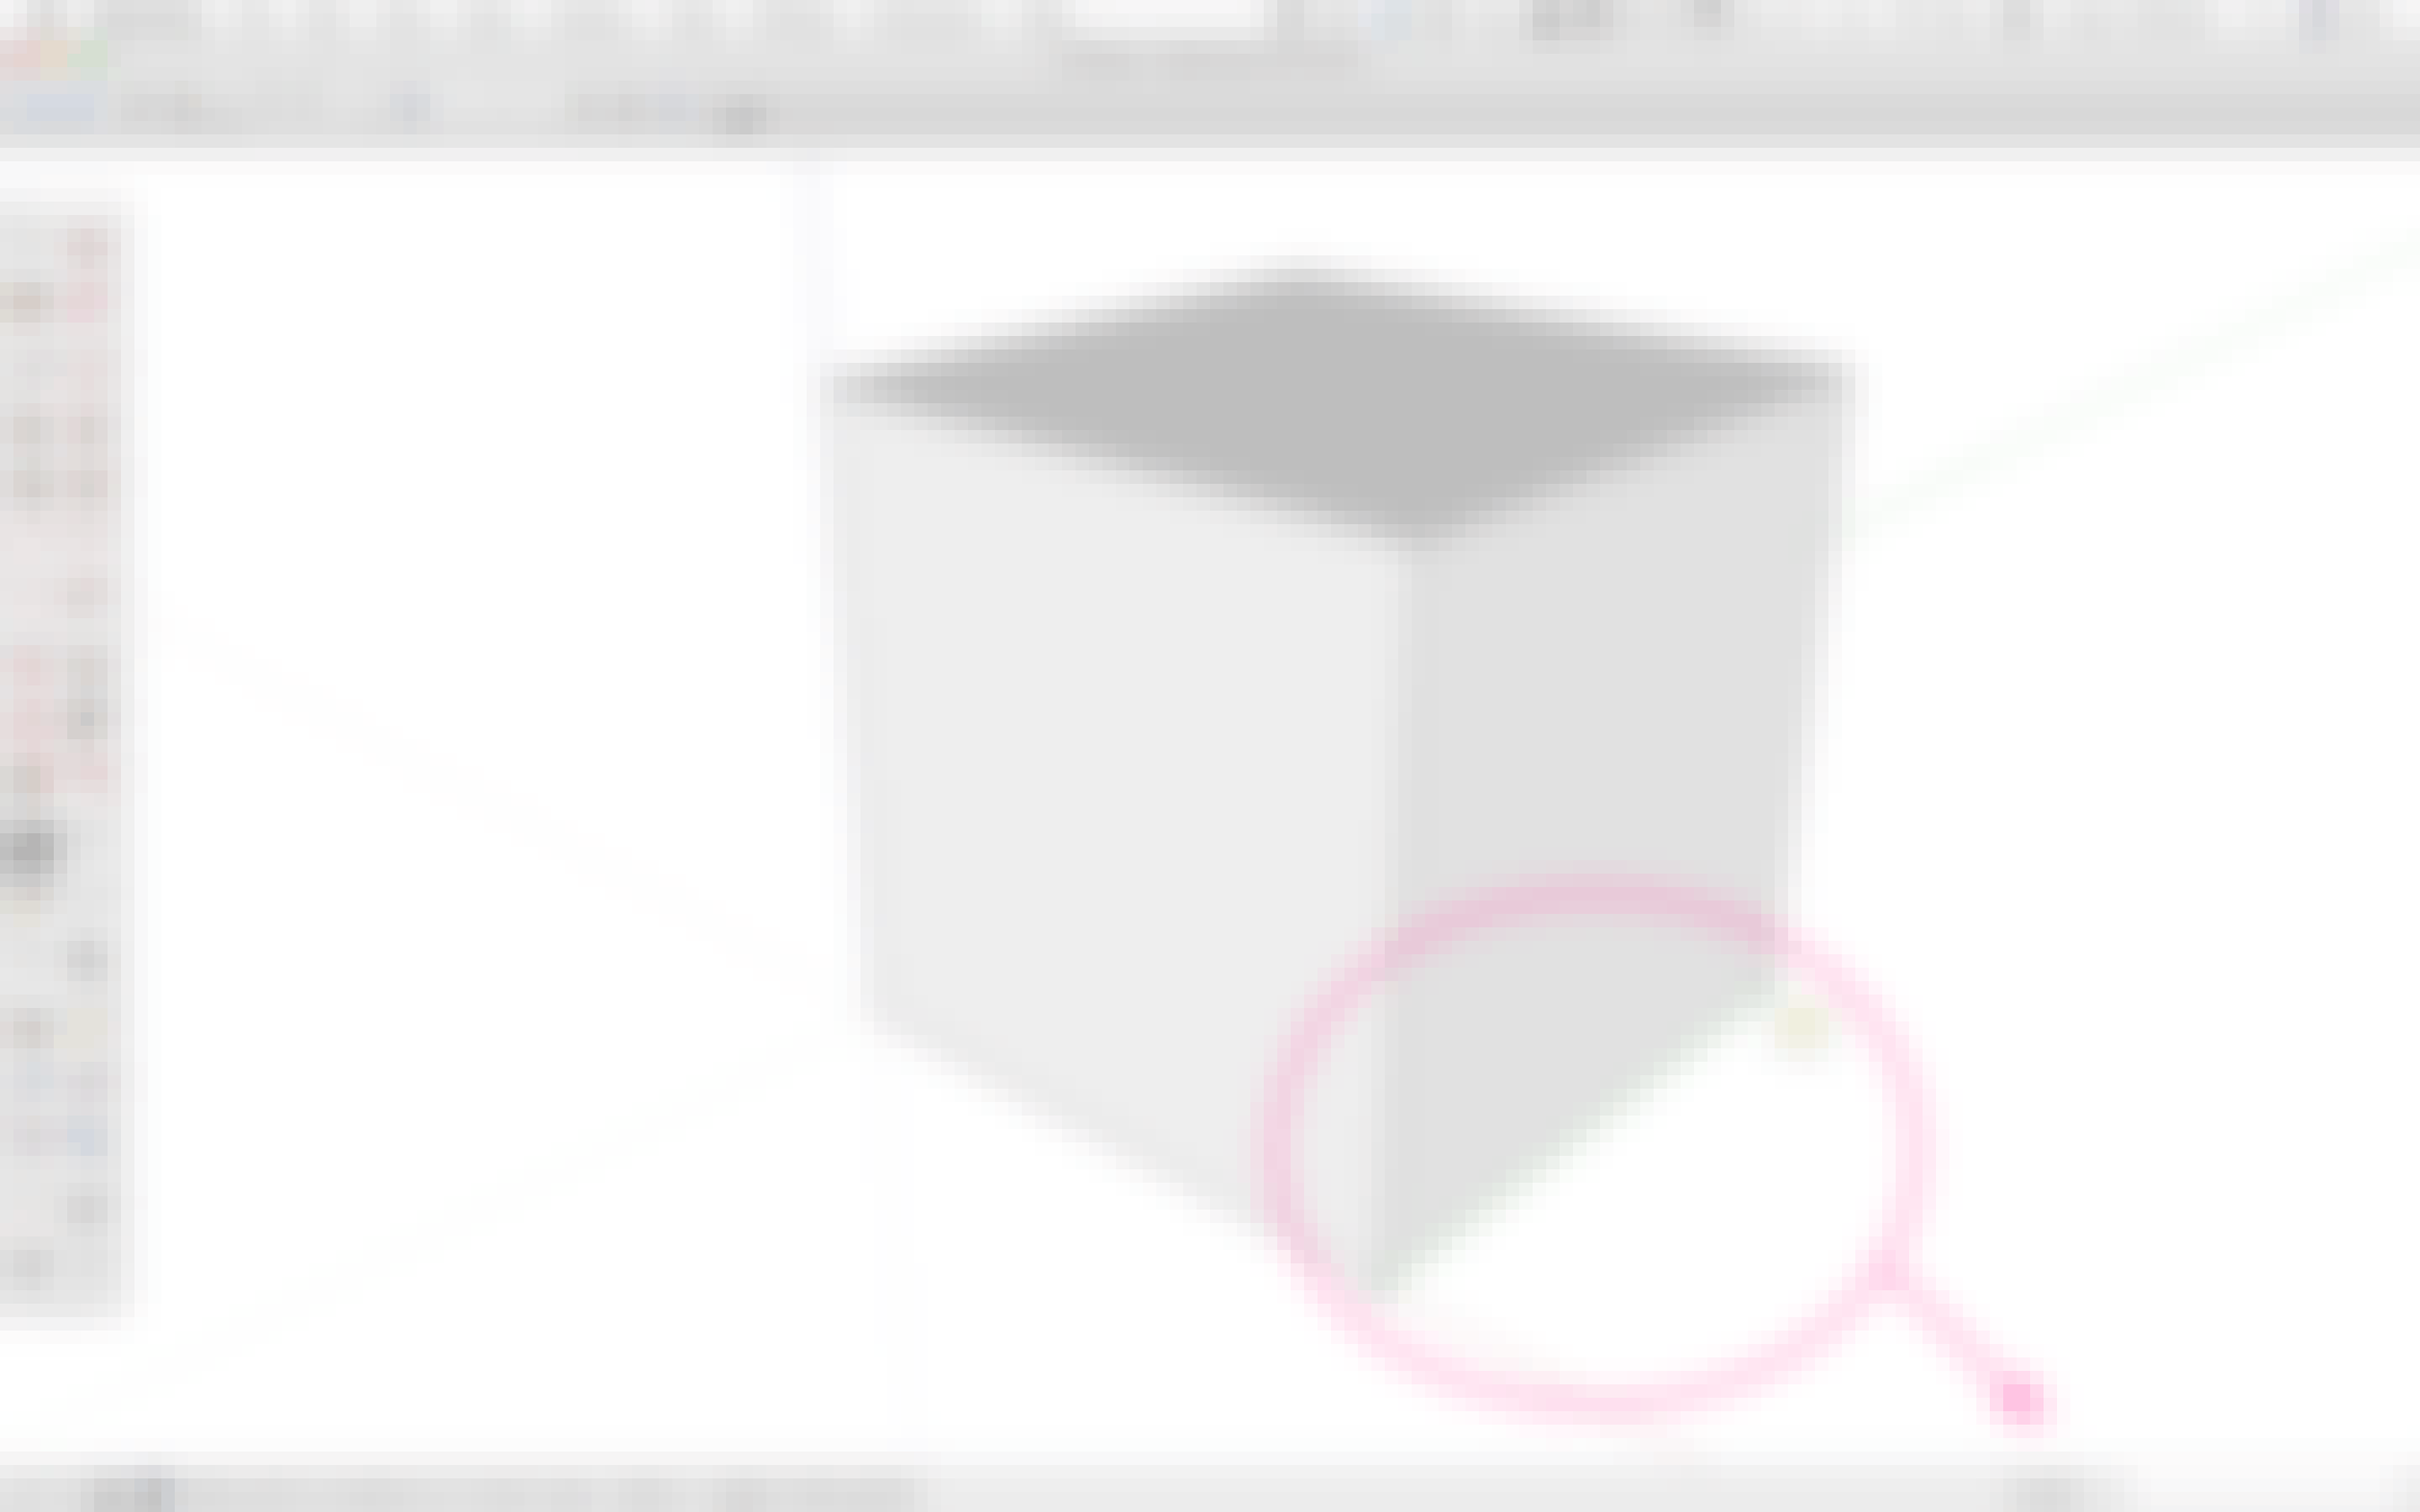
3D printers can only print "solid" models. A “solid” model is commonly described as a watertight model.
Take a cube for example:

If it has all six sides in tact, and they are all attached at the edges, it’s a solid.
But if it is missing a side,

or the edges don’t meet up,

water would leak out (if it was filled with virtual water!), which means it would not be a solid.
To continue with the example, once you've built your watertight cube, you should make it into a Group or Component.
It's now a 3D printable solid model. You can be sure by checking the Entity Info dialog for "Solid".
3) Give "Walls" a Thickness
Of course, your model may need to have a hole or opening in it. To make sure that sort of a model is a 3D-printable “solid”, you just need to make sure that the walls have a thickness.
4) Orient Faces
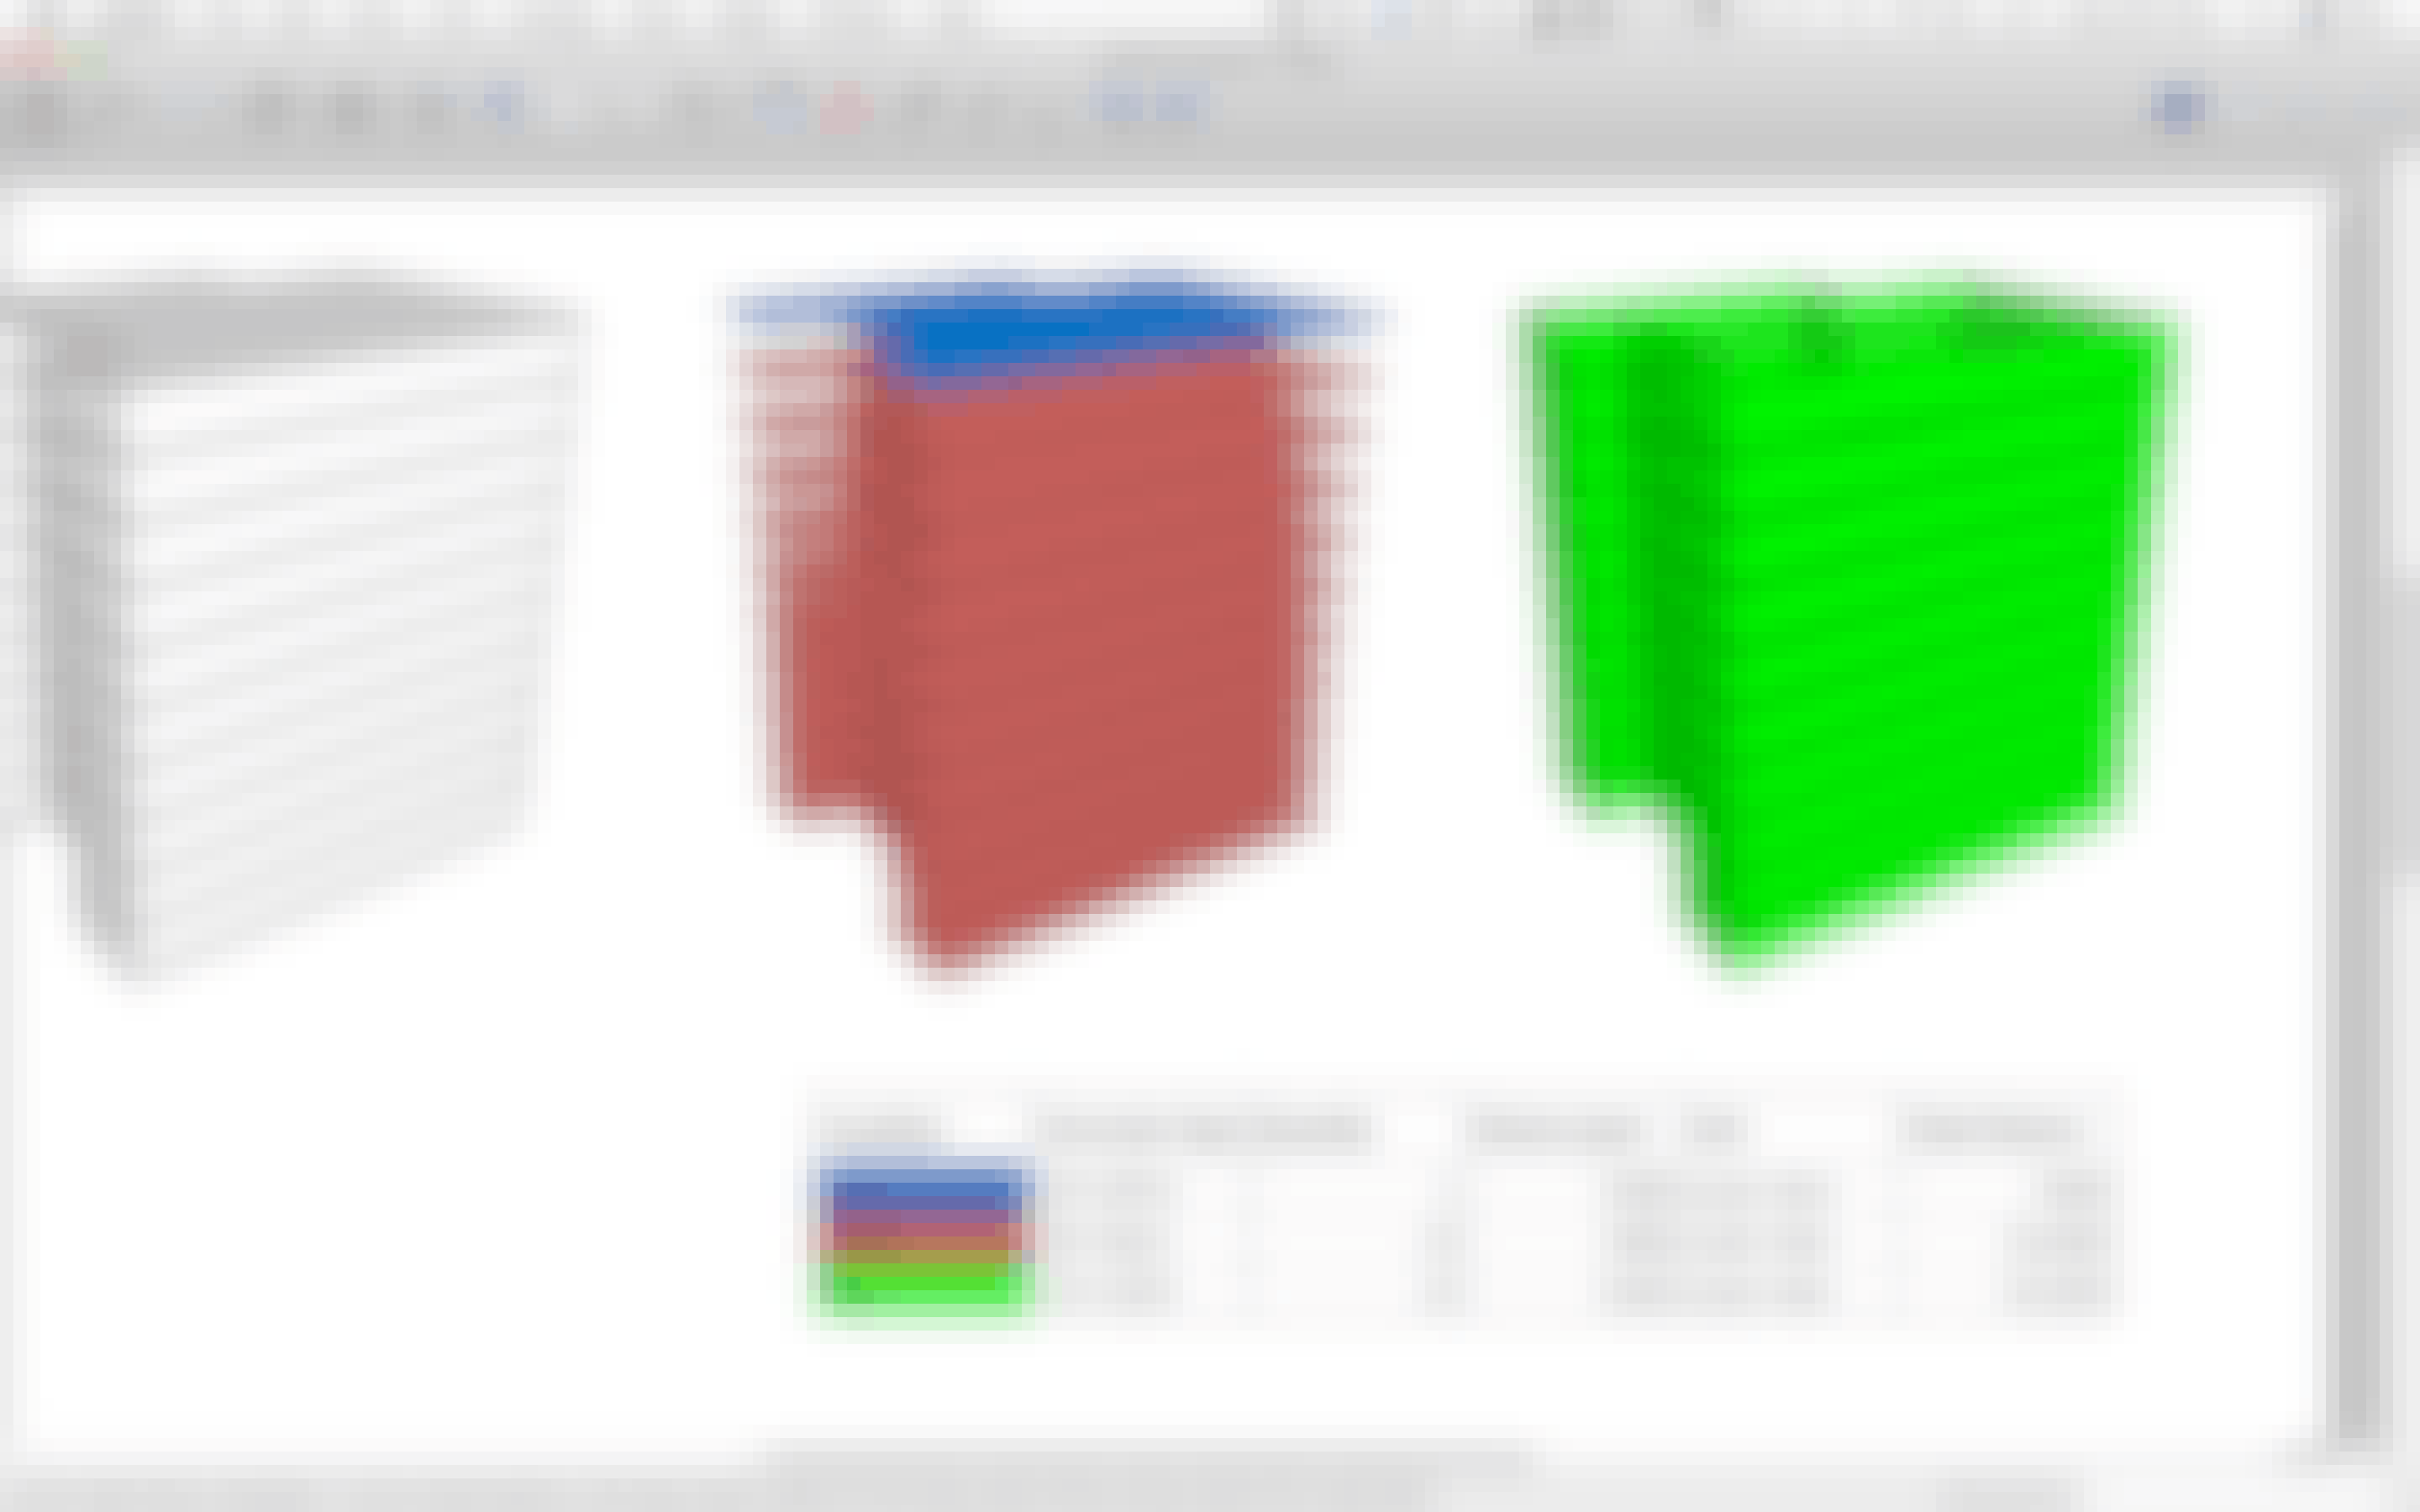
Along the way, make sure that all of your white surfaces are facing out and your blue surfaces are facing in. 3D printers don’t like models that are inside-out.
5) Increase Detail for Curves
Now for anything you’re modeling that has curves, you’ll need to increase your Arc or Circle segments to avoid a faceted 3D print.
6) Increase Subdivisions for Organic Shapes
The same goes with more organic looking surfaces and shapes: You’ll want to increase your mesh subdivisions for smoother, less faceted 3D prints.
7) Use Outer Shell for Complex Objects
And for any more complex objects that you want to create, here’s a tip: Model the parts and pieces as separate Groups or Components and then use the Outer Shell tool in the Solid Tools toolbar to combine them.


8) Solve Problems with an Extension [Optional]
There are a number of extensions that can help you either create the shape you want, or help you turn that shape into a 3D printable solid.
If you need help finding the right extension for your specific situation, let us know and we'll gladly help.
9) Print your Model
Once you've created a 3D printable solid model in SketchUp, you can either print it on your own printer or use a 3rd party 3D printing service.
3D print it yourself:
If you plan to use your own 3D printer, your process might look like this:
Or use a 3D printing service
If you don’t have access to a 3D printer, you can upload your file to a 3D printing service website like Shapeways, Sculpteo or iMaterialise.
They’ll print it and mail it to you.
Have a conversation with us! Tell us about what you're wanting to do in SketchUp, and we’ll make some recommendations about tools and training that can help you reach your goal.
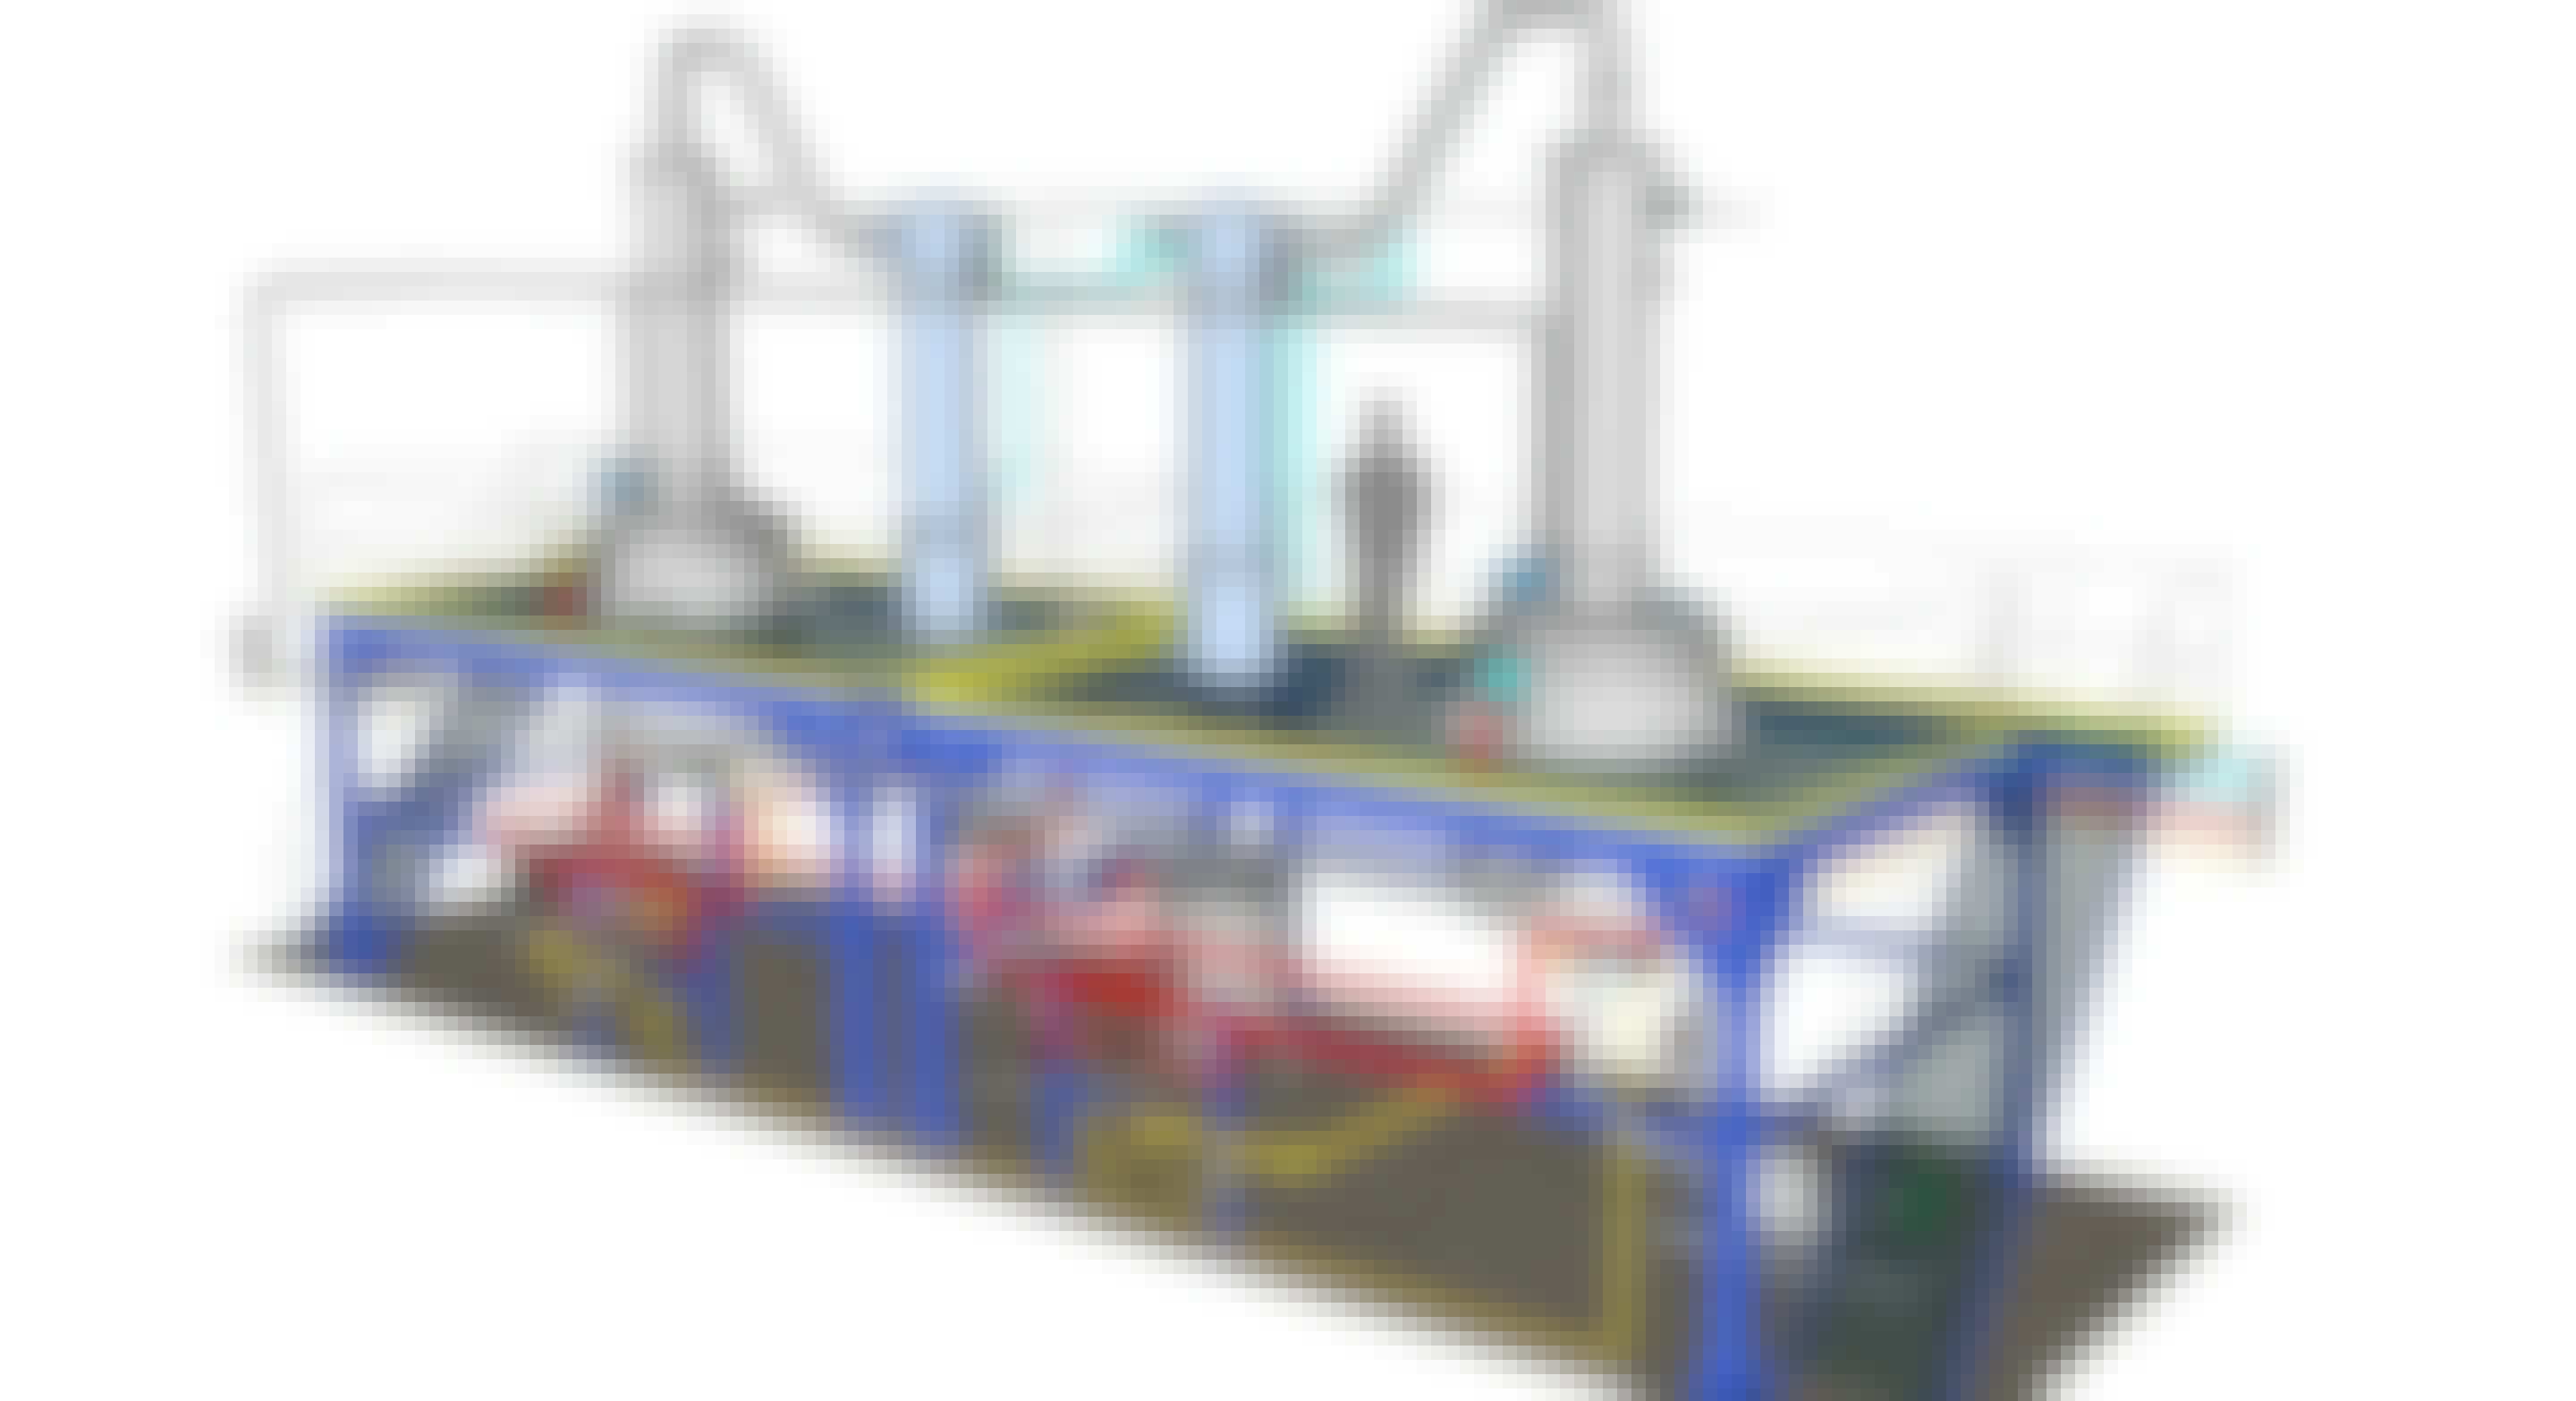
In this chapter, we'll show you how SketchUp fits into your existing CNC fabrication workflow, including how to export to a file format you can use to create your router's toolpaths.
Let's get started!
As we’ve mentioned before, it’s important that you start with a solid understanding of the fundamentals. This will allow you to build an accurate, organized SketchUp model that will make or break your success later.
Also, it may be necessary to add extensions that help you design and prepare your model specifically with CNC fabrication in mind.
If you need help finding the right extension for your specific situation, let us know and we'll gladly help.
Once you have a sound SketchUp model, you'll need to export a file that can be imported into your CAM program.
The types of files that a CAM program will accept varies by application.
If you need a .pdf, .eps, .dxf or .stl file, you can export those directly from SketchUp Pro.

Then of course, you'll bring the exported file into your CAM program, clean-up or tweak things as needed, generate your CNC control program and ultimately use it to run your machine.
In the end, you’ll end up with your SketchUp-to-CNC fabricated product!
Of course, the details of the entire process depend quite a bit on what you want to make and the types of CAM software and CNC router you are using.
Have a conversation with us! Tell us about what you're wanting to do in SketchUp, and we’ll make some recommendations about tools and training that can help you reach your goal.
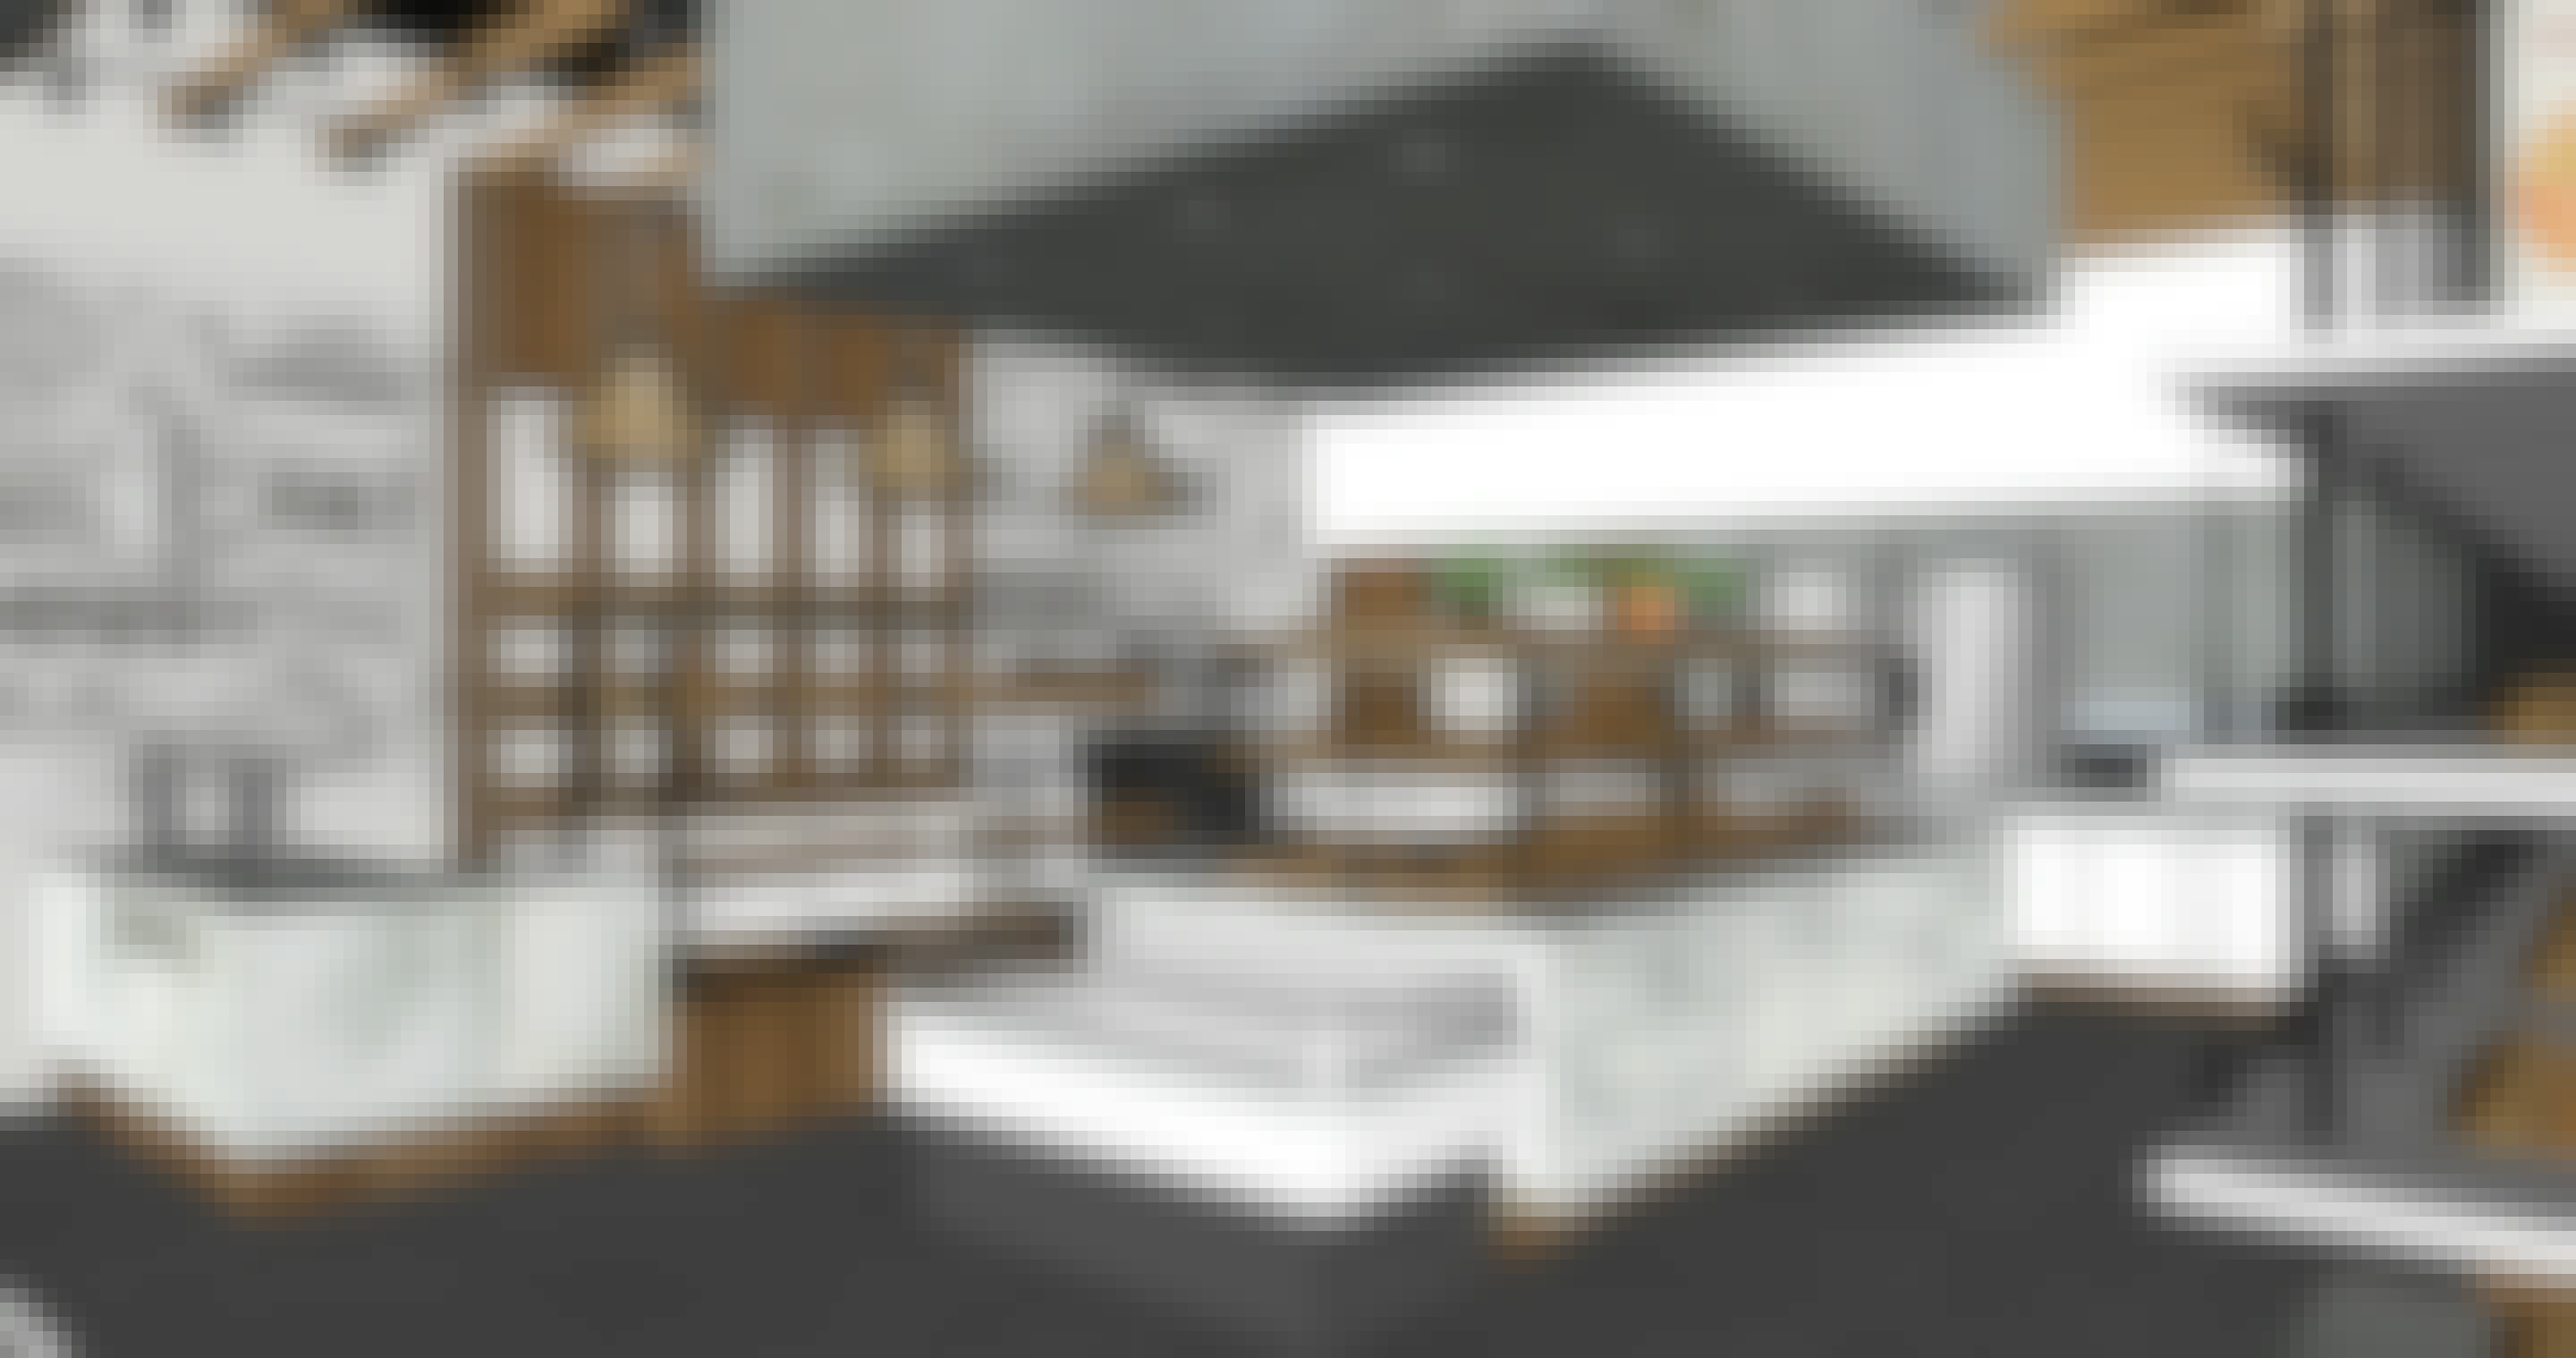
Woodworkers love SketchUp!
From how SketchUp works, to specific tools and features that are perfectly suited to woodworkers, this chapter will show you why SketchUp and woodworking are a match made in heaven.
Read on.
SketchUp is a fantastic planning tool for woodworkers. It can save you time, materials and money by letting you test your designs before you even make your first cut.
Specifically, these are the aspects of SketchUp that Woodworkers love:
In SketchUp, you model in a way that is similar to how you work with wood in your shop:
You can use the Tape Measure, Protractor and Drawing tools to draw a piece of wood, take measurements and make marks.
Then you can use the Push Pull or Follow Me tools to cut, drill or carve each part.
You can model precisely how everything fits together, right down to the half blind dovetail joints.
If you have SketchUp Pro, you can add extensions that help you draw more complex details.
Of course, every project is unique and may require unique tools.
If you need help finding the right extension for your specific situation, let us know and we'll gladly help.
Also in SketchUp Pro, you can add extensions that help you create cut lists.
Here are a few popular cut list extensions to choose from:
If you have SketchUp Pro, you can use LayOut to turn your SketchUp model into a detailed set of shop drawings.
Have a conversation with us! Tell us about what you're wanting to do in SketchUp, and we’ll make some recommendations about tools and training that can help you reach your goal.
We hope you enjoyed our new-and-improved Guide to Getting Started with SketchUp.
Special thanks to our friends in the SketchUp community for sharing their time and expertise on this guide:
Aerilius, Michael Brightman, Tammy Cody, Carsten Unverzagt, Matt Donley, Julia Eneroth, John_drivenupthewall, Dale Martens, Dave Richards, Bonnie Roskes, Eric Schimelpfenig, Larry Zent