YouTube video notes for:
7 Tips for Exterior Renderings with V-Ray for SketchUp
These are the full notes for our video — every tip, screenshot and step, right on this page.
Download these notes as a PDF#1 Compose Your Shot
The quality of your final rendering depends on how you compose your shot. Here are some best practices:
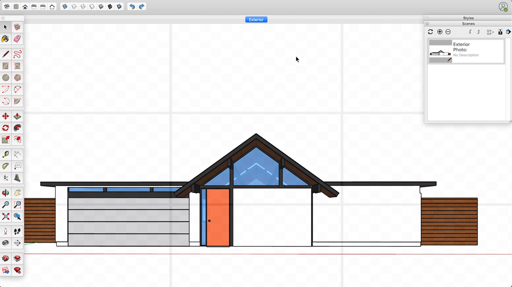
- Pick the Look Around tool, type an eye height (e.g. 5’6) and press Enter.
- Top menu: Select Camera > 2-Point Perspective
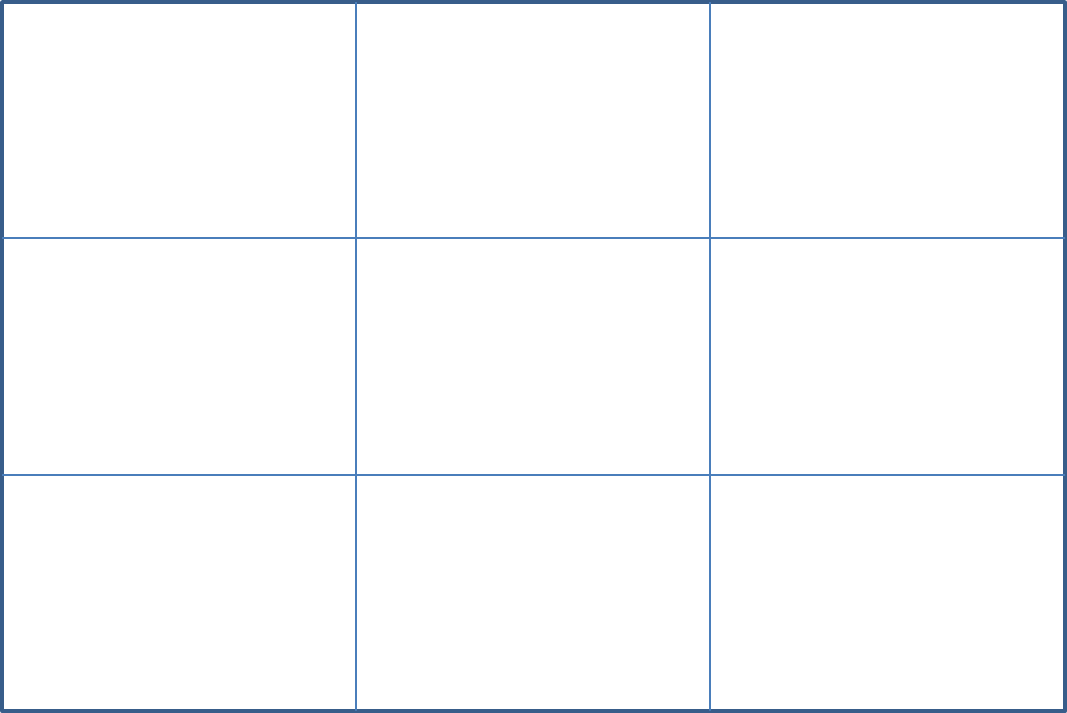
- Use the Rule of Thirds overlay grid to help you frame your shot. To do that:
- Click here to download the Rule of Thirds .png file
- In SketchUp, open your Styles dialog
- In the Edit tab, select Watermark and click the “+”
- Follow the steps, setting it up as an Overlay, Stretch to Fit Entire Window, and unlock the Aspect Ratio
#2 Choose the Right Lighting
Your first priority is to get your lighting right. To start, be sure you follow these steps:
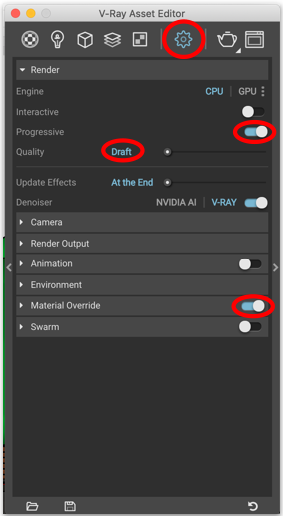
- In the Asset Editor, turn-on Material Override
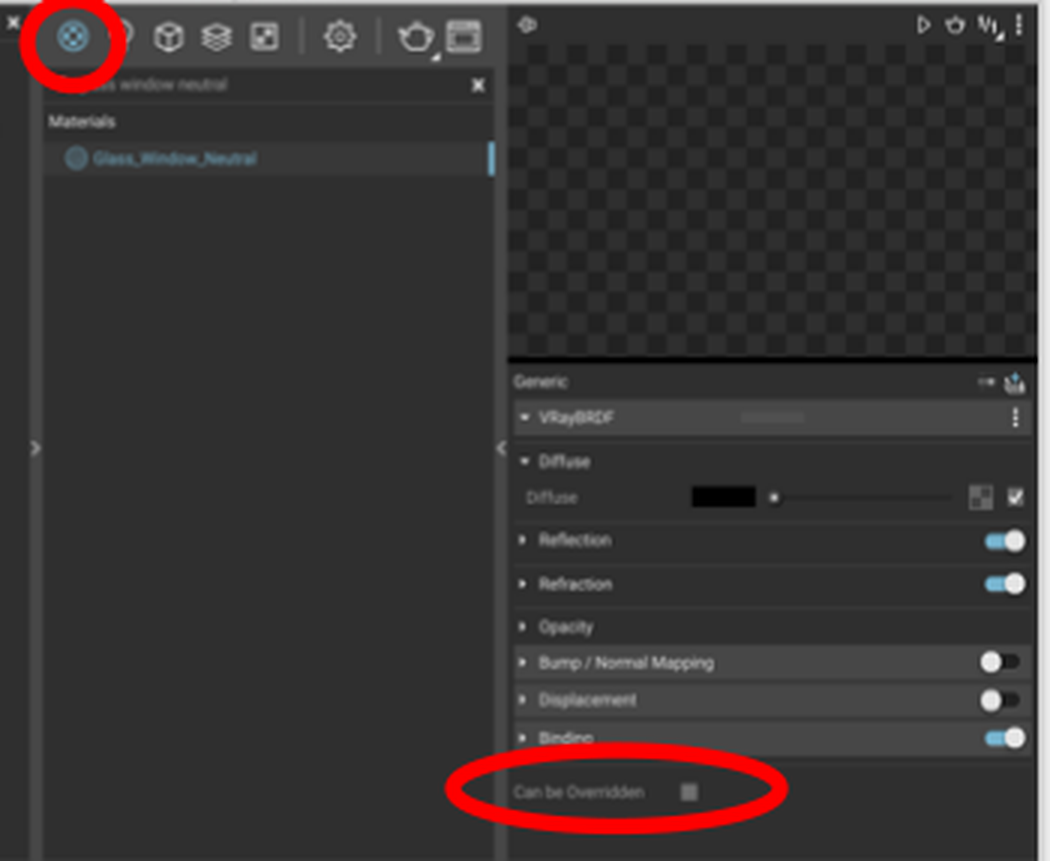
- In your Glass material’s settings, uncheck Can Be Overridden so that the light can pass through the glass.
- Set-up draft render settings: Turn-on Progressive, set Quality to Draft, and turn Auto Exposure on.
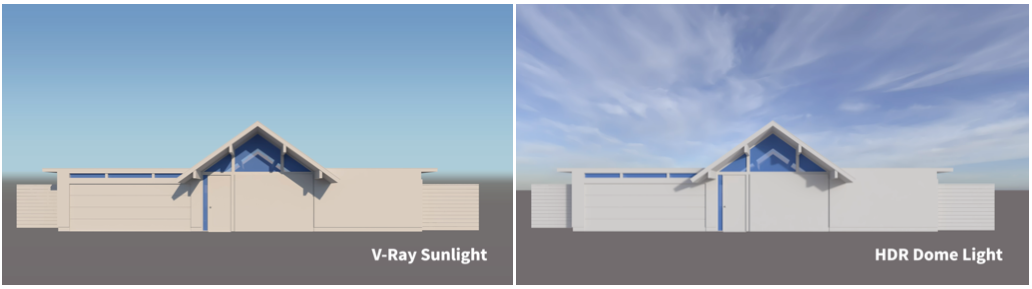
Then decide on whether to use V-Ray’s default Sun or a V-Ray Dome Light:
#3 Use Realistic Materials
Once your lighting is set-up, you can turn-off Material Override. But your basic SketchUp materials won’t look great. Swap them for ones that come with V-Ray:
- In the Asset Editor, in the Materials menu, right-click on a SketchUp material and pick Select Objects in Scene
- Drag a V-Ray Material into your Materials list
- Right-click on the V-Ray Material and pick the option for Apply to Selection
#4 Fill-in the Environment
While you can fill-in the Environment later in Photoshop, here are some tips for handling it in SketchUp and V-Ray:
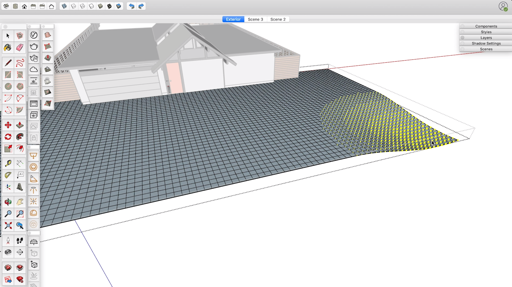
- Model terrain with the Sandbox tools, or with an extension like Artisan.
- For 3D grass, make the target surface into a Group. Select it, then click on the V-Ray Fur icon.
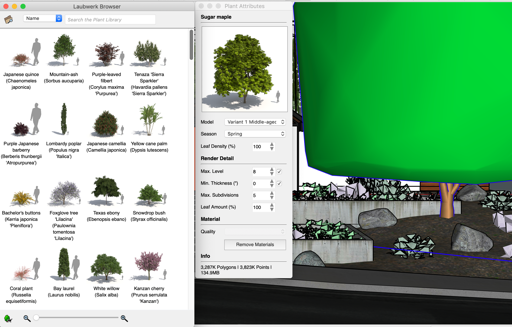
- For plants, trees, rocks and other elements, look online for V-Ray proxies that you can import. You can also use an extension like Laubwerk to bring-in high quality tree and plant proxies.
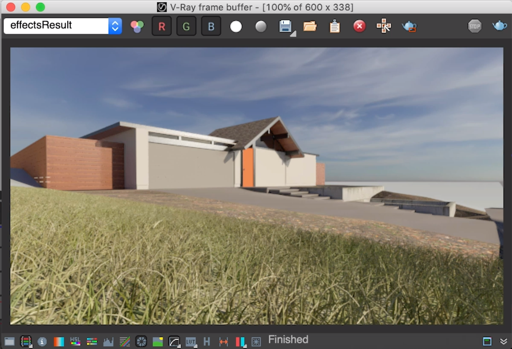
Adjust the scale and orientation of objects in your environment to make them look more realistic and natural.
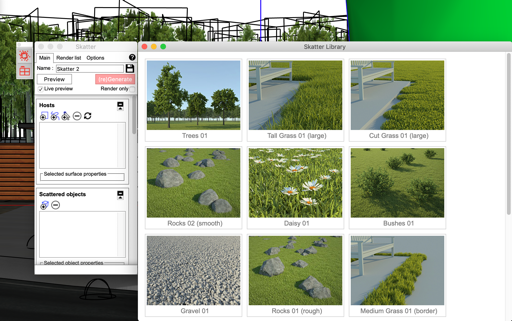
Or use an extension like Skatter to assist you in randomizing proxies.
#5 Add the Smaller Details
Often, the difference between a good rendering and a great one is the attention paid to adding all of the small details that are present in the real world. Here are three ways to handle adding details to your rendering:
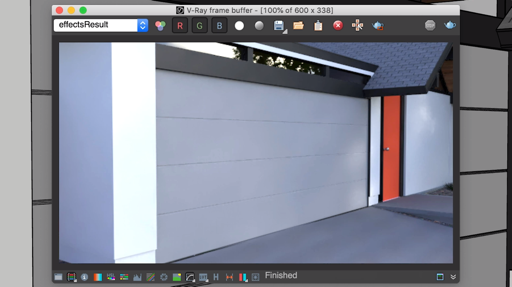
- Model the details in SketchUp. This works best when you can model them quickly and they don’t weigh the model down with too many extra polygons.
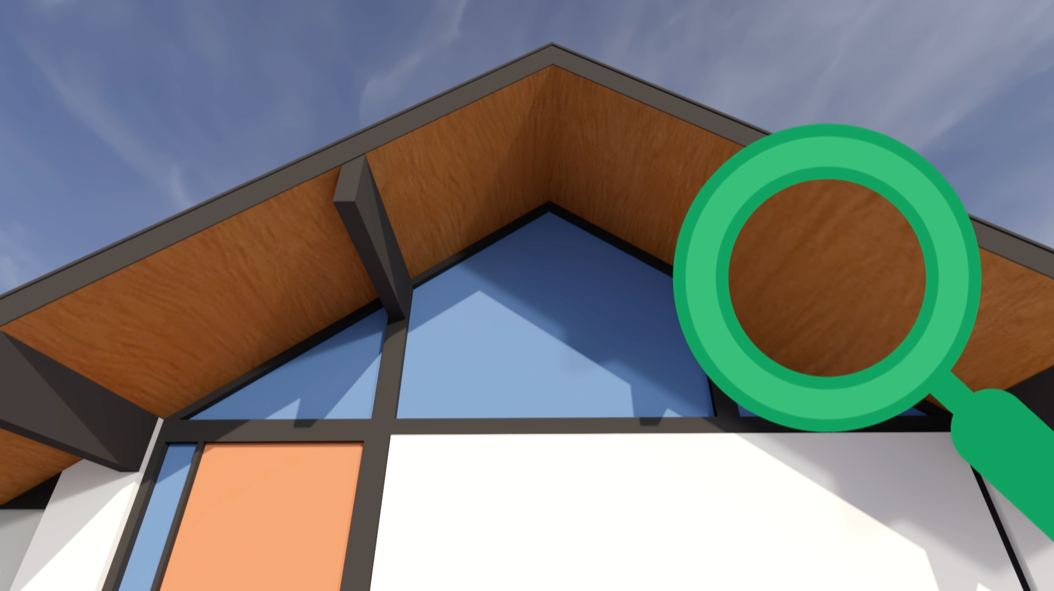
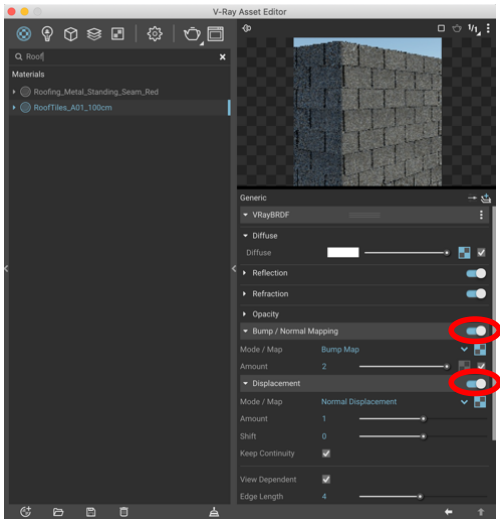
- Use Materials with Bump/Normal Mapping. This will give your material the appearance of 3D texture and detail. It works great for smaller or more numerous details that would be impractical to model in SketchUp.
- Use Materials with Displacement Mapping. This will actually render 3D details on your material without you needing to model them in SketchUp. The downside is that it slows down your render speeds A LOT. Only use for objects that are really close to the camera where seeing those details is critical.
#6 Set-up your Final Render Settings
Most of what makes a render great has to do with everything covered in steps 1-5. Once you complete those steps, use these settings to create your final rendering:
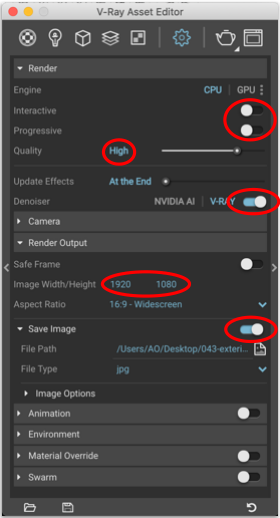
- Use Bucket Rendering mode. To do that, turn-off both Progressive and Interactive.
- Switch Quality to High. You don’t need to use the Very High setting since that adds a lot more render time for not much better of a result.
- Be sure Denoiser is on. This will eliminate some of the graininess that can appear in certain rendering conditions.
- Set your Image Width/Height to the full size you need. Make sure to think about where you need to show the image and set your dimensions to match.
- Switch on Save Image. When the rendering is done, it will automatically save the file for you. Be sure to select the file type you need as well.
And if you plan to enhance your rendering in Photoshop, consider adding Render Elements that you can use later when compositing.
#7 Make Basic Image Adjustments
Most professional renderings have some amount of post-production work done on them, usually in Photoshop. But there are some things you can do in the V-Ray Frame Buffer that might be all you need. Here are the biggest ones to consider:
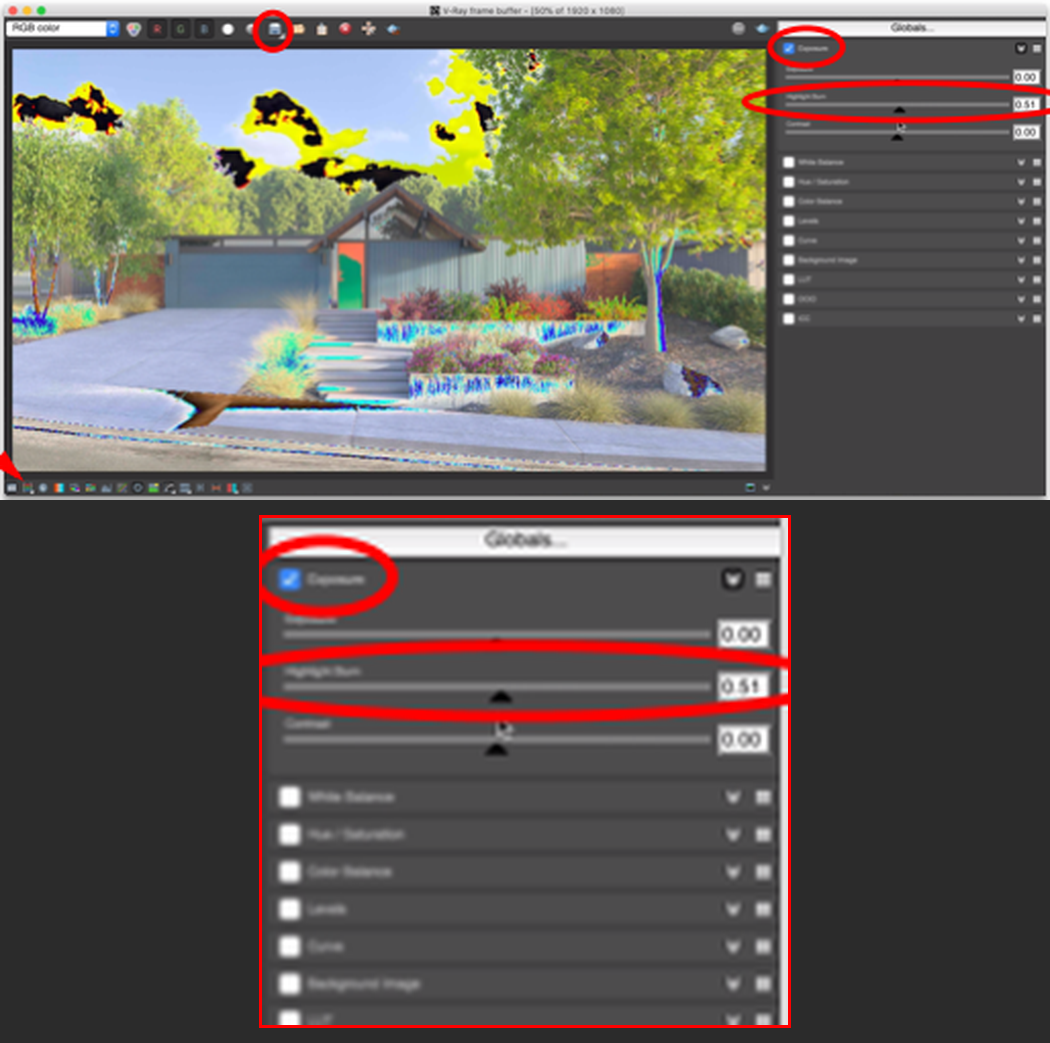
- When your image is finished rendering, in the V-Ray Frame Buffer, click on the Show Corrections Control icon
- Also click on Force Color Clamping. This will show you the burned-out areas in your image (as strange colors).
- Turn-on Exposure, then click the down arrow to show the controls. Adjust the Highlight Burn until the strange Force Color Clamping colors go away.
You might also consider trying other Corrections Controls. When done, click the Save icon to save the corrected image.
BONUS Exterior Rendering Resources
HDR Images (for Dome Lights)
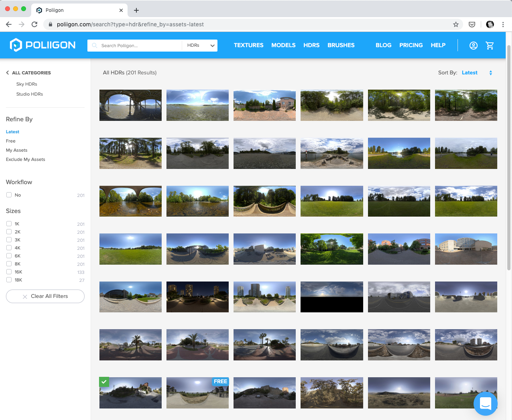
Poliigon is a great place to find HDR images to light your model. While most images can be purchased, there are a few free images you can use to try Poliigon out. And if you can’t find the right HDR at Poliigon, take a look at PG Skies.
Realistic Materials
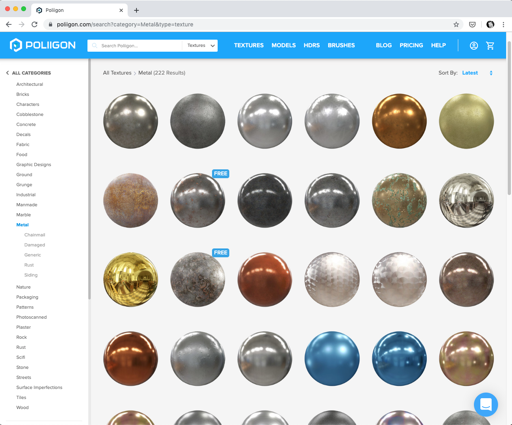
Poliigon is also a great place to find realistic materials, along with all the files you need to automatically configure Reflection, Refraction, Bump/Normal Mapping and more. Most materials need to be purchased, but again there are free ones you can try out first.
Another option: Chaos, the makers of V-Ray, offer VR Scans, a library of over 1000 photoreal materials. It’s a paid library, but there is a free trial.
BONUS Exterior Rendering — Helpful Extensions
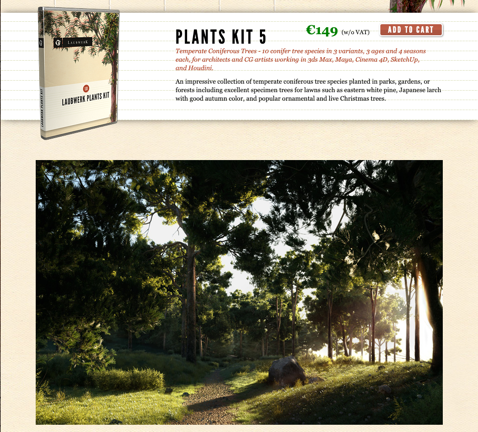
Laubwerk offers kits of realistic, 3D trees and plants along with a “player” (a SketchUp extension) that makes it easy to modify the shape, age, season and level of detail for each plant. The 3D plants are imported as low polygon proxies that render in high resolution detail in V-Ray. There is a cost to purchase each plant kit, but there is a free kit you can try.
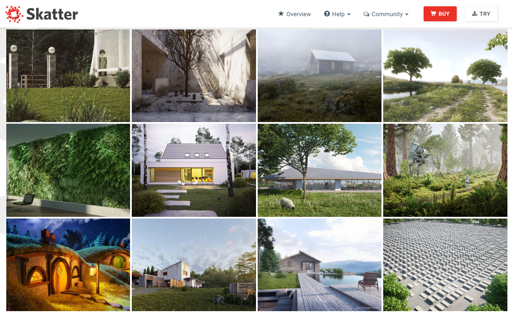
Skatter is a SketchUp extension that helps you scatter large numbers of objects in your model. While you can scatter anything, it is especially helpful for filling-in your environment by scattering a large amount of trees, bushes, grass, rocks, pebbles and more. They are all imported as low-polygon proxies that render in high resolution detail in V-Ray. There’s a free trial available.
YOUR NEXT STEPS
We hope our 7 Tips for Exterior Renderings with V-Ray for SketchUp video and these notes have gotten you started down the right path.
From here, it’s definitely possible to learn everything on your own. But if you don’t have the time to figure out what you need to know, and you can’t afford to pick up bad habits, we recommend checking out our Video Course Library.
It’s filled with $8700 worth of SketchUp training exclusively for professionals — including our V-Ray for SketchUp courses.