YouTube video notes for:
How to Create a Floor Plan with SketchUp Free
These are the full notes for our video — every tip, screenshot and step, right on this page.
Download these notes as a PDF#1 Get SketchUp Free Setup for 2D
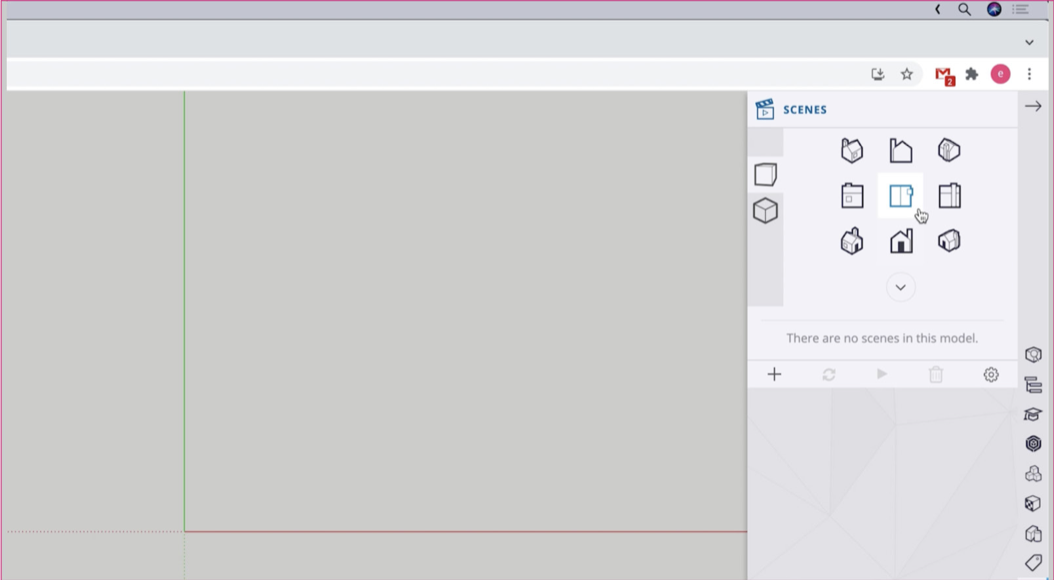
Start in a Top Down or 2D view to more easily draw the footprint of your room or building.
To begin, go to app.sketchup.com to launch SketchUp Free, click Create a new File and pick the Feet and Inches Template. Then in SketchUp, we recommend starting from a Top Down view from the Scenes panel.
While you’re still technically in a 3D environment, the Top Down view allows you to focus solely on drawing on the 2D ground plane. Just be sure not to Orbit into a more 3 dimensional view - while you can still create a 2D floor plan in a 3D view, it can feel more difficult.
#2 Draw the Floor
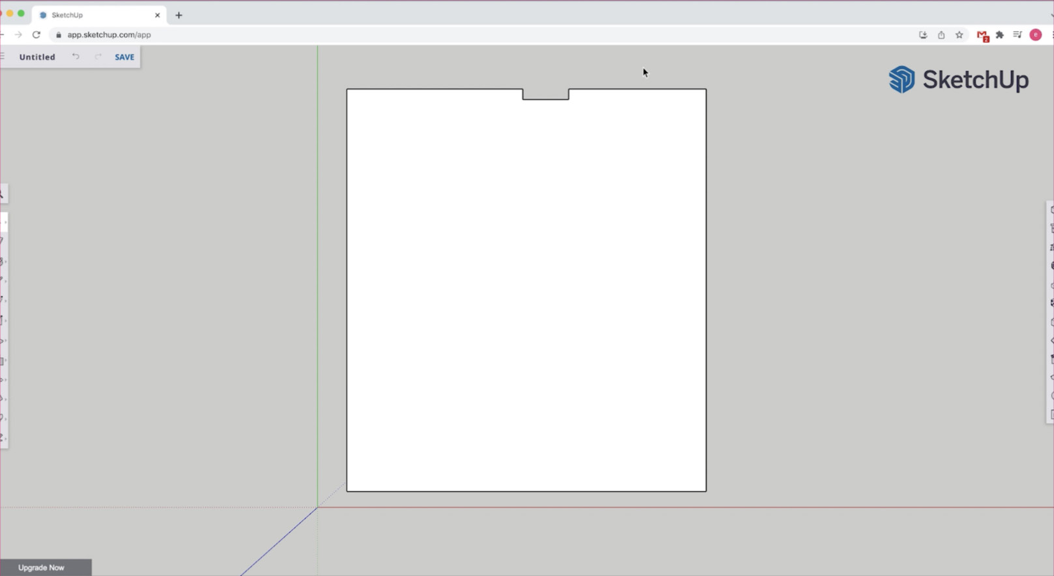
When drawing a floor plan from scratch, it’s best to use the Line tool along with typing-in dimensions as you go.
While we cover the workflow for starting from a PDF or CAD file in our SketchUp for Interiors course on our website, you can only import those types of files if you’re using SketchUp Pro.
Since we’re using SketchUp Free in this video, we’ll focus on the scenario where we’re starting from field measurements and need to draw out our floor plan from scratch.
Once we’ve got all our measurements, we’ll want to start by drawing the floor. To do this, we’ll need to use SketchUp’s basic drawing tools - typically either the Line tool or the Rectangle tool. The Line Tool is the most versatile as we can go dimension by dimension around the floor to draw it out.
#3 Draw the Exterior Walls
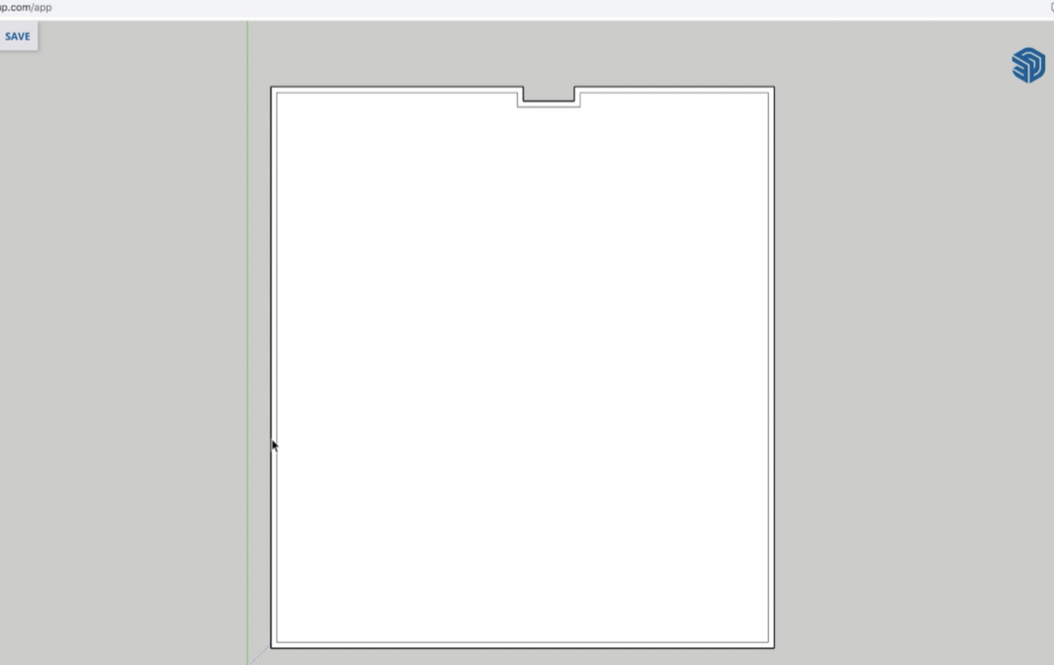
Offset the exterior walls, then create the door openings.
The easiest way to create the exterior walls is by using the Offset Tool. With the Offset Tool, click once on the face of the floor, then move the mouse to begin offsetting the wall. Type-in the dimension for the wall thickness and press Enter or Return.
Next, create your exterior doorway openings: When you’re new to SketchUp, we recommend you use the Tape Measure Tool to set-up guidelines that show you exactly where the openings need to be. Then take the Rectangle Tool and draw a rectangle that snaps to the intersection points of the guide-lines on our walls. And then take the Eraser Tool and erase away the outside edge. And repeat these same steps for all of the door openings around your exterior walls.
#4 Draw the Interior Walls
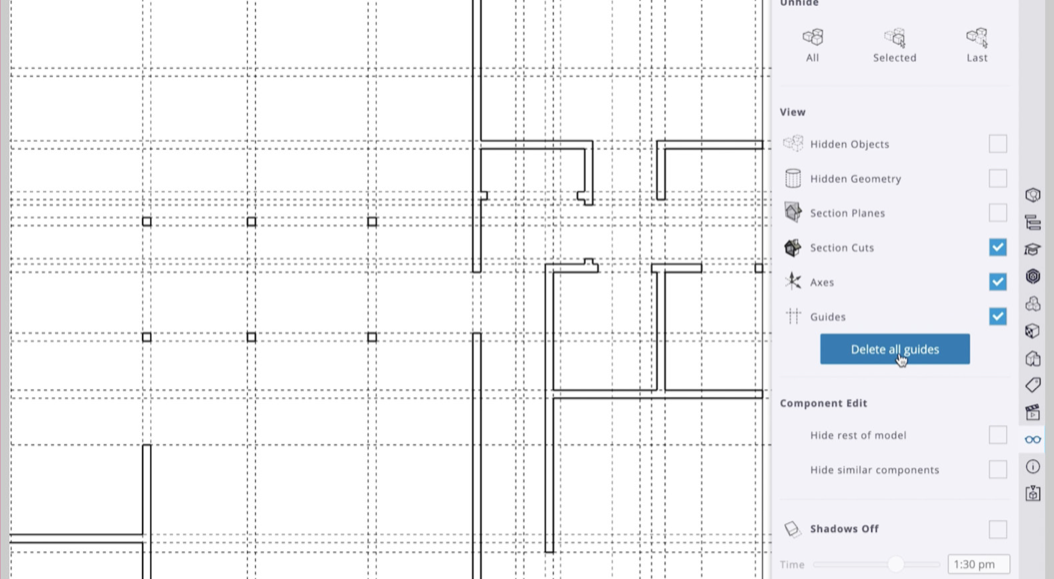
It’s easiest to use the Tape Measure Tool to set-up guidelines that help you draw accurate interior walls.
For new SketchUp users, we recommend using the Tape Measure tool to create guidelines for the Interior walls based on the dimensions from your field measurements. Then use the Rectangle tool to trace-in each wall segment. As you go, you can use the Eraser Tool to delete any unnecessary edges. And just repeat these steps again and again to draw-in all of the interior walls.
If at any point along the way we end up with too many guidelines getting in the way, we have two options: In some cases, we may only need to get rid of one or two. To do that, we can just Erase them with the Eraser tool. But in cases where we don’t want any of the guides we’ve created anymore, we can open the Display panel and select the option for Delete All Guides. That will clear all of them out so we can start again from a blank slate.
#5 Add the Windows and Doors
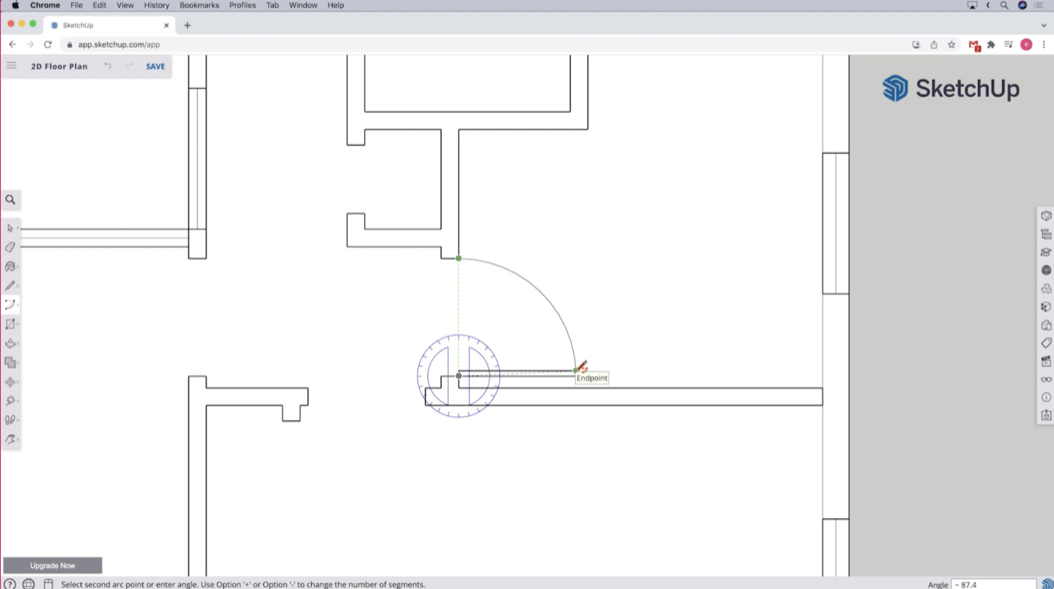
Components are Groups with a key difference: With multiple components, you can edit one to change them all.
You can use SketchUp’s drawing tools to create 2D representations of your windows and doors. Then, select the window or door, right-click on it and pick the option for Make Component. A Component in SketchUp is similar to a “Block” or “Symbol” in other CAD programs — that is, geometry drawn to represent objects in your design such as windows, doors, fixtures, and furniture.
In general, Components are for elements or objects that occur more than once in a design, or that may be used again in a future design. Like Groups, Components are protected from getting stuck to other things in your drawing. You can make copies of your Components using the Move tool. And then any edits you make to one instance of the Component will be made to all of the copies.
#6 Import Furniture and Fixtures
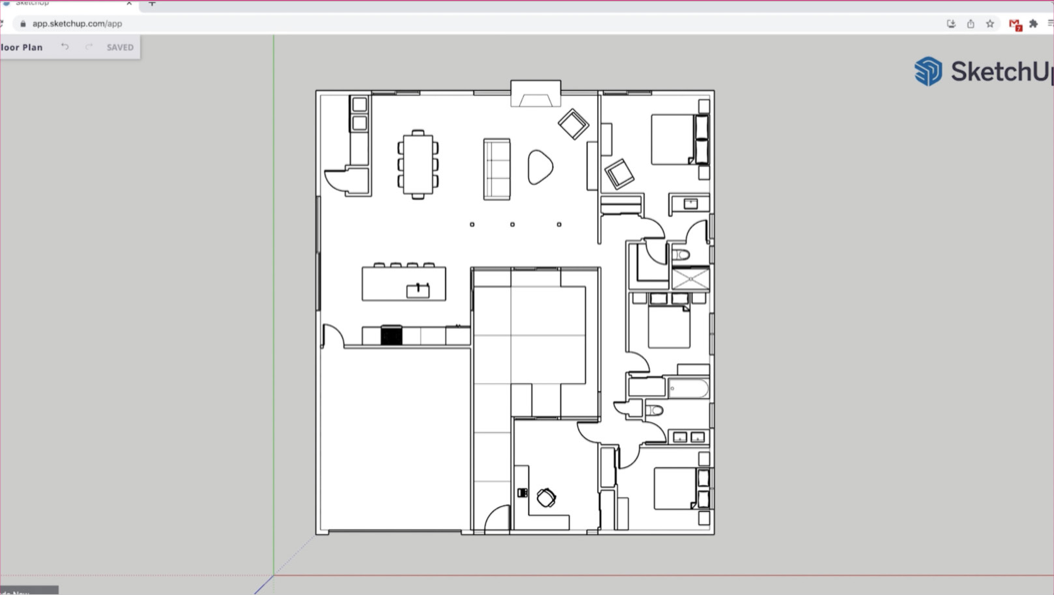
We created a Collection of 2D Symbols that you can access on the 3D Warehouse with a sampling of furniture and fixtures.
If you’re looking for 2D Components you can find some on SketchUp’s 3D Warehouse. To access the 3D Warehouse in SketchUp Free, click on the 3D Warehouse icon on the right side of the screen. In the 3D Warehouse search box, type “2D” and the name of the object you’re looking for and press Enter. Be sure to click on the Models tab and you should see a number of results. (You can also access a starter library of symbols we’ve created for you.)
Search for “How to create a floor plan” and click on the Collections tab to find the files we’ve shared with you. When you download and place a component, if it isn’t oriented properly you can rotate it or flip it. Then, move it into place with the Move tool — and remember we need to click on a precise point of the component and then click on a precise point in the floor plan to match things up perfectly.
#7 Style the Plan for Presentation
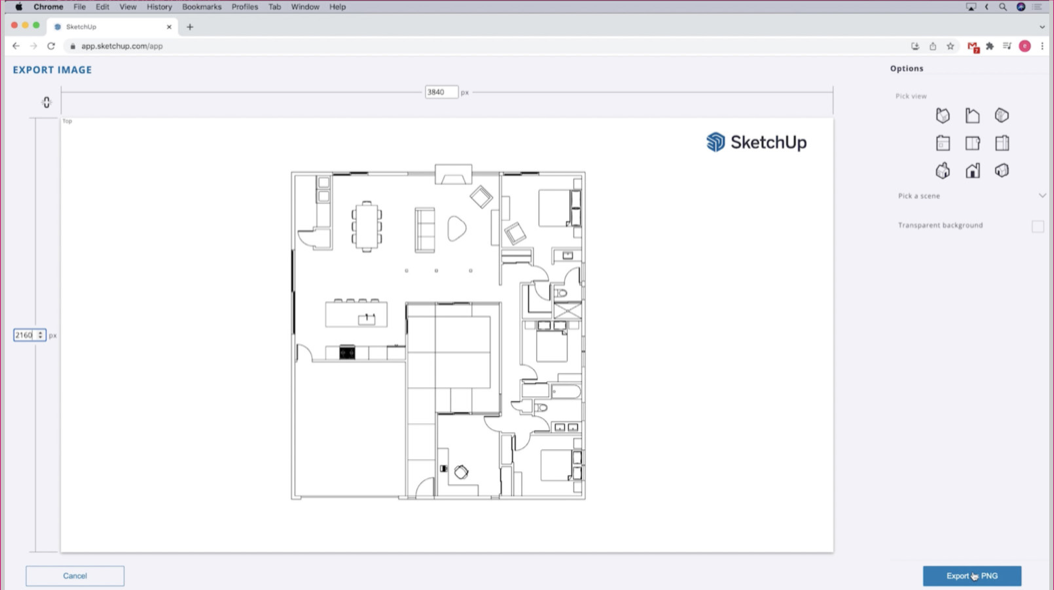
If you want to add dimensions, text, annotations - or you need to export a PDF - you’ll want to use SketchUp Pro.
To make your floor plan black and white, open the Styles Panel; Then pick Default Styles; Then click on the Hidden Line style icon. Then open the Scenes Panel, and make sure we’re still in the Top Down view. And of course, our final step will be to export an image of our floorplan. To do that, we’ll click on the top left menu icon and select the option for Export > PNG. We can set the dimensions for our final image and then click Export as PNG.
Know that PNG files will be rasterized — or have a set pixel dimension — which means the line work may not be crisp depending on how you plan to size and present the final image. If you need more crisp line work that looks perfect at any size, you’ll need a vector format, like a PDF, which you can only export using SketchUp Pro. Also, be aware that any image you export out of SketchUp Free will have SketchUp’s logo.
YOUR NEXT STEPS
We hope our How to Create a Floor Plan with SketchUp Free video and these notes have gotten you started down the right path.
From here, it’s definitely possible to learn everything on your own. But if you don’t have the time to figure out what you need to know, and you can’t afford to pick up bad habits, we recommend checking out our Video Course Library.
It’s filled with $8700 worth of SketchUp training exclusively for professionals — including our Complete Intro to SketchUp courses.