YouTube video notes for:
How to Model a House in SketchUp Free
These are the full notes for our video — every tip, screenshot and step, right on this page.
Download these notes as a PDF#1 Draw Accurate Walls
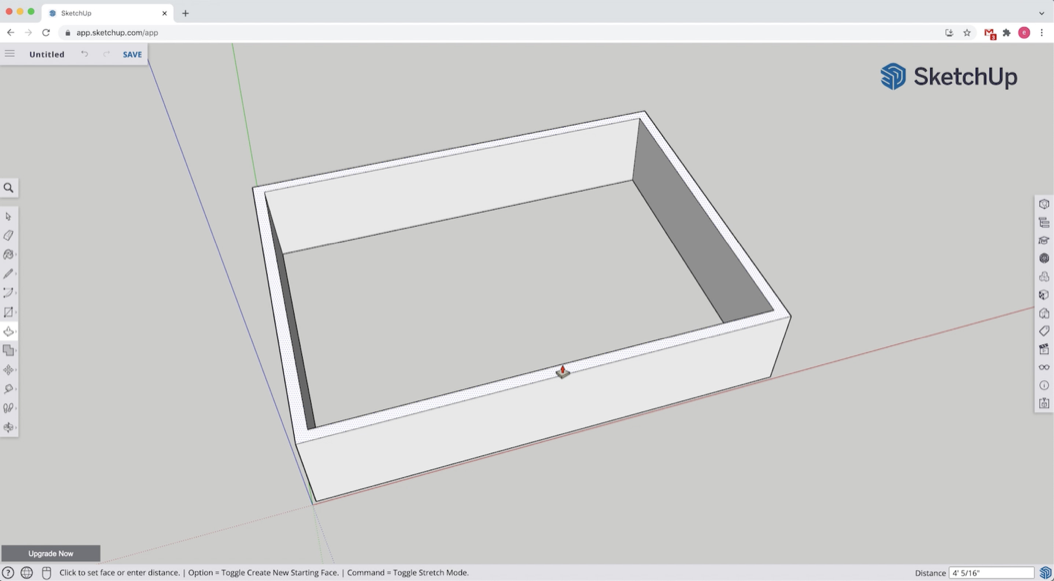
Start in a Top Down or 2D view to more easily draw the footprint of your room or building.
To begin, go to app.sketchup.com to launch SketchUp Free, click Create a new File and pick the Feet and Inches Template. Then in SketchUp, we recommend starting from a Top Down view from the Scenes panel.
Next, use the Line or Rectangle tool to create the 2D shape for the area of your floor. You can add accurate dimensions as you draw - just type the numbers and symbols (e.g., 20’) on your keyboard as you draw and press Enter or Return.
Then, use the Offset tool to offset the thickness of the walls. And use the Push Pull tool to extrude them up in 3D.
#2 Group Early (and Often)
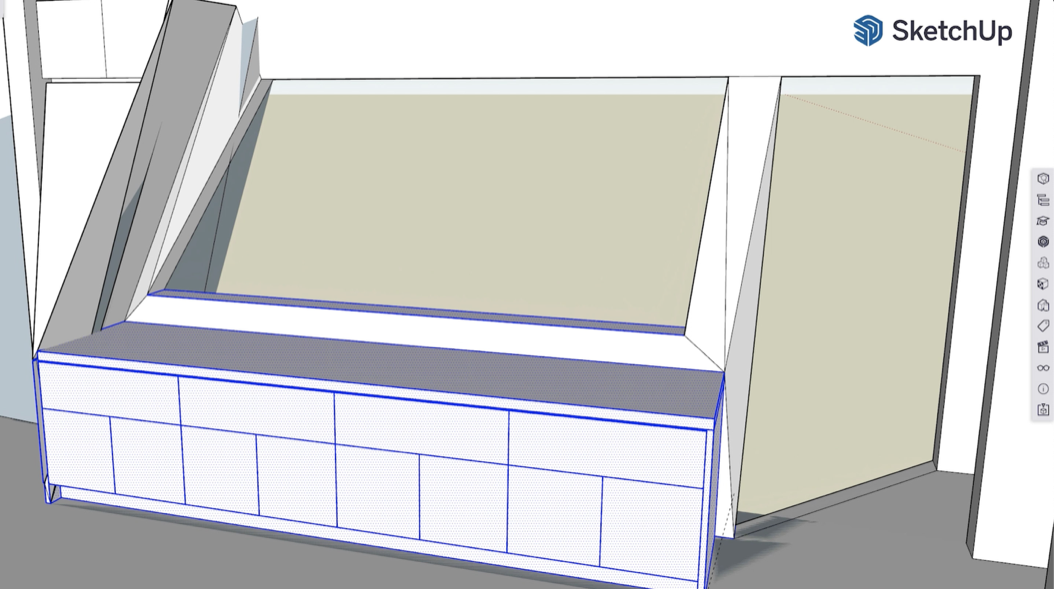
As soon as you create something distinct, like walls, you should make them into a Group.
To protect geometry you draw — such as walls — from getting stuck to other stuff, you need to turn it into a Group.
To do that, pick the Select tool. Then triple-click on the walls to select them all. Then right-click on that selection and pick the option for Make Group. Now, anything you draw that touches the Walls won’t get stuck to them!
You should continue to do this for each distinct thing you create - from the Floor to the Roof and everything else - as you build out this project or any other you work on. Your future self will definitely thank you!
#3 Edit Groups to Add Detail
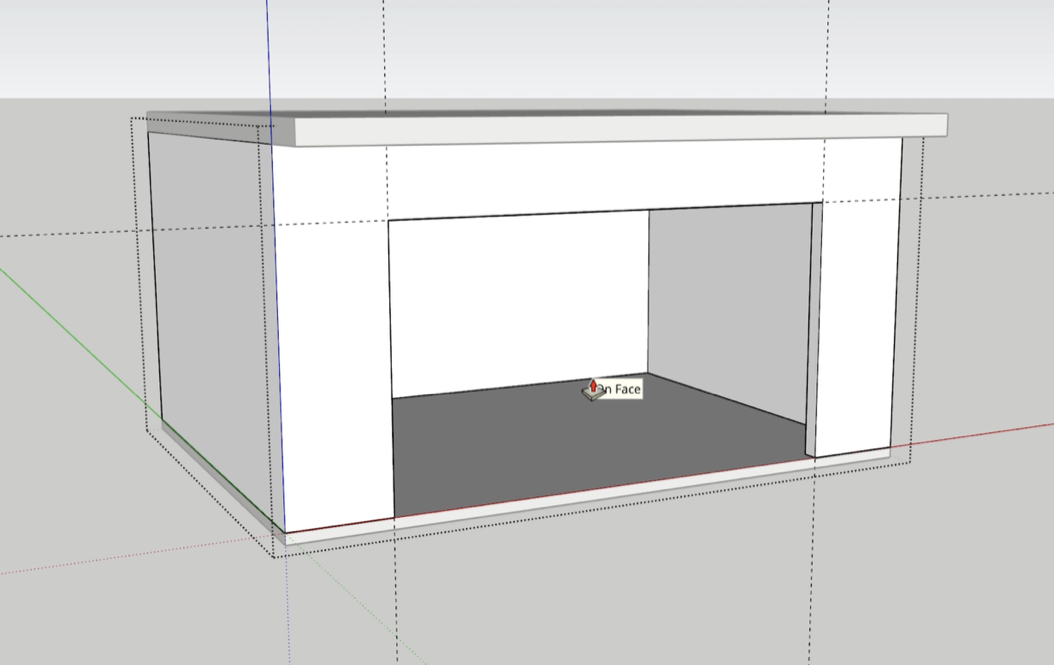
Groups are protected, so to edit them you first need to right-click on one and pick Edit Group.
Once you have the basic floor, walls and roof drawn and grouped, it’s time to add in more details — such as window and door openings. To do that, first you must right click on the walls Group and pick the option for Edit Group.
Next, use the Tape Measure tool to create guidelines for the door and window openings. Then use the Rectangle tool to draw a rectangle for the shape of those openings. Finally, use the Push Pull tool to push pull an opening - and then you can double-click on other rectangles to repeat the same push pull distance and quickly punch out other openings!
#4 Stay Organized with Tags
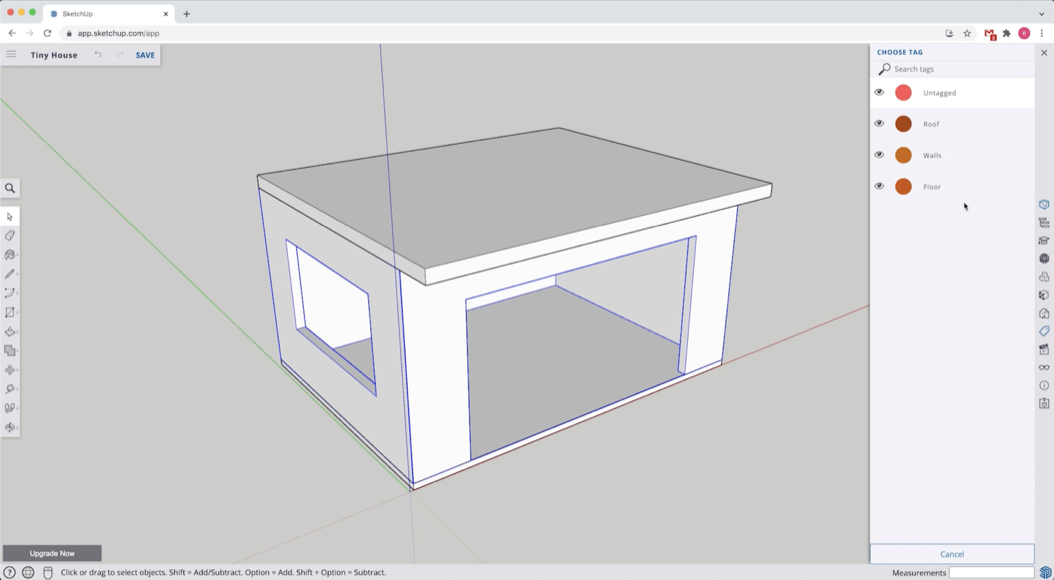
Always assign Tags to Groups (or Components) and never to loose geometry - your future self will thank you!
As you create more detailed models, you’ll end up with a lot of Groups. Fortunately, you can use the Tags feature in SketchUp to turn the visibility of a Group on and off. Not only can this be helpful when you’re working on your model and need to hide something in your way, but it’s also useful later for controlling what options you want to see in your final model or presentation.
To create and assign Tags to Groups follow these steps: Open the Tags panel on the right and click the + symbol to create a new tag. Double click on the Tag to rename it and press Enter or Return to lock in the new name. Then to assign the Tag to a Group, right click on a Group and pick Entity Info. Then in the Entity Info dialog, click the Tag dropdown menu and pick your new Tag.
#5 Use Components
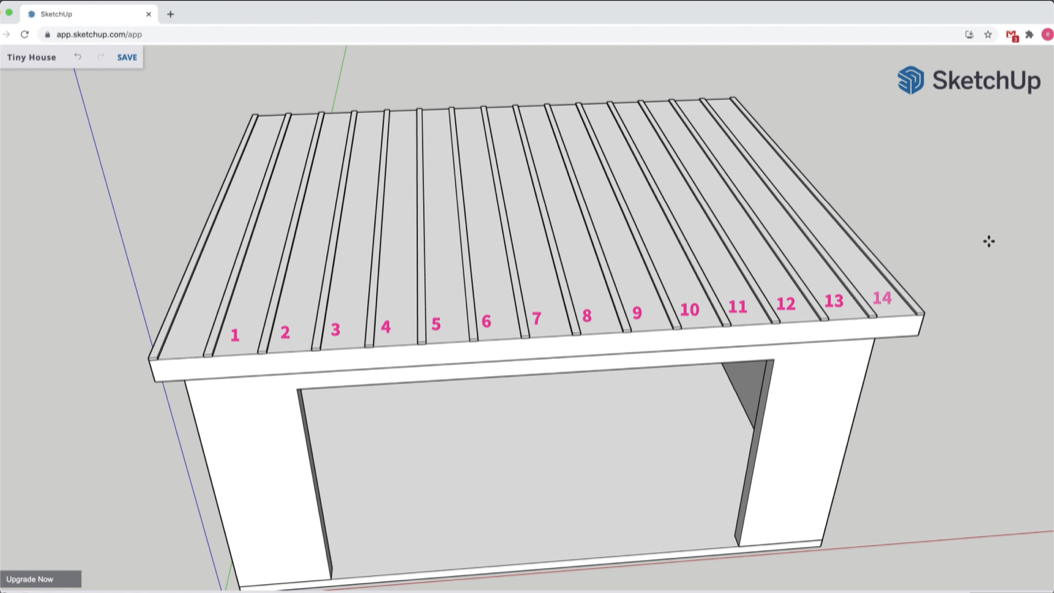
Components are Groups with a key difference: With multiple components, you can edit one to change them all.
Whenever you plan to use something more than once in your existing model, or you can imagine how you might use it again in a future model, instead of making it into a Group, it’s a better idea to make it into a Component.
Components are just like Groups, with the main difference being that when you have more than one component in a model, you can edit one to edit them all.
For this house project, the Floor, Walls and Roof were all made into Groups because they will only be used once. However, the metal Ribs on top of the Roof are made into Components because there are multiple copies - editing one will edit them all, saving a ton of time.
#6 Use Nested Groups & Components
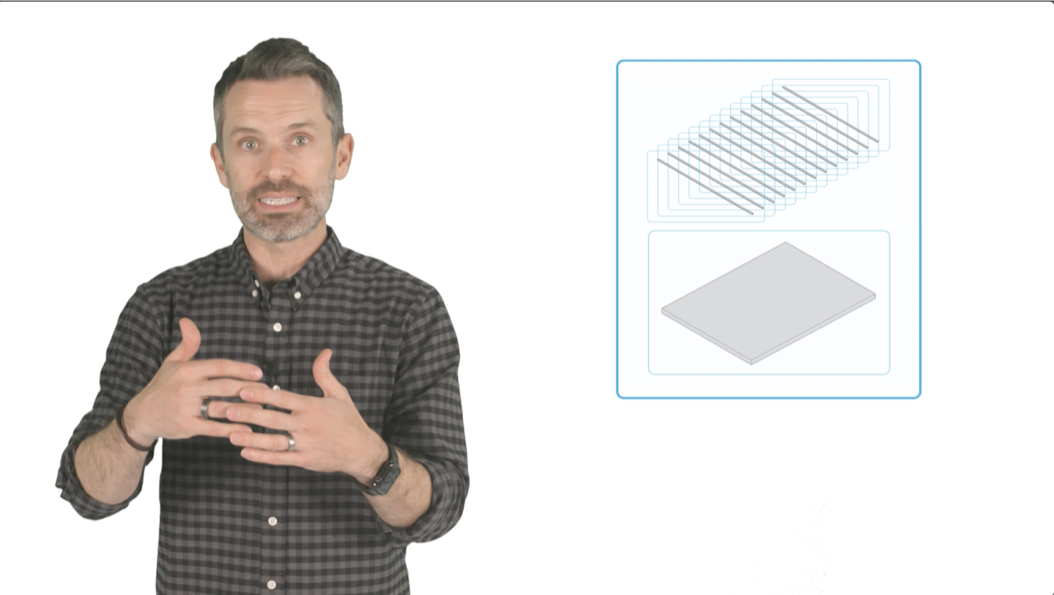
When you have more than one Group or Component that belong together, you can “nest” them in a “Parent” Group or Component.
So far, you’ve turned geometry into individual Groups and individual Components. But there might be times where you want to treat a collection of Groups and/or Components as a unified object. For example, what if you want to rotate the Roof and Ribs together as one object to give the roof a slope?
In that case, you can select more than one Group or Component and turn that entire selection into its own Group or Component. This “Parent” Group or Component is a container for the “Nested” Groups and/or Components and is a handy way to connect things together without their geometry getting stuck.
#7 Edit Existing 3D Shapes
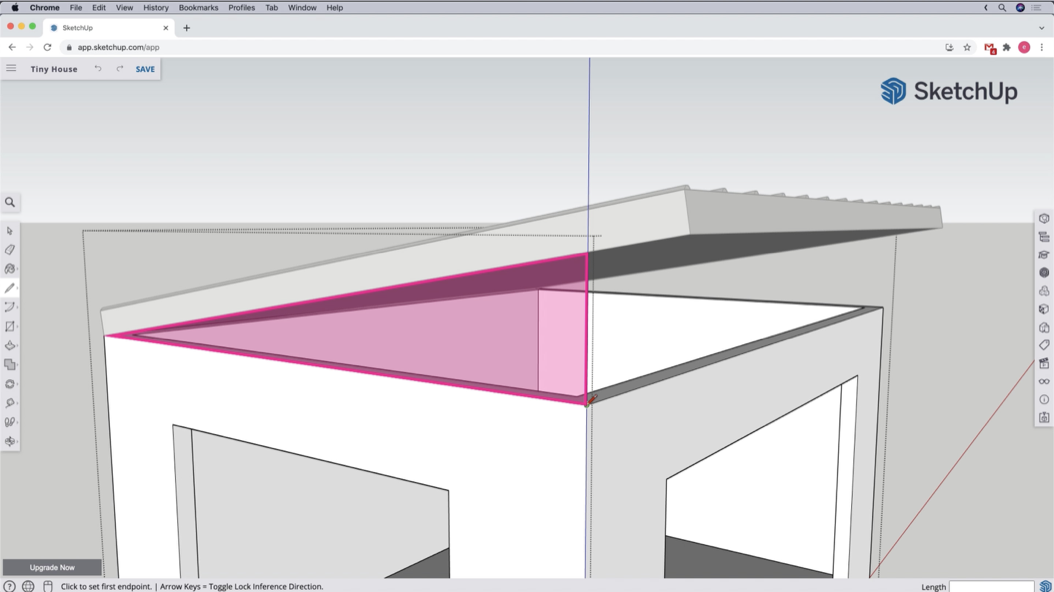
When something isn’t working while editing your geometry, be sure you’re in Edit Group or Component mode first.
In the real world, there are design changes and edits that need to be made along the way. When you have Groups and Components, you need to be in Edit Group or Edit Component mode in order to make changes to the endpoints, edges, and faces contained inside. And sometimes, as discussed in the previous step, you may need to edit Groups or Components nested within other parent Groups or Components. In those cases, you just need to continue to right click and select Edit Group or Component as many times as needed — until you are at the level of the underlying geometry.
In the case of this house example, in order to edit the walls to support the sloped roof, you can get into Edit Group mode and then use the Line and Push Pull tools to make the necessary edits.
#8 Use Components from 3D Warehouse
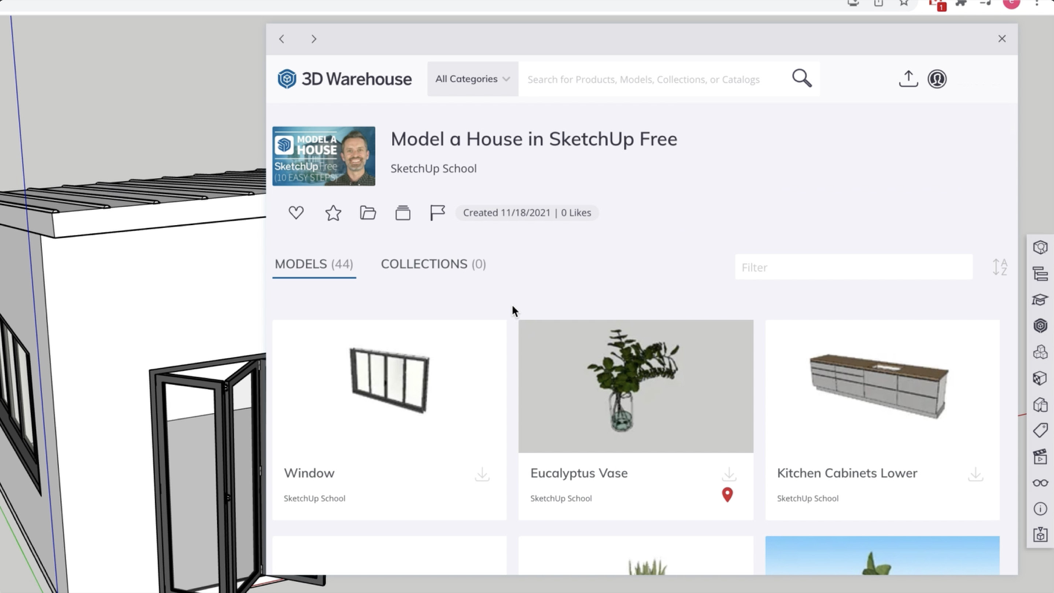
Components from the 3D Warehouse can be edited the same as Components you create yourself.
When it comes time to add objects to your models, know that you don’t have to model everything yourself! SketchUp Free comes with access to the 3D Warehouse - which is a vast library of components made by other people that are free to use in your projects.
The 3D warehouse makes it easy to find models of all kinds of different objects — from furniture, to plants, to appliances, you name it! — and many of them are made to the exact product specifications by the product manufacturers themselves.
Using these 3D components can save you a ton of time, and can help your models look great! We created a collection for this house project you can find here.
#9 Add Colors & Materials
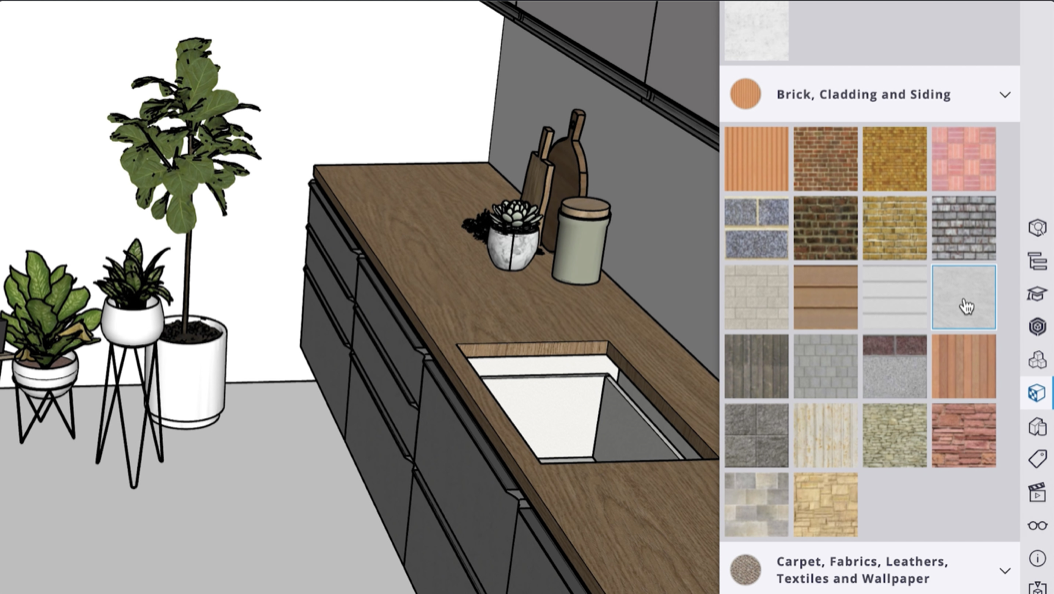
Make sure to be in Edit Group or Component mode so that you are painting colors and materials directly to the face.
To apply Colors or Materials to a face in SketchUp, first be sure that you are in Edit Group or Component mode so that you can edit that face. Then pick the Paint Bucket tool and choose from any of the pre-loaded colors and materials.
If you want to import higher quality materials, you can do that by going to the top menu and clicking “Insert.” From there, select the file for the material you’d like to bring into SketchUp, and then select to insert as a Material. You’ll see the image attached to the paint bucket tool; click once and move the mouse to set the scale - then click a second time and the material will tile or repeat across the face.
BONUS Where to get high quality materials
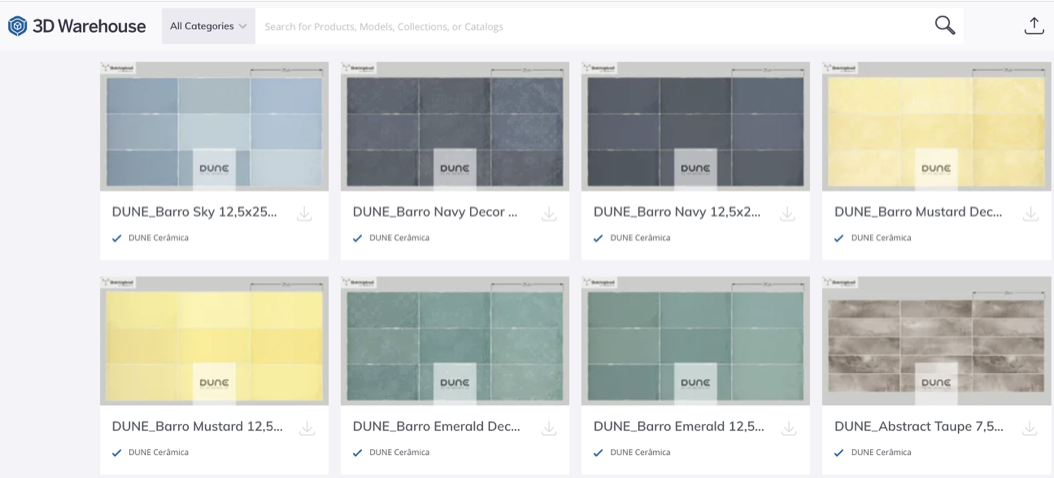
If you want to Insert higher-quality materials into your SketchUp Free projects, you first need to look for and download “seamlessly tileable textures”. Those are thumbnail images of materials that when applied to a face in SketchUp will repeat seamlessly across a face so that you can’t tell where the image edges are.
There are a number of free websites for finding seamlessly tileable textures. Here are three of our favorites:
3D Warehouse: You can search the 3D Warehouse for “[name of the material] material/texture” - for example “wood floor material” or “wood floor texture” and you will get results that are just materials. You can bring these “models” into your model and then use the Paint Bucket tool - sample the downloaded material swatch and then paint it on the face in your model.
Google image search: Search Google for “seamlessly tileable [name of the material] texture” - so for example, search for “seamlessly tileable wood floor texture”. Then at the top of the search results click on Images and you will get many thumbnails to choose from. Make sure you don’t pick one with a watermark or an uneven pattern or lighting.
SketchUp Texture Club: You can search for and download materials from this website - they’ve all been optimized to work well in SketchUp.
#10 Create a Final Rendering
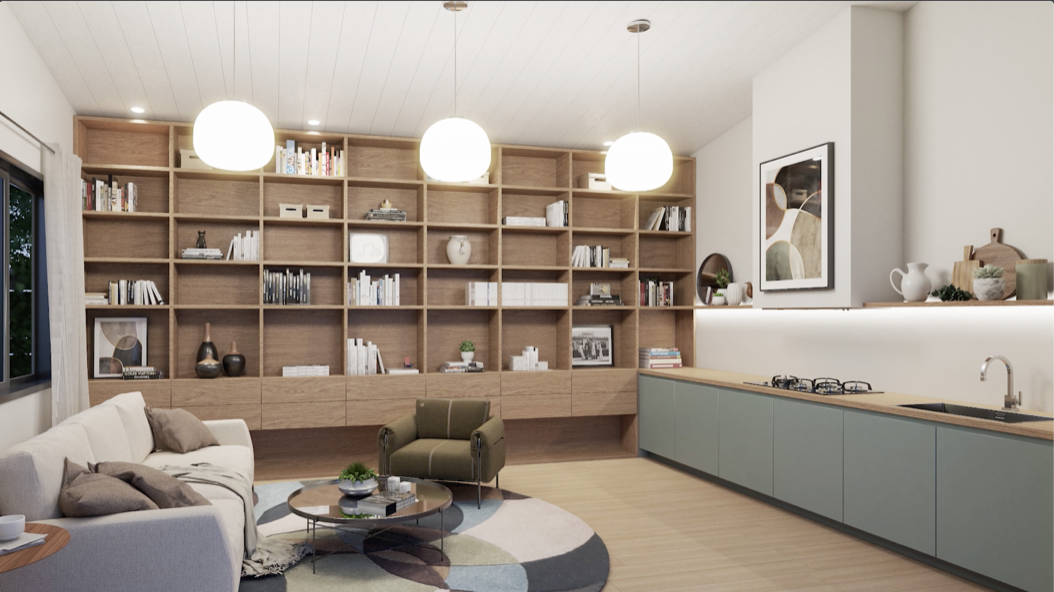
You can export styled images from SketchUp Free. For realistic images or construction documents you need SketchUp Pro.
Once you’ve created your model, it’s time to create a final “rendering” or image of your 3D model that you can present to others.
With SketchUp Free, you can export images with the default SketchUp style that you see. Or you can use the Styles panel on the right to adjust how the Edges, Faces and Background settings look - either adjusting them individually or using some of the pre-set Styles.
Don’t forget to experiment with different Camera angles, Shadow panel settings, and which Tags are visible too.
And then click on the menu icon to the upper left and pick Export > PNG.
YOUR NEXT STEPS
We hope our How to Model a House in SketchUp Free video and these notes have gotten you started down the right path.
From here, it’s definitely possible to learn everything on your own. But if you don’t have the time to figure out what you need to know, and you can’t afford to pick up bad habits, we recommend checking out our Video Course Library.
It’s filled with $8700 worth of SketchUp training exclusively for professionals — including our Complete Intro to SketchUp courses.