YouTube video notes for:
7 Key Concepts Before Advanced Modeling in SketchUp

These are the full notes for our video — every tip, screenshot and step, right on this page.
Download these notes as a PDF#1 SketchUp Uses Polygons
Everything you draw in SketchUp is made up of 3 things: Endpoints, Edges and Faces. Together, these 3 things make up a Polygon.
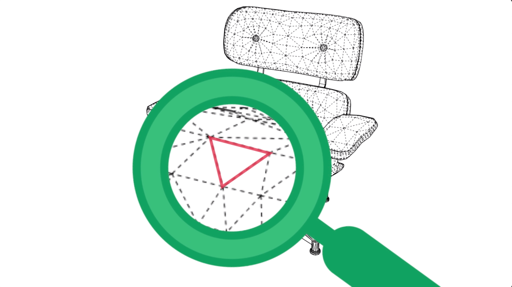
SketchUp’s Drawing Tools help you draw Polygons. And SketchUp’s Editing tools help you position them in 3D space.
So anything you’ve ever seen in SketchUp is just made up of several to millions of flat, 2D Polygons stitched together in 3D space.
#2 Connected Polygons Create Meshes
When you have 2 or more connected Polygons, you have a Mesh which can be used to represent a Surface. There are two ways to create a mesh:
- Add a Polygon to an existing one
- Subdivide a Polygon into smaller ones
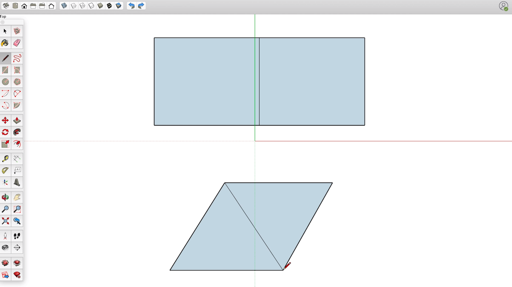
Using Terrain as an example: You can use SketchUp’s Drawing tools to Add or Subdivide Polygons to create your own Meshes, and then use SketchUp’s Editing tools to adjust the Mesh to get the Surface you are looking for.
A faster way would be to use SketchUp’s Sandbox tools to create and edit the Mesh.
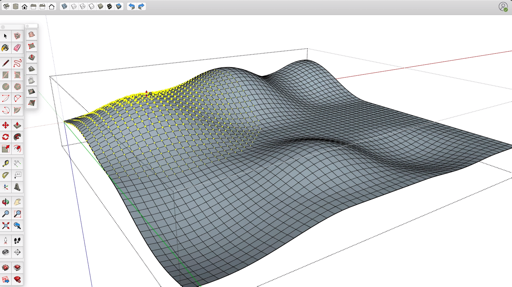
And an even better approach might be to use the Artisan Extension in SketchUp for more advanced tools to handle the job.
No matter your approach, all of these tools do the same underlying thing: Add or Subdivide Polygons to create Meshes, and then edit the position of the Polygons until the Mesh looks like the Surface you want to create.
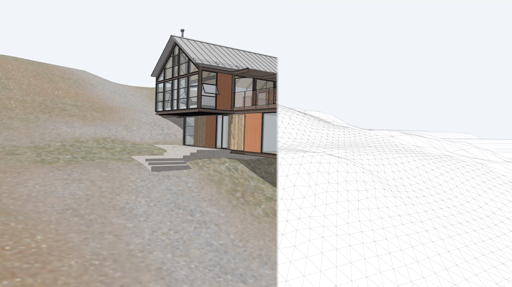
#3 Shape, Orientation & Number of Polygons Matters
The Shape of the Polygons that make up a Mesh matters since moving the Endpoints, Edges and Faces of Triangle Shaped Polygons in one Mesh will produce a different 3D Surface than you can get with Rectangle Shaped Polygons in another Mesh.
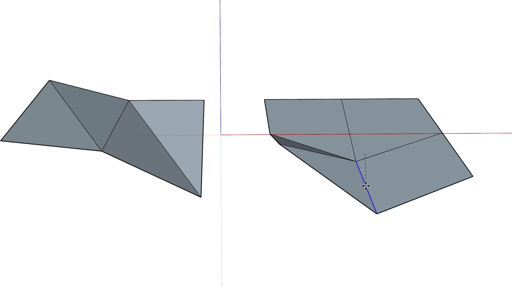
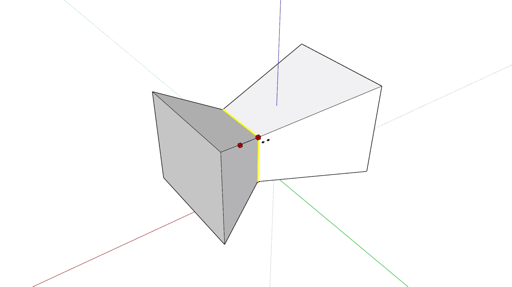
The Orientation of Polygons matters too. If you have 2 connected Polygons, and you Move the shared Edge up in the Blue direction, you change the Orientation of the Polygons to look like a hill. If you Erase the shared Edge and draw it back in across the opposite diagonal, your Polygons are now oriented to look like a valley.
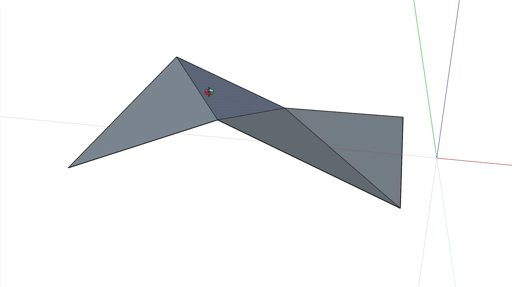
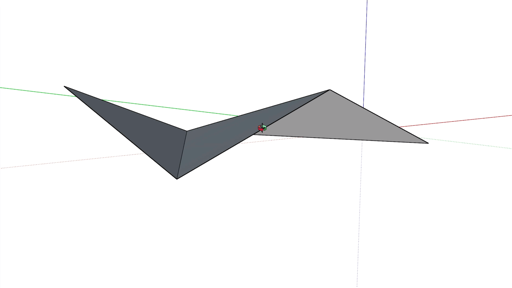
And the Number of Polygons matters. Aim for the fewest that still give you a nice result. On average, SketchUp runs smoothly with models under 250,000 polygons. Between 250,000 and 1 million polygons may start to present problems. And models over 1 million polygons are tough to use on most computers.

#4 Every 3D Object is Wrapped in a Mesh
Meshes aren’t just for “single” surfaces like terrain. Think of all 3D objects as also being wrapped in a mesh.
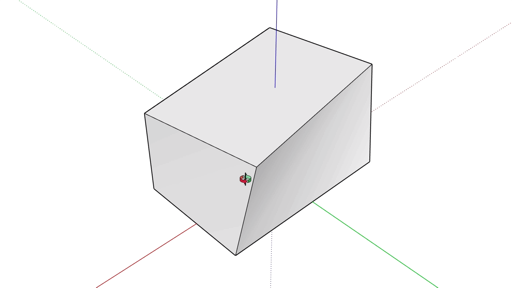
So this box is made up of a Mesh of 6 Polygons.
To twist it, you can Rotate the top Polygon. SketchUp’s Autofold feature automatically Subdivides the 4 Polygons on the sides of the box.
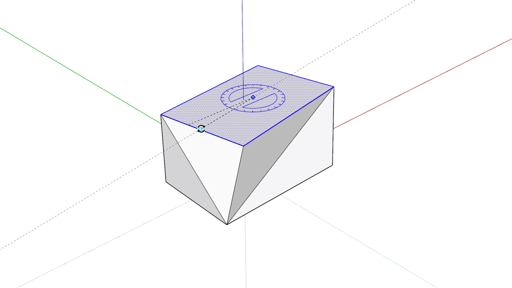
You need to re-orient the Polygons on 2 of the sides to match the other two.
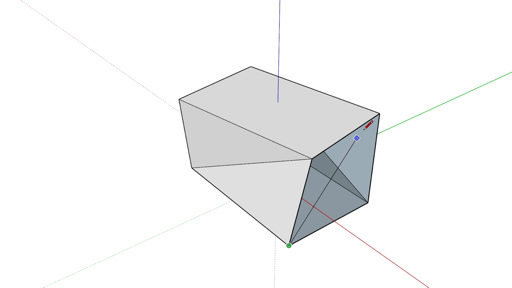
Then use Soften Smooth Edges to smooth out the subdividing edges and make the box appear to be twisted.
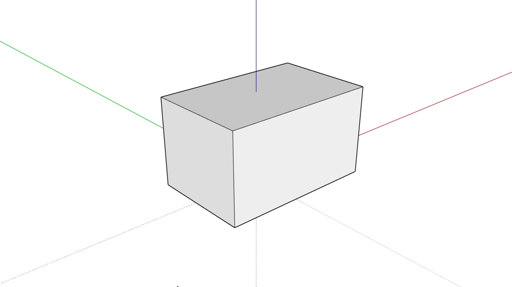
#5 Wrapped Meshes can have Edge Loops
An Edge Loop is a set of connected edges looping around a 3D mesh, where the last edge meets up with the first.
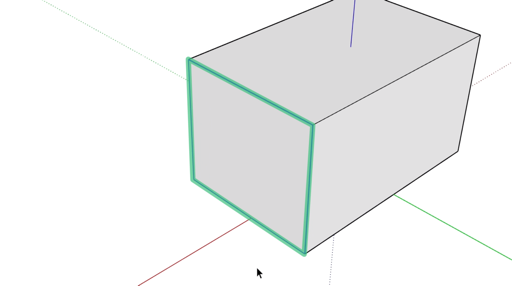
Edge Loops allow you to modify 3D objects in more predictable ways. That’s because you can select the entire edge loop, and then manipulate its position or orientation using the Move, Scale or Rotate tools.
You can set-up strategic Edge Loops when you subdivide your mesh that make it easier to manipulate later.
One way you can do that is by drawing the Edge loops manually with the Line tool.
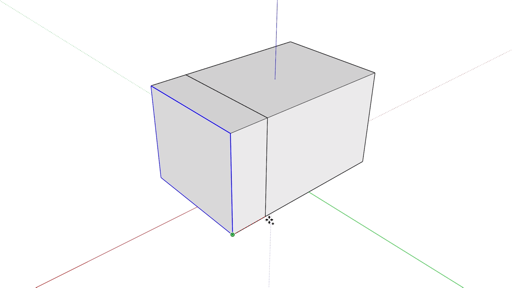
Or a faster option is to Select an existing Edge loop at the top or bottom, and then use the Move tool to create Edge Loop copies along the perpendicular surface.
Then Move, Scale or Rotate the Edge loops to experiment with the control they give you.
#6 Follow Me Creates Edge Loops
If you have a Path of connected edges, and a Polygon, you can use the Follow Me tool to extrude the Polygon along the Path. The path can be open ended, or a closed loop of edges. And the polygon can be any shape you want.
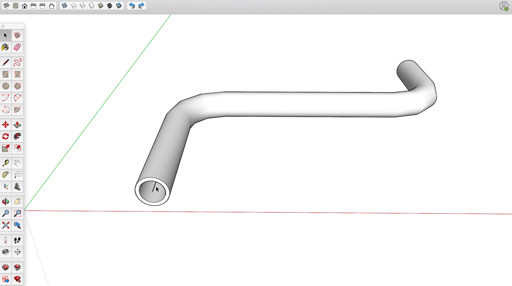
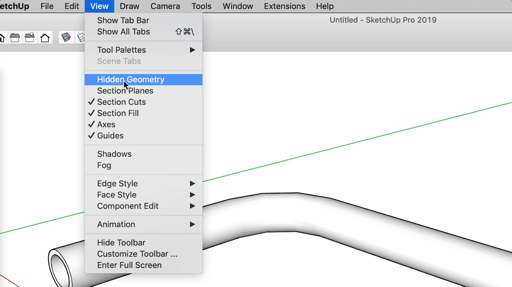
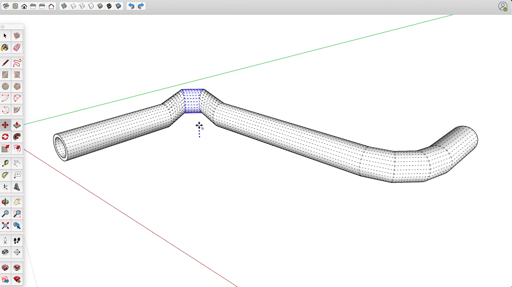
The Edges that formed your original Polygon can be thought of as an Edge Loop. And Follow Me will create new Edge Loops along the path wherever it changes direction. Just turn on Hidden Geometry to see them all, and you get even more control to manipulate the shapes you make.
#7 Use Intersect Faces to create Edge Loops
When polygons on different planes pass through one another in SketchUp, their faces don’t connect, so they’re not part of the same mesh.
Fortunately, SketchUp’s Intersect Faces feature has you covered: Select one or more faces, right-click and select Intersect Faces > With Model. SketchUp adds Edges at all of the intersections, leaving you with geometry you can easily edit.
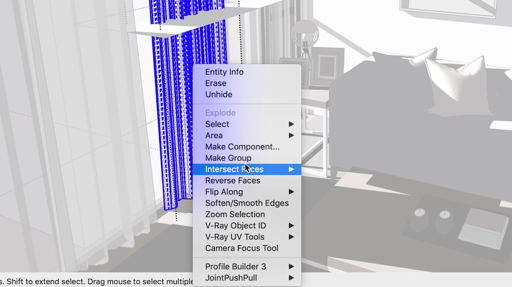
You can use Intersect Faces to add hard to create Edge Loops wherever you need them. Just follow these steps:
- Make your object a Group/Component
- Outside of the Group/Component, draw a rectangle that is bigger than your object and use Move or Rotate to position it
- Get into Edit Group/Component mode for your object
- Select all faces that need to be intersected, right click on the selection and pick Intersect Faces > With Model. You’ll get an Edge Loop!
- Close the Group/Component and delete away the rectangle
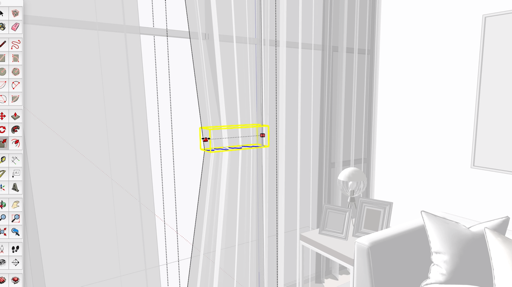
Now back in Edit Group or Component mode, you can Scale, Rotate, Move or otherwise edit the Edge Loop to modify the shape of your object.
YOUR NEXT STEPS
We hope our How to Model Hard Things video and these notes have gotten you started down the right path.
From here, it’s definitely possible to learn everything on your own. But if you don’t have the time to figure out what you need to know, and you can’t afford to pick up bad habits, we recommend checking out our Video Course Library.
It’s filled with $8700 worth of SketchUp training exclusively for professionals — including our Complex & Organic Modeling courses.