YouTube video notes for:
Watch This Before You Get Started with SketchUp (2025)

These are the full notes for our video — every tip, screenshot and step, right on this page.
Download these notes as a PDF#1 Start in 2D
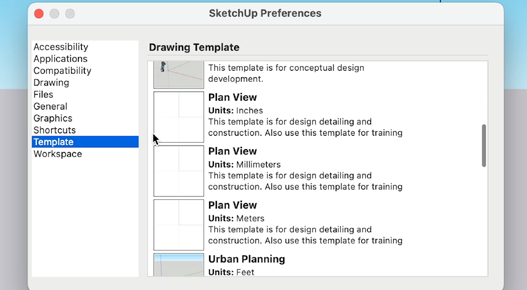
It’s easier to learn SketchUp if you use a Template that starts you in a Top-Down view.
- In your top menu, select Window > Preferences. On the left side, select Template.
- Depending on your version of SketchUp, select either Plan View or Construction Documentation (the thumbnail with the white background).
- Then click OK — your current file’s template won’t change. You need to start a new file to see the new template.
While you are always working in 3D space in SketchUp, picking a Top-Down view mimics a 2D view of your file.
#2 Use the right mouse

You might be tempted to try to use SketchUp with just a trackpad, but it is MUCH easier with a 3-button mouse.
It’s best to use SketchUp with a 3-button scroll wheel mouse. This type of mouse will have both left and right buttons, plus a center scroll wheel that can be rolled AND clicked-on.
Alex currently uses and recommends the Logitech Anywhere MX wireless mouse. But really, any 3-button scroll wheel mouse will work just fine. Often, a less expensive mouse will even be the preferred option as it won’t have other buttons or functions that get in the way.
#3 Draw the right way
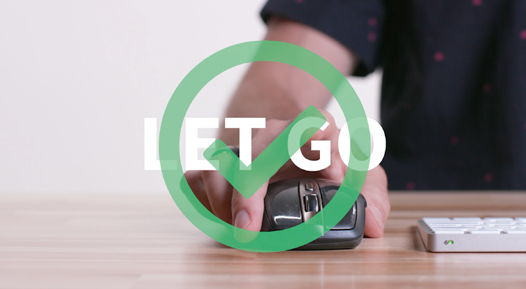
There is a right way and a wrong way to use the mouse — typically, you click and let go rather than click and drag.
- Click and let go of your left mouse button to begin an operation
- Move your mouse where you need to
- Then click and let go of your left mouse button to end the operation
When practicing with the Drawing Tools, keep in mind: some need two clicks, and some need three. Practice until you’ve ingrained using your mouse the right way, and you understand what each tool creates.
#4 Understand Stickiness
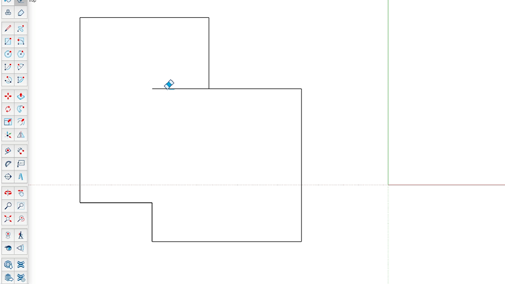
In SketchUp, Edges and Endpoints merge with other Edges and Endpoints, causing geometry to stick together.
In SketchUp, Edges and Endpoints stick to other Edges and Endpoints. This allows you to overlap two or more shapes and then delete Edges or Faces to create new shapes.
Remember, you can delete Edges with the Eraser tool. But to delete Faces, you must right-click on the face and select the option for Erase.
While this concept of Stickiness is helpful for joining geometry to create new shapes, it can be frustrating when you try to edit those shapes and realize some things got stuck together that shouldn’t be. Fortunately, there is a solution — which leads us to the next tip…
#5 Group (almost) Everything
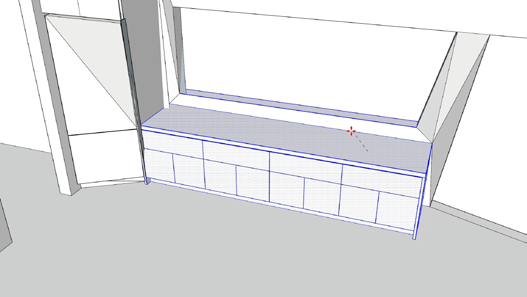
Once you create something in SketchUp, turn it into a Group so that it doesn’t get stuck to other things in your model.
- Use the Select tool to select all of the geometry you need
- Right-click on the selected geometry and choose the option for Make Group
- To edit the geometry within the Group, right-click on the Group and select Edit Group
- When you are done editing, right-click outside of the Group and pick Close Group
For things that shouldn’t get stuck, you can protect them from other geometry by first turning them into a Group.
#6 Master the Move Tool
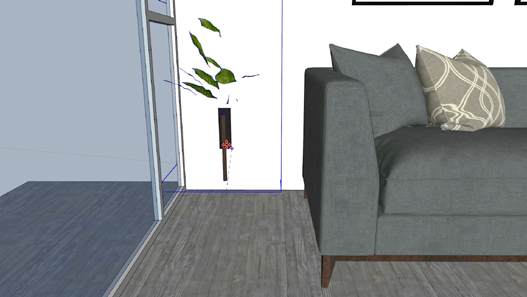
While the Move tool can be frustrating at first, there are simple steps you can take to master it.
- While hovering over an Endpoint, Edge or Face, click and let go of your left mouse button to begin moving it
- Then move your mouse wherever you need
- Then click and let go of your left mouse button to complete the move
The Move tool is for moving the position of Endpoints, Edges and/or Faces. To move multiple Edges and Faces together at the same time, pre-select them with the Select tool before moving. Where you click — both to start and end the move — matters. So when you need to move something precisely, click on something very intentional to start, and something else intentional to end.
#7 Navigate like a Pro
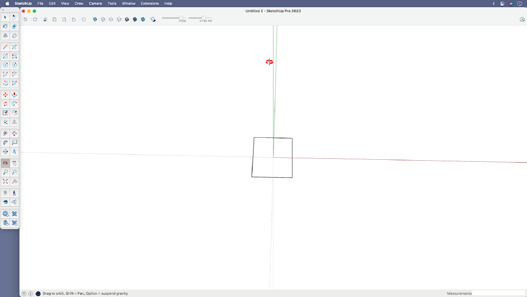
Use your 3-button mouse to Orbit, Pan and Zoom. And remember to navigate in small increments for more control.
- Zoom: roll your mouse wheel forward and backward — you zoom towards or away from the point your cursor is hovering over
- Orbit: press down on your center mouse wheel like a button, then move your mouse to orbit your view around your model
- Pan: while pressing the center mouse wheel to Orbit, also press and hold the Shift key, then move your mouse to pan your view
To navigate like a pro: make small or incremental Orbits (and Zooms and Pans too). Experienced SketchUp users make hundreds of tiny Zooms, tiny Orbits and tiny Pans to zero-in on what they need to see better.
YOUR NEXT STEPS
We hope our Watch This Before You Get Started with SketchUp video and these notes have gotten you started down the right path.
From here, it’s definitely possible to learn everything on your own. But if you don’t have the time to figure out what you need to know, and you can’t afford to pick up bad habits, we recommend checking out our Video Course Library.
It’s filled with $8700 worth of SketchUp training exclusively for professionals — including our Complete Intro to SketchUp course.