YouTube video notes for:
Watch This Before You Get Started with SketchUp Free

These are the full notes for our video — every tip, screenshot and step, right on this page.
Download these notes as a PDF#1 Start in 2D
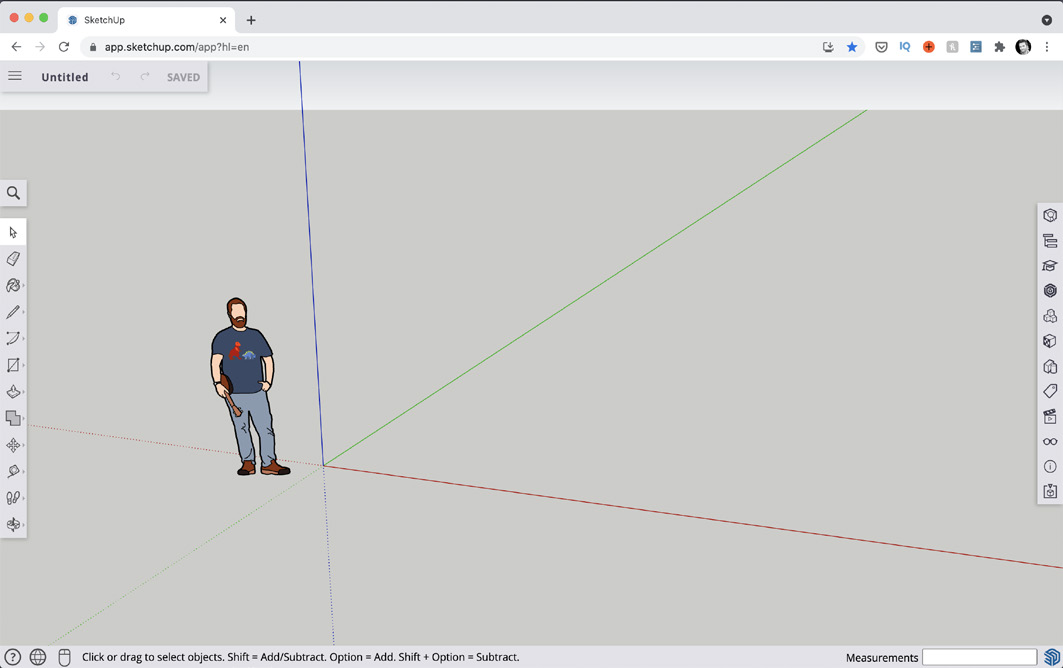
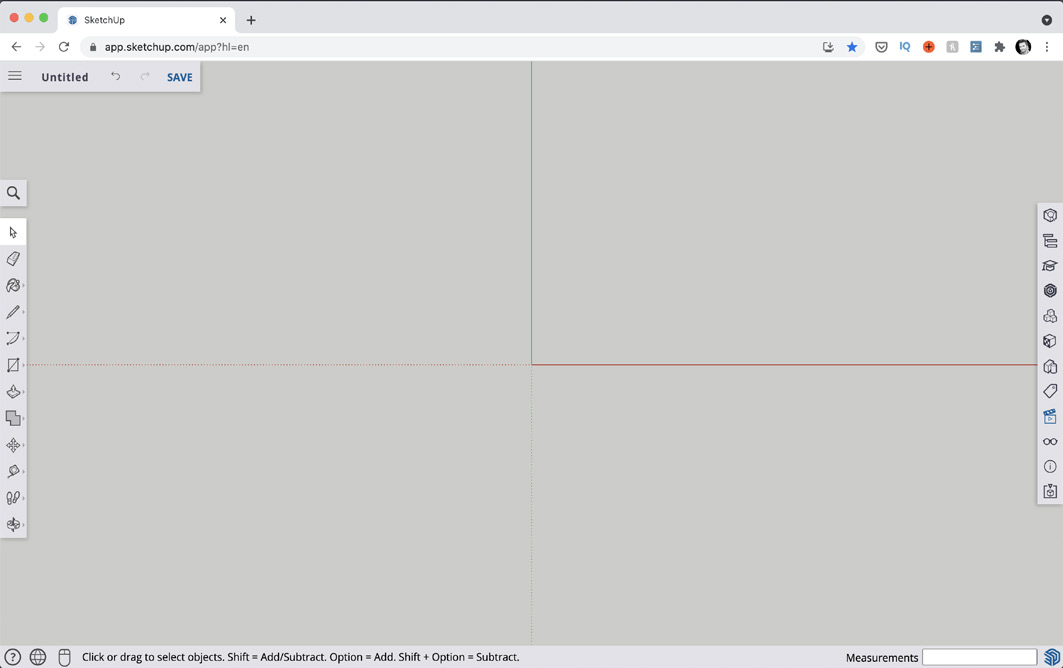
Starting in 2D allows you to focus on learning the fundamentals and developing good habits that will pay off later.
As you’ve already seen, SketchUp Free starts you in a 3D view. And most tutorials you’ll find online start you off from the same 3D view. But here’s the problem: Starting in 3D is like forcing you to jump into the deep end before you know how to swim. You’ll be more likely to get frustrated and quit. And even if you stick with it, you can end up with a bunch of bad habits that slow you down over the long run.
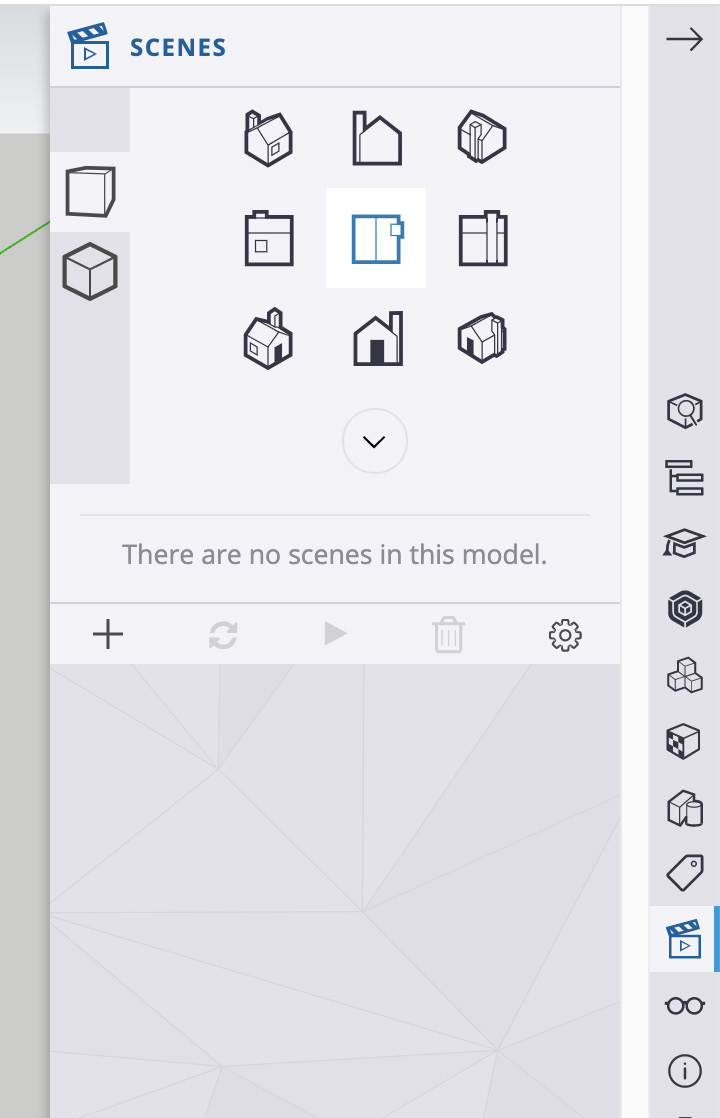
We recommend a different approach: Switch to a Top Down or “2D” view. To do that, click on the Scenes panel on the right and then click on the middle rooftop icon as a shortcut to jump to a top-down view.
NOTE SketchUp Free’s UI is different than SketchUp Pro’s
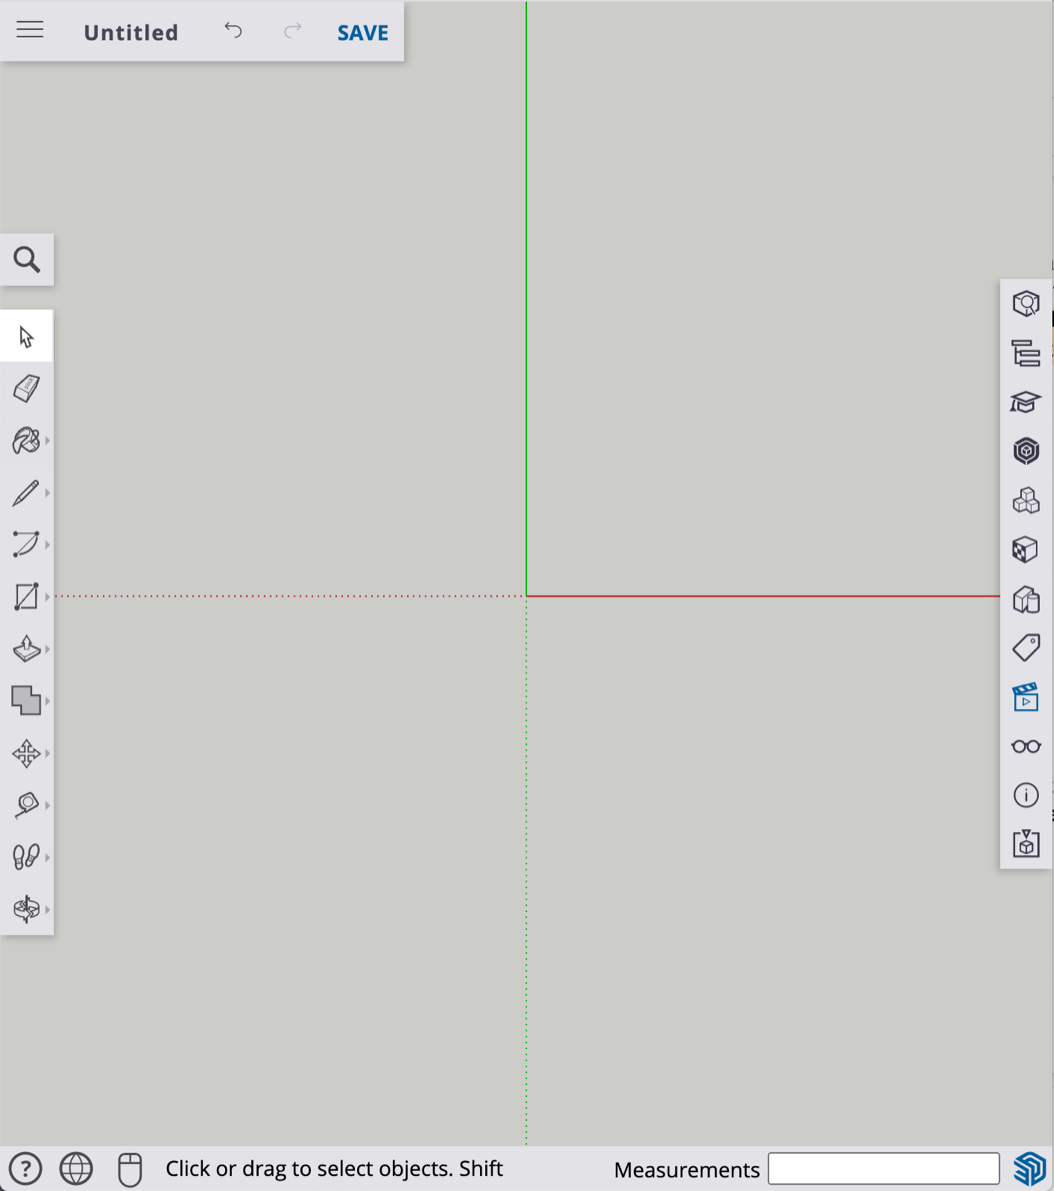
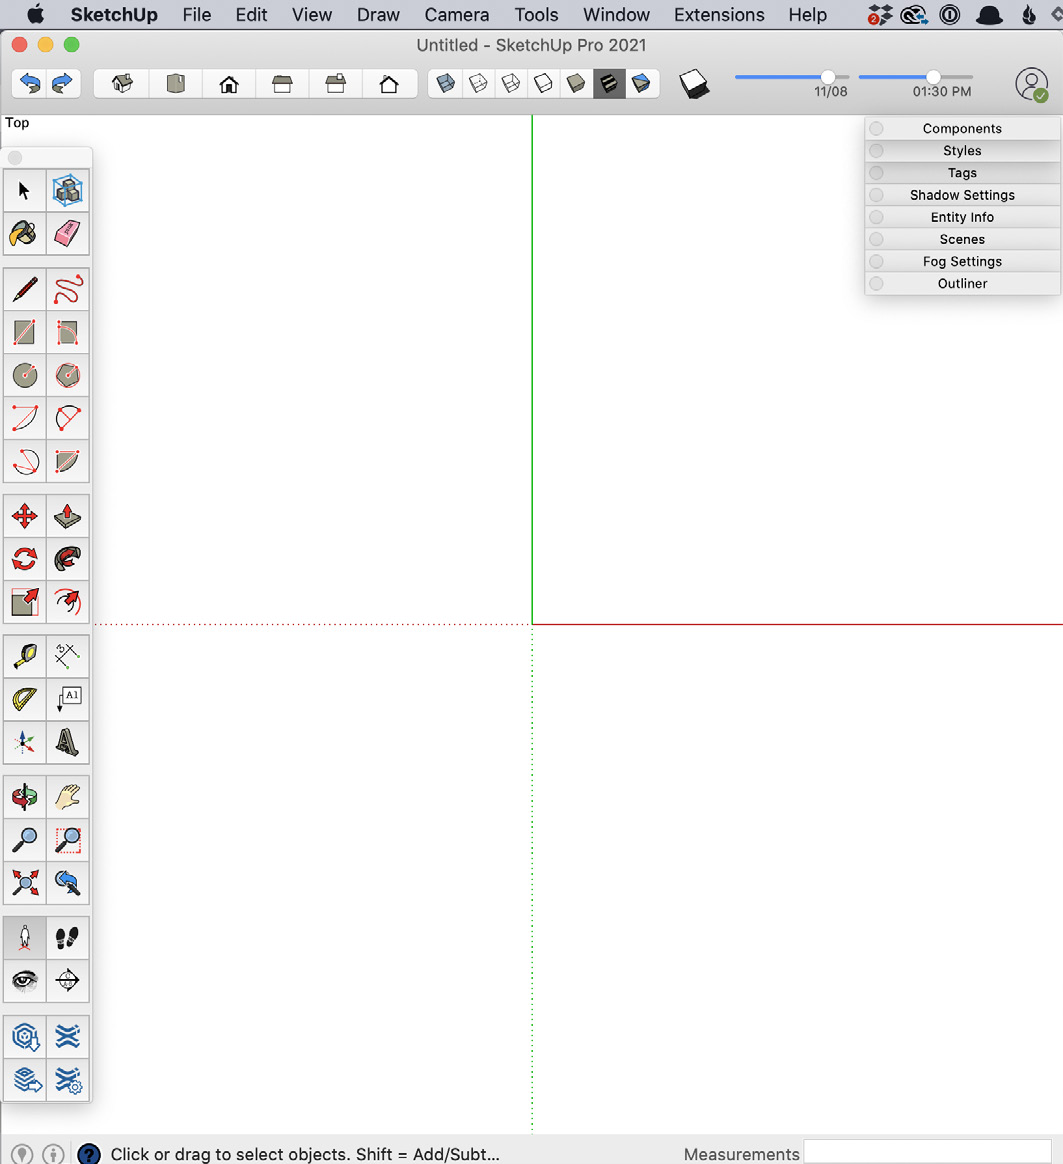
If you’re looking to try SketchUp — using Free now — with the idea that you’ll move to Pro later, just be aware that the interfaces do look different between the two — as well as where you’ll find certain tools, options, and settings. So there will be a bit of a learning curve if you go from one to the other.
But the good news is: The primary tools and features generally work the same in both versions.
#2 Use the Right Mouse
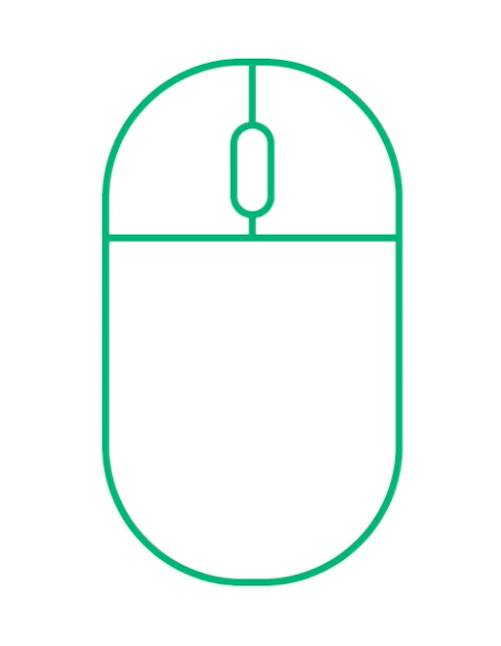
A 3-button scroll-wheel mouse is the right tool for the job when it comes to using SketchUp.
SketchUp is designed to be used with a 3-button scroll wheel mouse. Meaning a mouse that has a left button, a right button, plus a center scroll wheel that can be rolled AND clicked-on.
When you’re new to SketchUp, you might be tempted to see if you can get away with using only your trackpad. But that would be a mistake.
So do yourself a favor and get yourself a 3-button scroll wheel mouse. It doesn’t have to be a fancy one, and your future self will definitely thank you!
#3 Learn to Draw the Right Way
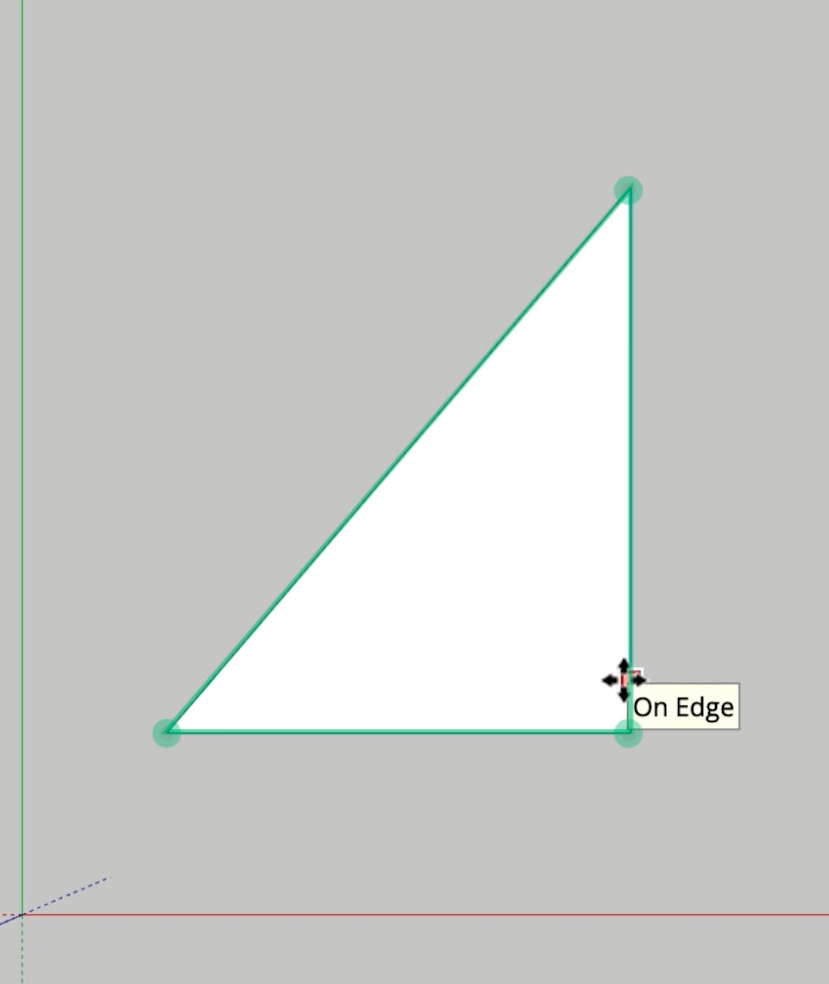
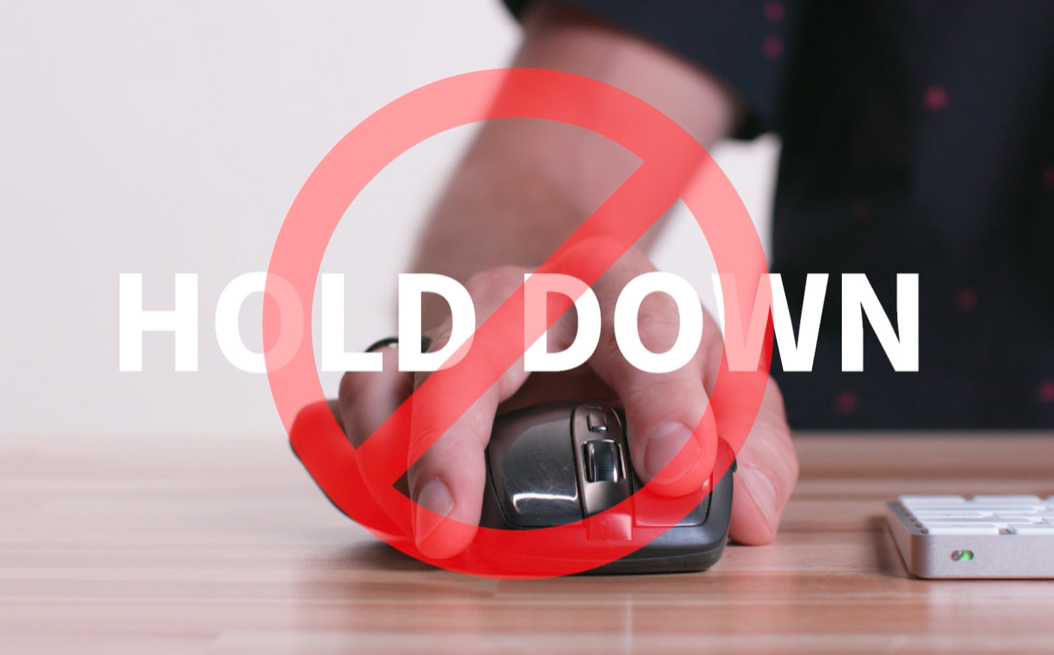
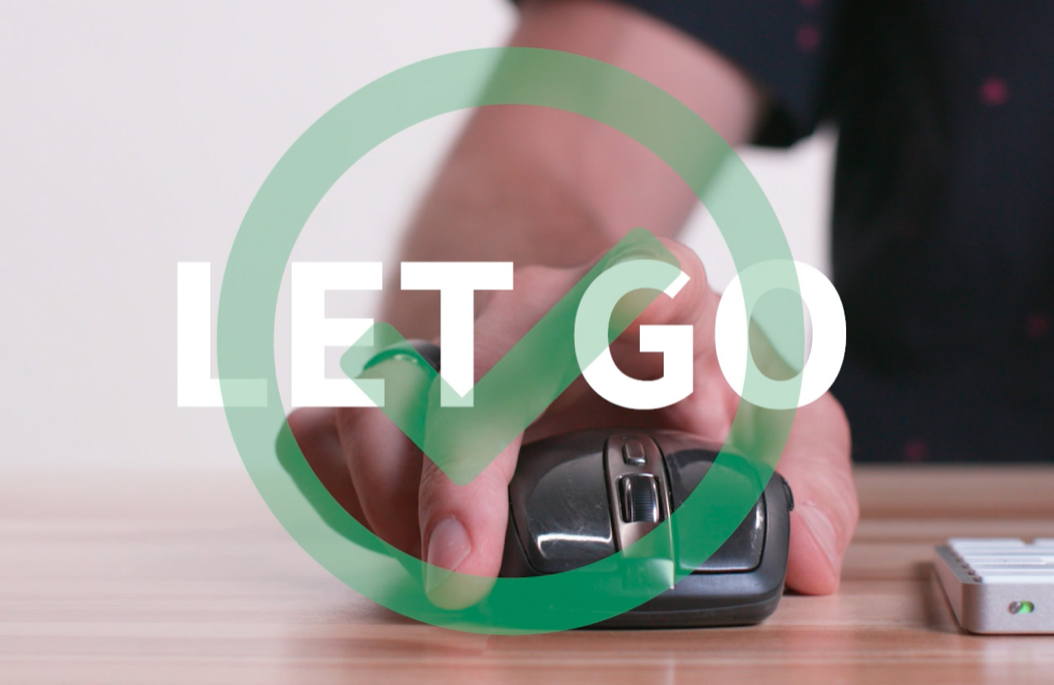
Remember to “Click and Let Go” when using SketchUp’s tools, and avoid the “Click, Hold Down, and Drag” mistake.
When you draw in SketchUp, all of the geometry you create consists of three things: Endpoints, Edges and Faces. And there are 10 basic drawing tools that will help you create the fundamental geometry you need in SketchUp.
But to draw properly, you need to use the mouse the right way: The mistake most people make is that they’ll click and hold down on the left mouse button, drag the mouse and then let go of the button. Most of the tools don’t function properly this way. Instead: Click and let go of your left mouse button to start a tool operation, then move the mouse, and then click and let go of your left mouse button again to end the tool operation. With nearly every tool in SketchUp, this is the right way to use the mouse.
#4 Understand Stickiness
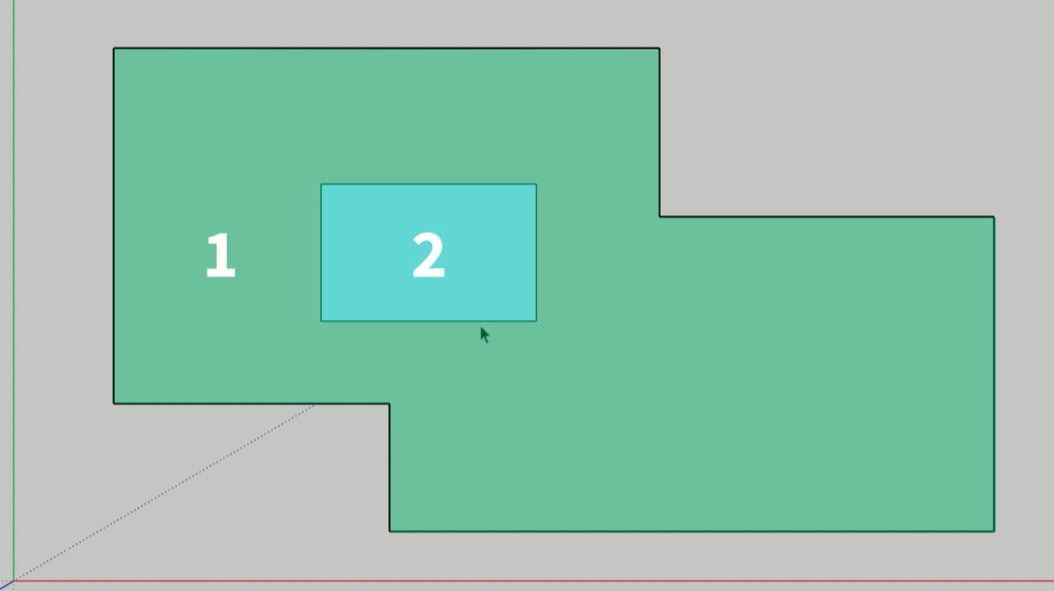
Overlapping geometry sticks together in SketchUp.
When you create shapes in SketchUp, the edges and endpoints stick to other edges and endpoints. This can be super helpful for modeling things quickly, such as overlapping shapes to create new ones.
As helpful as stickiness can be for creating new shapes — down the road, stickiness can also create the absolute most painful problems you’ll ever encounter in SketchUp - where objects you’re trying to edit end up stuck to other things in your model!
That’s where the next tip comes into play…
#5 Group (Almost) Everything
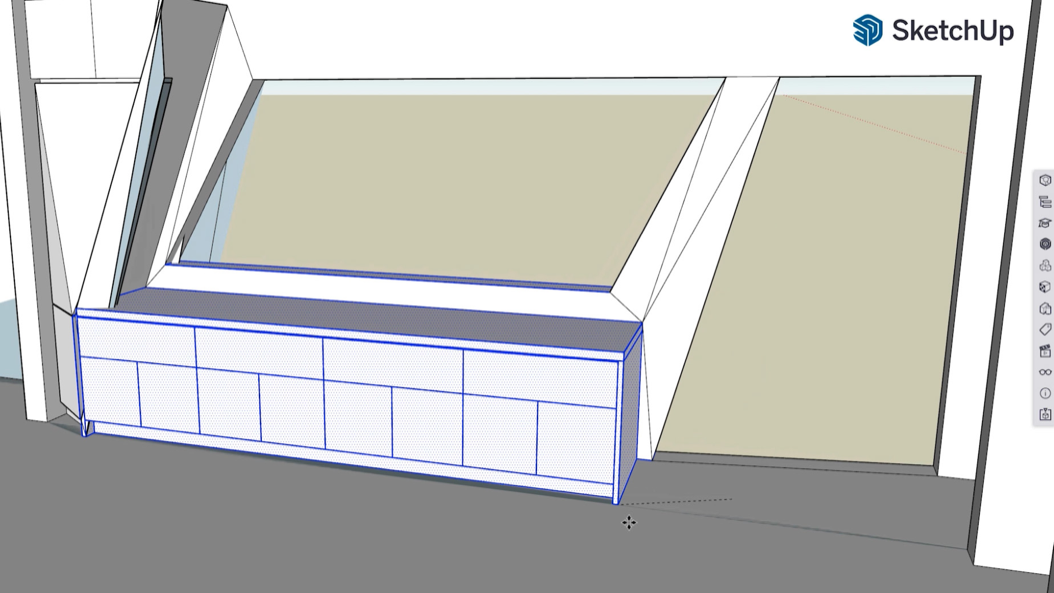
Whenever you draw something in SketchUp, make it a Group before drawing the next thing.
For things that shouldn’t get stuck, you can protect them from other geometry by first turning them into a Group. Grouped geometry won’t stick to anything else.
To make a Group, select the desired edges and faces, then right-click on the selection and pick the option for Make Group.
This is, by far, the biggest problem self taught users run into: They model away without Groups, then end up with an un-editable mess. So group early and group often. Your future self will thank you!
#6 Master the Move Tool
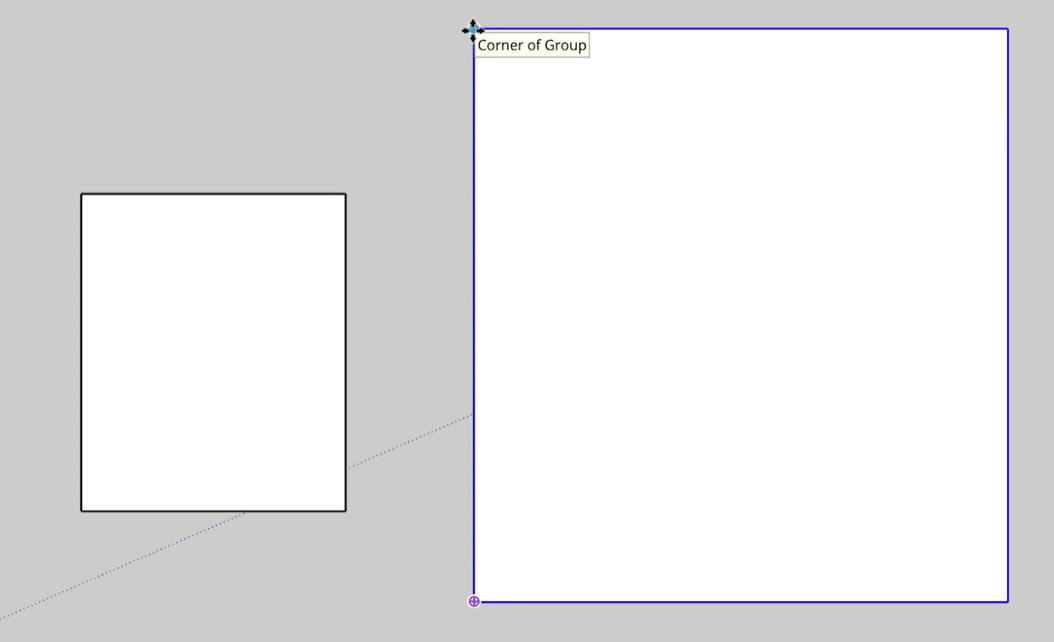
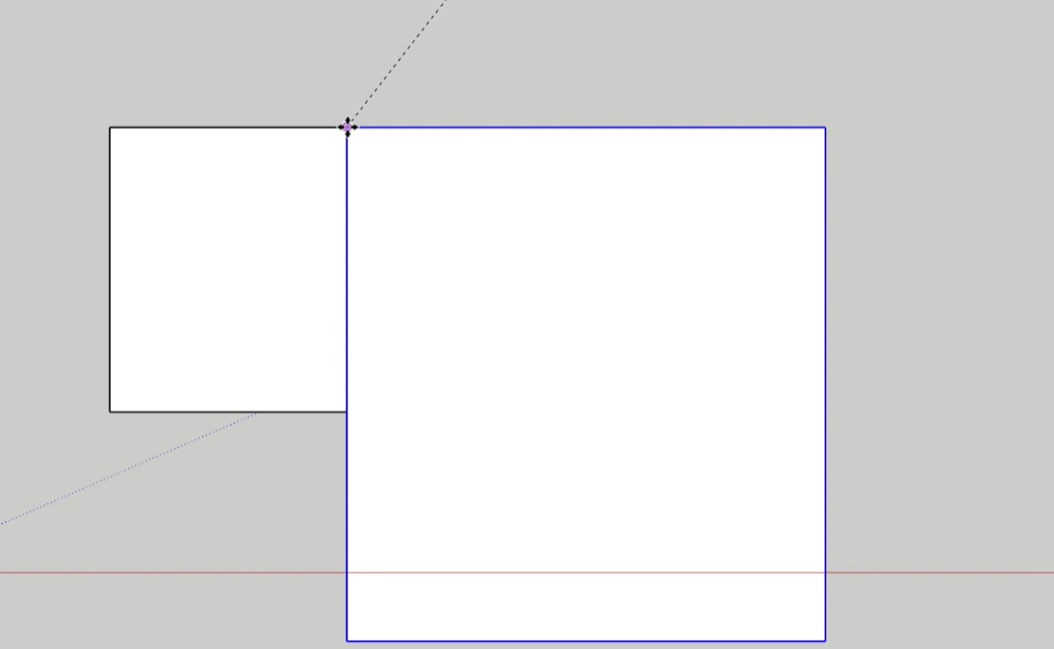
Most Move Tool mistakes come from using the mouse incorrectly - remember to click and let go!
SketchUp is all about creating, editing and deleting Endpoints, Edges and Faces. The Move tool is only concerned with the editing part - specifically, editing the position of those Endpoints, Edges and Faces. So if you use your mouse correctly, you can click and let go on an Endpoint, an Edge or a Face… then move the mouse to edit the position of that piece of geometry, and then click to complete the operation.
Of course you can also move multiple edges and faces together at the same time. You just need to pre-select them with the Select tool, and then the same rules apply with the Move tool for editing the position of the selected geometry. And to move things precisely, just be sure to click on a precise endpoint or edge to start the move, then click on another precise point to end the move.
#7 Navigate like a Pro
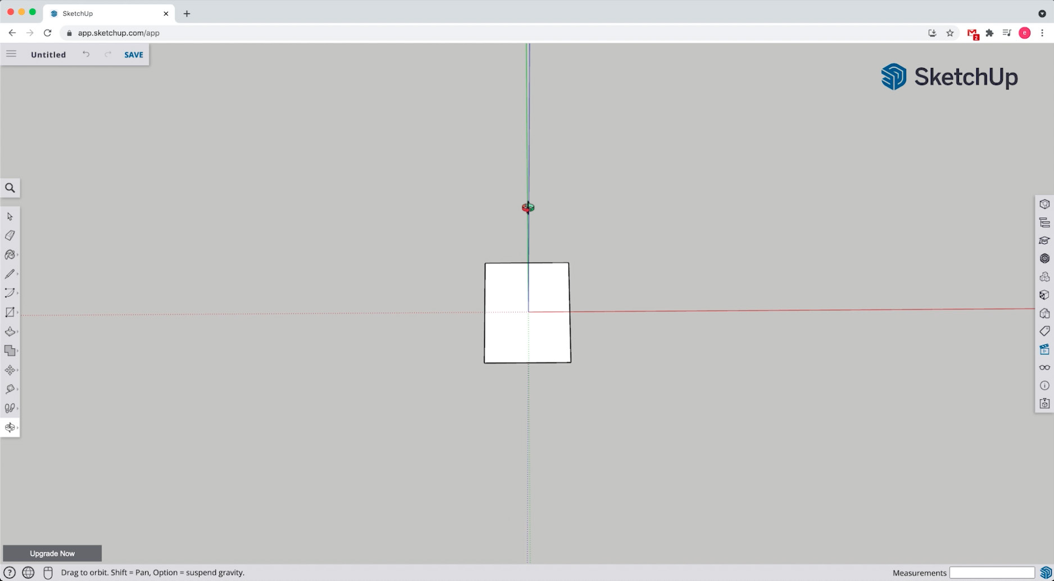
The trick to easy navigation is to make dozens of small, incremental Zooms, Orbits and Pans.
You can Zoom, Pan and Orbit your virtual camera in 3D space to get different views of your model. You can access those tools directly from your 3-button scroll wheel mouse. Rolling your mouse wheel forward will zoom in and rolling backward will zoom out. Notice you will zoom towards or away from the point that your cursor is hovering over.
Now if you press down on your center mouse wheel like a button and move your mouse around and you are Orbiting your camera around your model. And while pressing the center mouse wheel to Orbit, also press and hold down the Shift key on your keyboard and your cursor will turn into the Pan tool. Move your mouse to pan your view, then let go of the mouse wheel and Shift key when you are done.
YOUR NEXT STEPS
We hope our Watch This Before You Get Started with SketchUp Free video and these notes have gotten you started down the right path.
From here, it’s definitely possible to learn everything on your own. But if you don’t have the time to figure out what you need to know, and you can’t afford to pick up bad habits, we recommend checking out our Video Course Library.
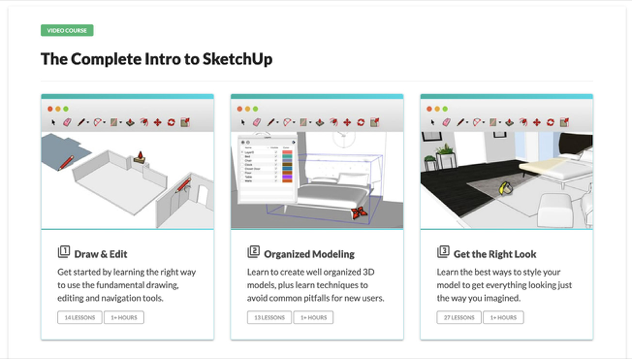
It’s filled with $8700 worth of SketchUp training exclusively for professionals — including our Complete Intro to SketchUp courses.